3D Print Your Own Robot

3D printing has completely revolutionized the world of robotics, whether amateur, educational, or professional. Gone are the days when you had to have custom metal parts machined at exorbitant prices. Today, additive manufacturing allows anyone to prototype, iterate, and build complex mechanical structures directly from their desk.
✅ The Construction Process
Bringing a robot to life requires combining three disciplines: mechanics (3D-printed parts), electronics (the "nervous system"), and software (the "brain"). The order of these steps is crucial to avoid having to reprint parts halfway through due to lack of space for a cable or motor.
1. Design and Modeling (CAD): The virtual assembly blueprint.
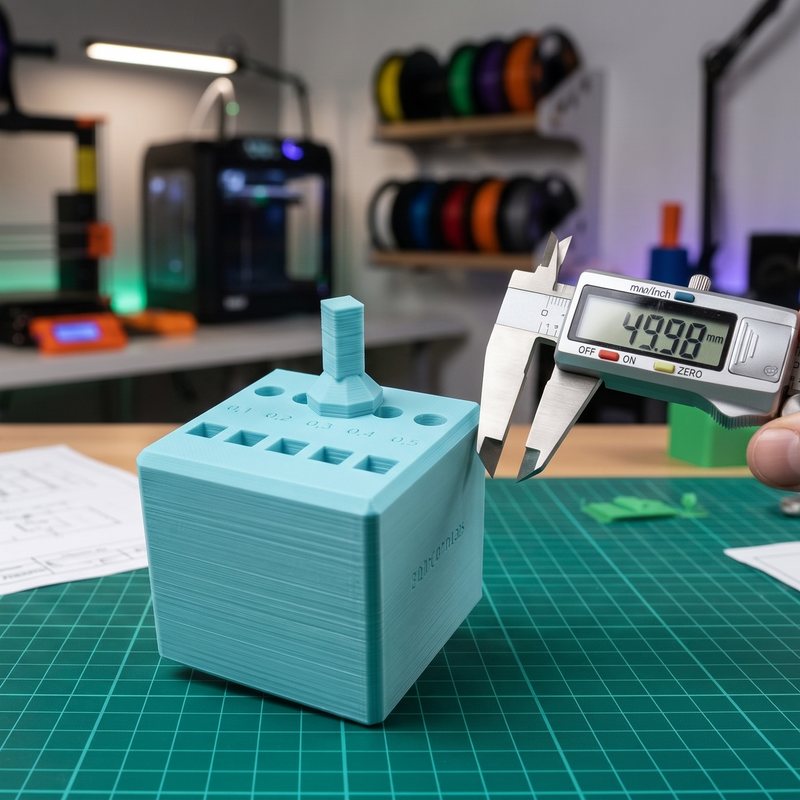
Everything starts with 3D design software like Fusion, FreeCAD, or Tinkercad (for beginners). You need to design the chassis while carefully integrating the exact locations and mounting points for your motors (servo motors, stepper motors), sensors, and mainboard. Tip: Always plan for a tolerance of 0.2 mm to 0.4 mm on press-fit holes, as plastic tends to expand slightly during printing.
2. Printing the Parts: Settings and infill.
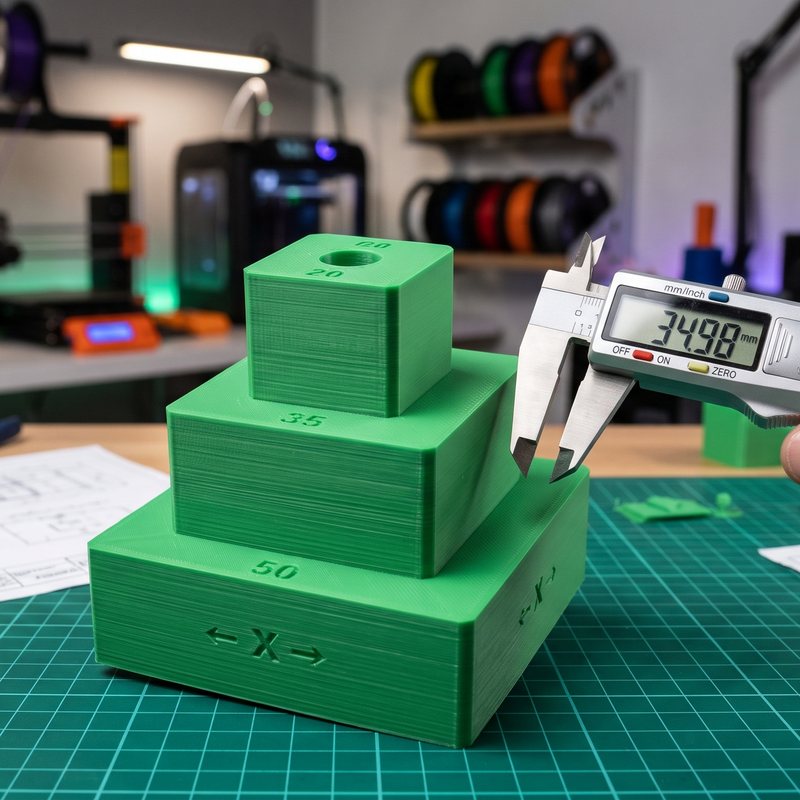
Once your 3D files (STL) are exported, run them through your slicing software. For a robot, an infill rate of 20% to 30% with a honeycomb pattern (like Gyroid) offers the best balance between lightness (to avoid overloading the motors) and strength. Print a small test piece first to verify your dimensional tolerances before launching large multi-hour prints.
3. Electronics and Wiring: Hardware integration.
Now it's time to install the robot's brain (usually a Arduino microcontroller or Raspberry Pi single-board computer) and connect the actuators. Screw the motors into their freshly printed housings, install your sensors (ultrasonic for distance measurement, infrared, cameras) and wire everything to an appropriate power source, such as LiPo (Lithium-Polymer) batteries.
4. Programming and Testing: Bringing the machine to life.
The robot is physically ready, but it needs instructions. Using languages like C++ (for Arduino) or Python (for Raspberry Pi), you'll code basic behaviors: spin a motor at a precise speed, read the distance to an obstacle detected by a sensor, and create a logical decision loop (for example: "If there's a wall less than 10 cm away, stop the motors and turn left").
✅ Material Choice (Filament)
The first question that arises when building involves the strength of your robot's chassis. Not all plastics are equal and must be chosen based on the stresses the machine will experience:
| Filament | Mechanical Strength | Heat Resistance | Robotics Use Cases |
| PLA | Medium | Low (~60°C) | Rapid prototyping, educational desktop robots, decorative parts not subject to heavy stress. |
| PETG | High | Medium (~80°C) | Mobile robot chassis, parts requiring slight flexibility, simple gears. |
| ABS / ASA | Very high | High (~100°C) | Complex mechanical parts, outdoor robots, joints under heavy pressure. |
✅ The Open Source Community
The Open Source community is full of fully 3D-printable robot projects ready to assemble (like quadruped robots, miniature industrial robot arms, or the famous InMoov humanoid robot). You don't need to know 3D modeling to start building!
3D printing has not only reduced robotics costs; it has opened an enormous field of possibilities for creators, students, and enthusiasts worldwide. Whether you want to learn to code, prototype an invention, or simply tackle a technical challenge, the only real limit now is your imagination.
So, are you ready to build your robot?