Tolerance Rings Print-in-Place – 0.2 to 0.6 mm Clearance Set
Download the 3D fileFree file hosted on MakerWorld (free account required to download).
What clearance do you need for a hinge, gear, or articulation printed in one piece to actually move? These print-in-place tolerance rings give you the answer for your printer and filament.
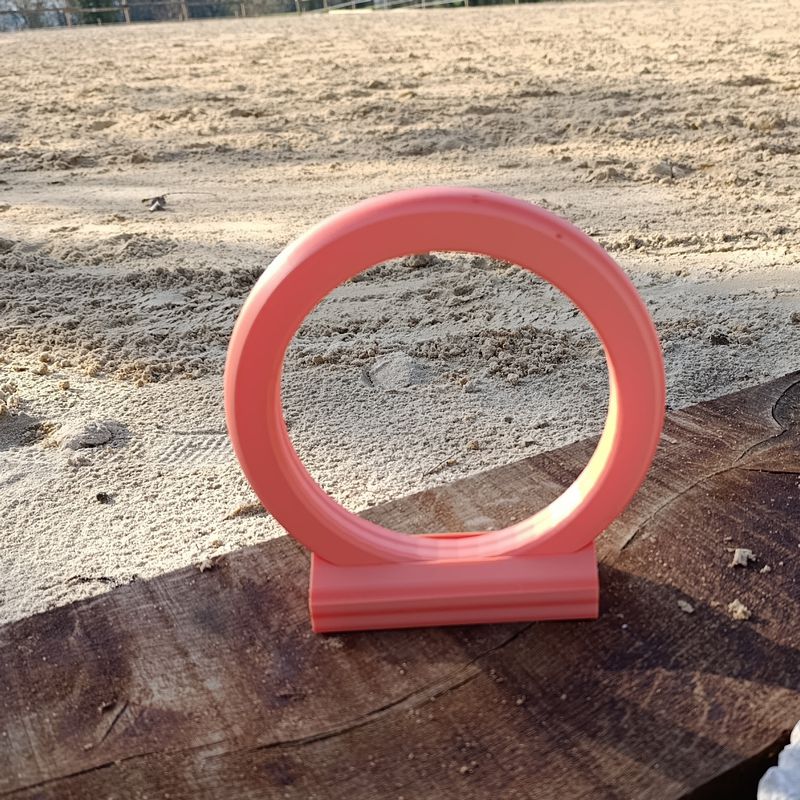
A central disk and 5 nested rings come out of the printer already assembled. The whole assembly is 73.5 mm in diameter and 8 mm tall, using about 31 cm³ of material.
How they stay together
Each piece has a V-shaped ridge that locks into a groove on the next piece, as shown in the cross-section below. The rings rotate, but they can't come loose or fall off.

What's been verified in this model
- Exact clearances: 0.2, 0.3, 0.4, 0.5, and 0.6 mm between adjacent pieces, measured perpendicular to surfaces.
- No contact: no piece touches its neighbor.
- No supports needed: no slope exceeds 45°.
- Engraved labels: each ring is marked with its clearance, and "CLEARANCE mm" at the center.
How to use it
- Print it flat, as is.
- Let it cool, then rotate each ring while holding the central disk. If a ring sticks, give it a gentle initial push, nothing more.
- The smallest clearance at which a ring rotates freely is the minimum clearance to design into your moving parts: hinges, gears, and articulations printed as one piece.
Recommended settings for reliable testing
- First layer well-tuned: elephant's foot welds tiny gaps at the base and ruins your results.
- Disable any "fill small gaps" option in your slicer, if it has one. Depending on the software, it might be called "detect thin walls" or "fill gaps."
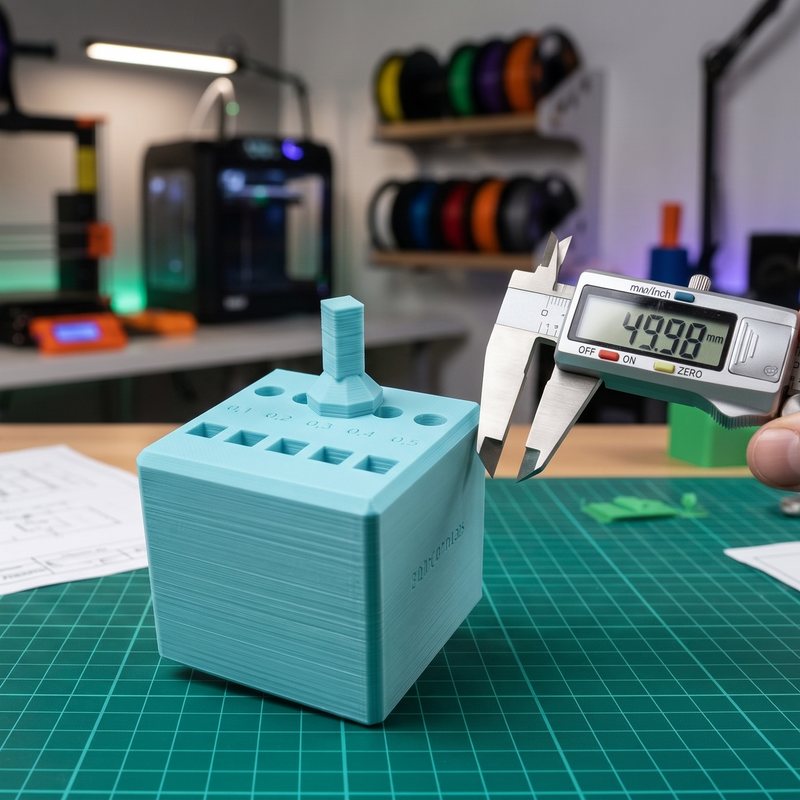
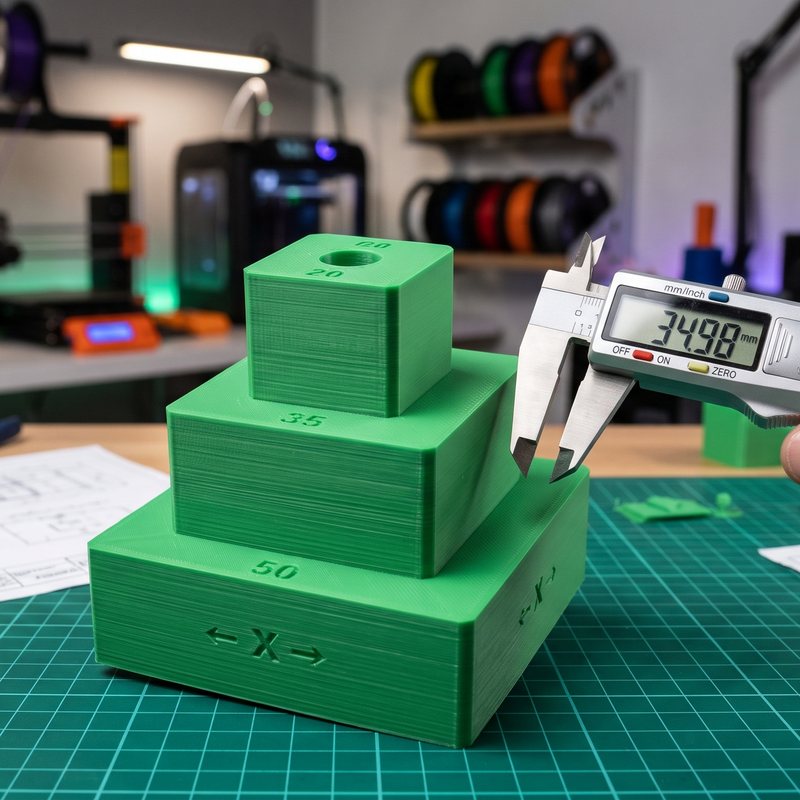
👉 For fixed or sliding fits, also try our tolerance calibration cube and its guide with calculator. And to go deeper: print-in-place, the magic of assembly-free 3D printing.
📩 Need a custom 3D print, want to purchase this Tolerance Rings Print-in-Place – 0.2 to 0.6 mm Clearance Set, or need this 3D file for commercial purposes? Have a question? Feel free to reach out: