Tolerance Calibration Cube 📐
Download the 3D fileFree file hosted on MakerWorld (free account required to download).
What clearance should you leave between two parts so they fit together snugly without forcing, yet without play? This tolerance cube and its test key give you the answer for your printer and filament.
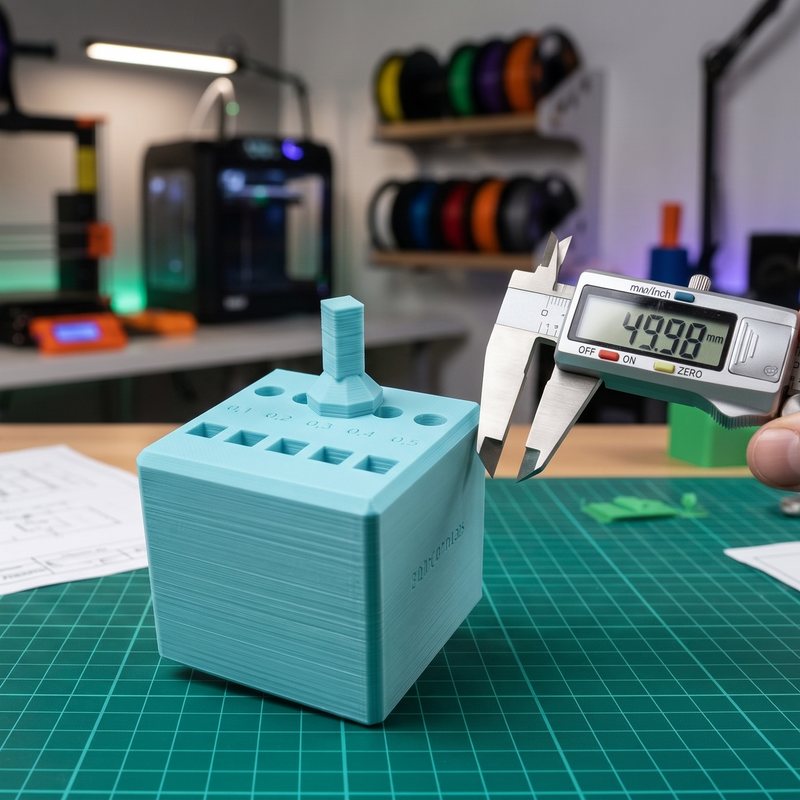
- A 50 mm cube drilled top to bottom with five round holes and five square holes, with clearances of 0.1 to 0.5 mm. Each value is engraved between the two rows.
- A 37 mm test key: a 6 mm square stem at the bottom, a collar, then a 6 mm diameter round stem at the top. It tests both square and round holes.
- Readable engravings: "TOLERANCES" on the front and "CLEARANCE mm" on the side.
- No supports needed: the only overhangs are the tops of the engraved letters, just 0.6 mm, with no consequences.
To print: place the cube on its base. Print the key standing upright, square stem down: this way, the round stem stays as round as the holes.
How to use it? Slide the key into each hole, from tightest (0.1 mm) to loosest (0.5 mm). The first hole where it enters and turns freely tells you the clearance to build into your models for a slip fit. Also measure the cube with calipers to verify it's exactly 50 mm.
👉 Full guide with clearance calculator: calibrate your mechanical fits.
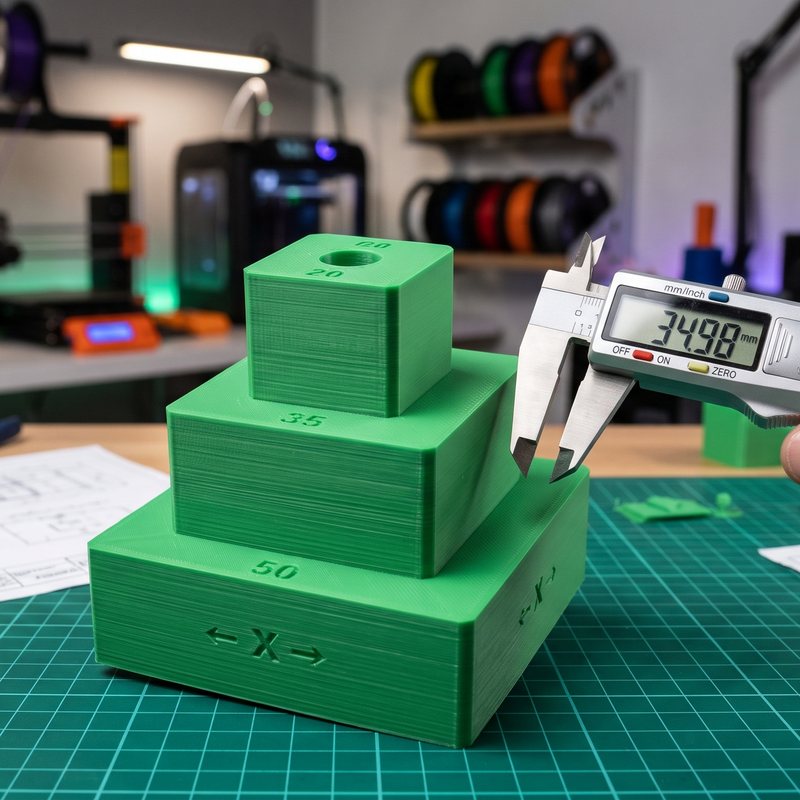
If your parts come out too small, the method and calculator are in our article on dimensional tolerances in 3D printing. To measure your filament's shrinkage, also try our calibration pyramid.
📩 Need a custom 3D print, want to purchase this Tolerance Calibration Cube 📐, or need this 3D file for commercial purposes? Have a question? Feel free to reach out: