Why Do You Need Supports in 3D Printing?

3D printing is a fascinating process that allows you to bring any shape to life. But there's one fundamental rule you can't get around: you can't print in mid-air! That's where supports come in. These structures, often seen as a constraint, are actually the essential scaffolding that allows your printer to build complex parts with overhangs and bridges. Learning how to use them is key to successful, high-quality prints.
3D Printing Supports: The Essential Scaffolding

The principle behind FDM (filament-based) 3D printing is to stack layers of melted plastic, one on top of another. As long as the previous layer is there to support the new one, everything works fine. But what happens when your model has:
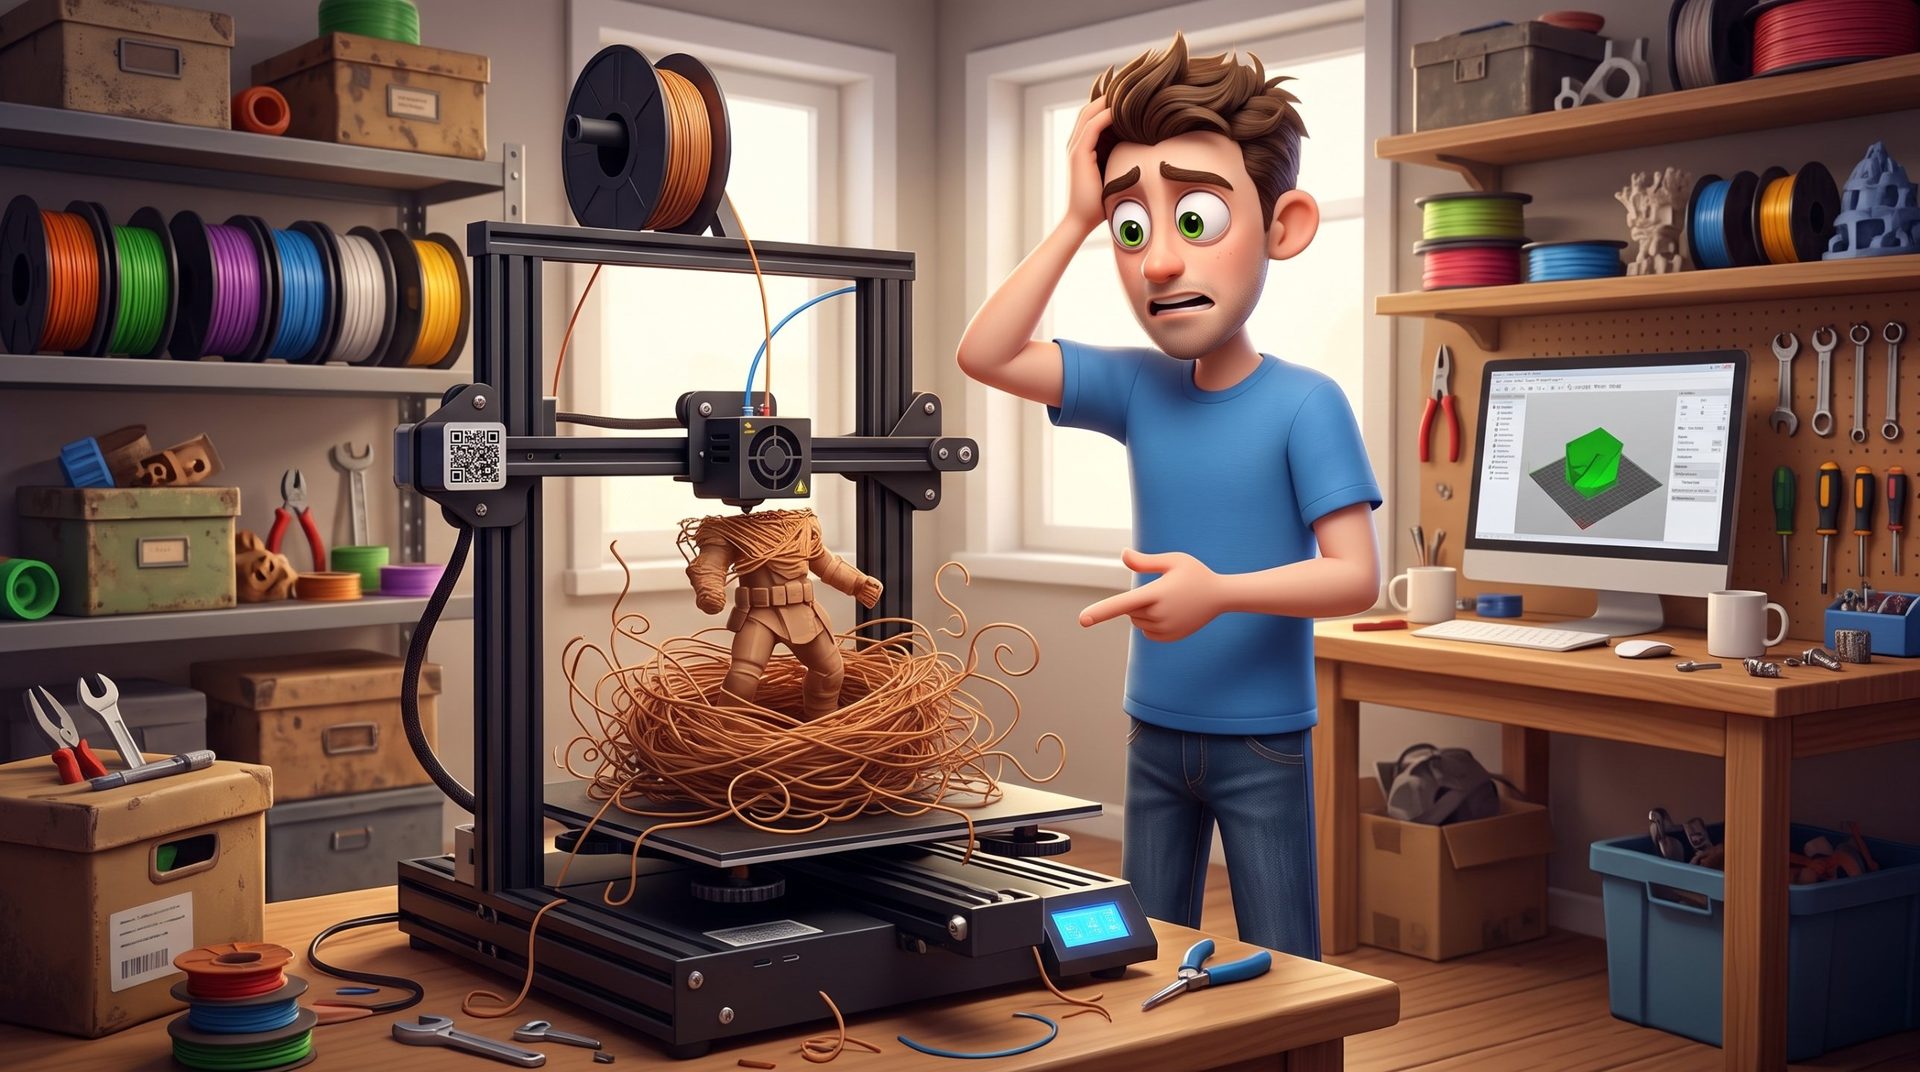
- Overhangs: A part that extends into empty space, like the arm of a figurine held horizontally. If the overhang is too steep (generally beyond 45°), the filament will have nothing to support it and will sag, creating "spaghetti".
- Bridges: A section that connects two vertical parts, like the underside of a bridge or the gap between two legs.
In these cases, support is the temporary foundation on which the printer builds the rest of the part.
Different Types of Supports
Slicing software offers several types of support structures:
- Classic Supports (Grid, Lines, ZigZag): These are simple, rectilinear structures that rise directly from the build plate or the part itself. They're effective for large overhangs and simple shapes, but can be harder to remove and may leave marks on the model's surface.
- Tree Supports (Arborescents): More recent and very popular, they resemble tree branches that grow organically to support the model at critical points. They are much easier to remove, often use less material, and leave fewer marks on the part. They're perfect for figurines and objects with complex overhangs or limited contact points.
Key Parameters for Perfect Supports
Support effectiveness depends not just on their type, but also on their settings. By adjusting these parameters, you'll find the sweet spot between supports that hold well and supports that come off easily.
- Distance (Z-Gap and X/Y-Gap): This is the most critical parameter!
- The Z-Gap is the vertical space between the top of the support and the first layer of the part. A small gap is necessary to prevent the part from fusing with the support. Too small, and the support will stick. Too large, and the first layer of the part won't print well. A gap of 1 to 2 layers is usually optimal.
- The X/Y-Gap is the horizontal space between the support and the model. It ensures the support doesn't touch the vertical walls of the model.
- Support Density: Determines how much plastic is used for the support. Low density (10–15%) is often enough for lightweight objects while being easier to remove.
- Interface Layers: These are one or two denser, thicker layers at the top of the support. The interface layer creates a smoother surface for the model to print on, improving finish quality while making removal easier.
Pro Tips for Managing Supports
- Orient your part smartly: Before thinking about supports, try rotating your model. Often, a simple 45° or 90° rotation can dramatically reduce or even eliminate the need for supports by leveraging the model's natural angles.
- Keep post-processing in mind: Always remember that the area where the support was attached will need a little sanding or cleanup.
- Soluble supports: If you have a dual-extrusion printer, soluble supports (PVA) are a fantastic option. They dissolve in water, leaving a perfect surface with zero removal effort.
- Removal tools: For support removal, small cutting pliers, thin spatulas, and hobby knives are your best friends.
Supports aren't a punishment—they're an opportunity to push the boundaries of your prints. By mastering their settings, you'll turn a constraint into a powerful tool for your creativity.