"No supports needed, it'll work at 75°": The Art of Denial in 3D Printing

Enabling supports in your slicer often feels like admitting defeat. For many makers, every generated support tree represents wasted filament, a personal insult to their optimization skills, and the promise of thirty minutes hacking away with a cutting pliers.
So, faced with an overhang that openly defies gravity, a familiar little voice whispers: "Honestly, it'll be fine without supports."
The theory
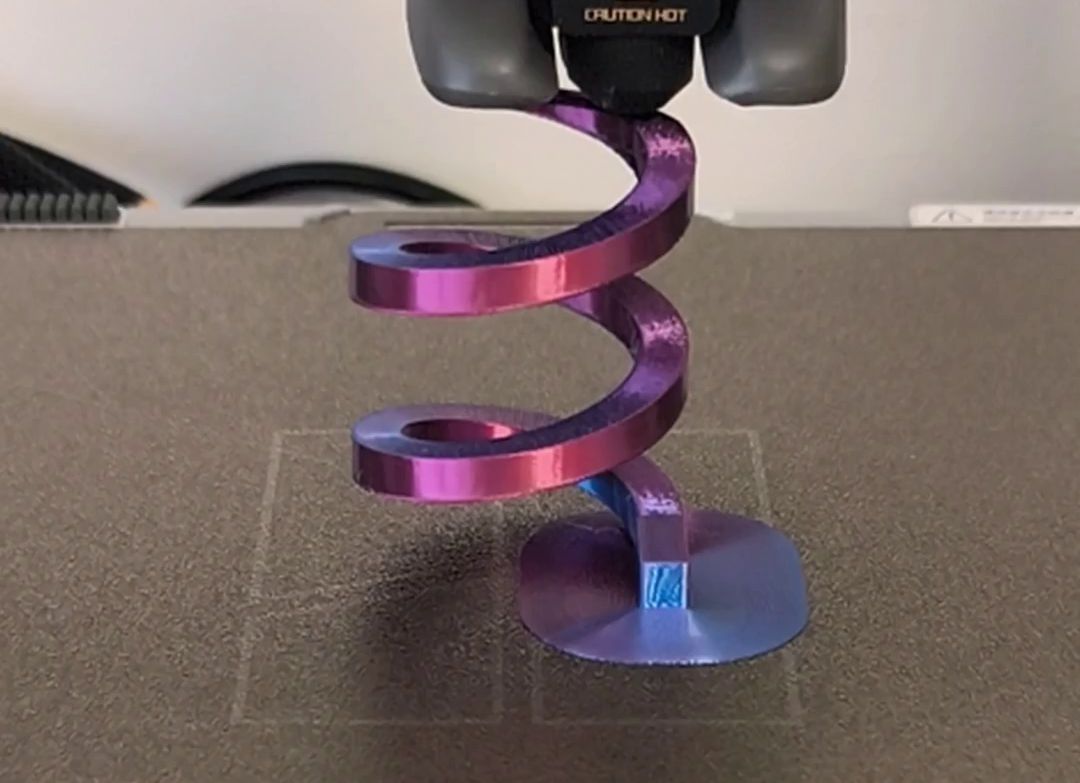
"I've got cooling to 100%, the nozzle is fresh, the air is cool: the filament will freeze instantly. The 75° overhang will hold on its own."
Reality at hour 8
The famous bird's nest of contemporary art.
An aerial tangle of plastic spaghetti waves in the breath of the print head, around a drooping stub of an articulated arm hanging sadly in mid-air. Deposited into nothing with each nozzle pass, the filament sagged under its own weight before forming a shapeless mass that the head collided with a few layers higher.
What's actually happening beyond 45°
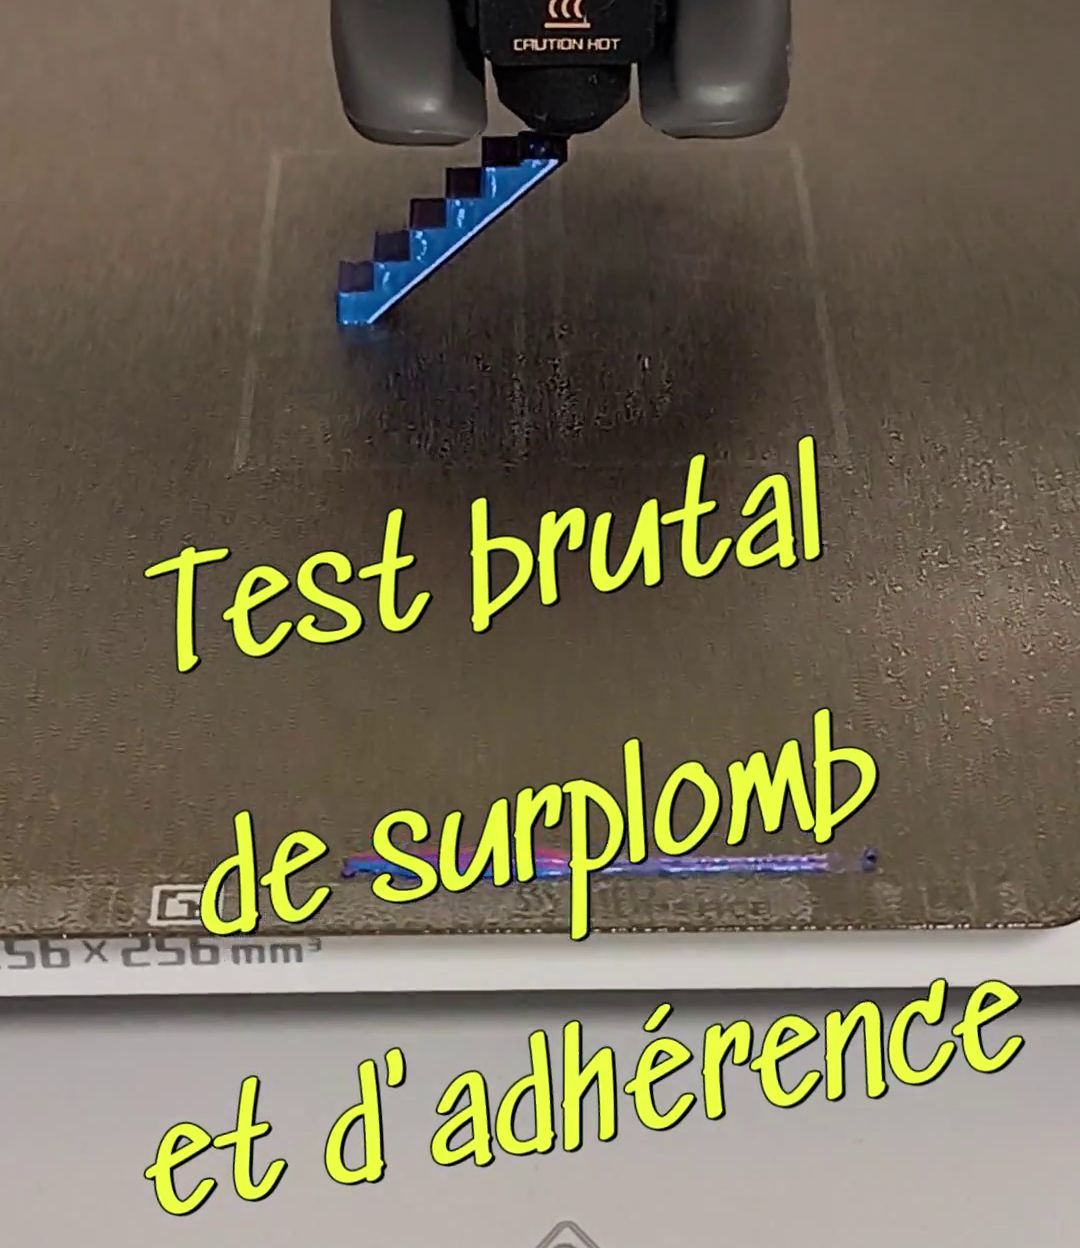
In FDM printing, one physical rule applies: to hold, each layer must rest partly on the layer below it. The larger the overhang angle (measured from vertical), the more each new layer shifts into empty space. With a 0.4 mm nozzle and 0.2 mm layers:
- At 45°: each layer overhangs roughly half its width. It stays well supported, the surface is clean and regular.
- At 55–60°: the supported portion drops below about 30%. Plastic starts to sag before cooling and forms small wisps under the part.
- At 70–75°: the offset from one layer to the next reaches or exceeds the width of a line. The new layer barely rests on anything: without proper geometry, very slow speed, and strong cooling, molten plastic wraps around itself and collapses into free loops.
4 levers to push the limit
To delay enabling supports on steep angles without disaster:
- Reduce layer height: the thinner the layer (0.12 mm instead of 0.24 mm, for example), the smaller the offset between layers for the same angle, and the greater the support surface.
- Widen outer wall lines: a slightly thicker line (0.5 mm on a 0.4 mm nozzle, for example) gives more support for the next bead.
- Slow down on overhangs: drop to 15–20 mm/s on critical zones (slicer "slow down for overhangs" option) gives cooling time to freeze plastic right at the nozzle.
- Print walls from inside to outside: the inner wall, printed first, acts as support for the visible outer perimeter.
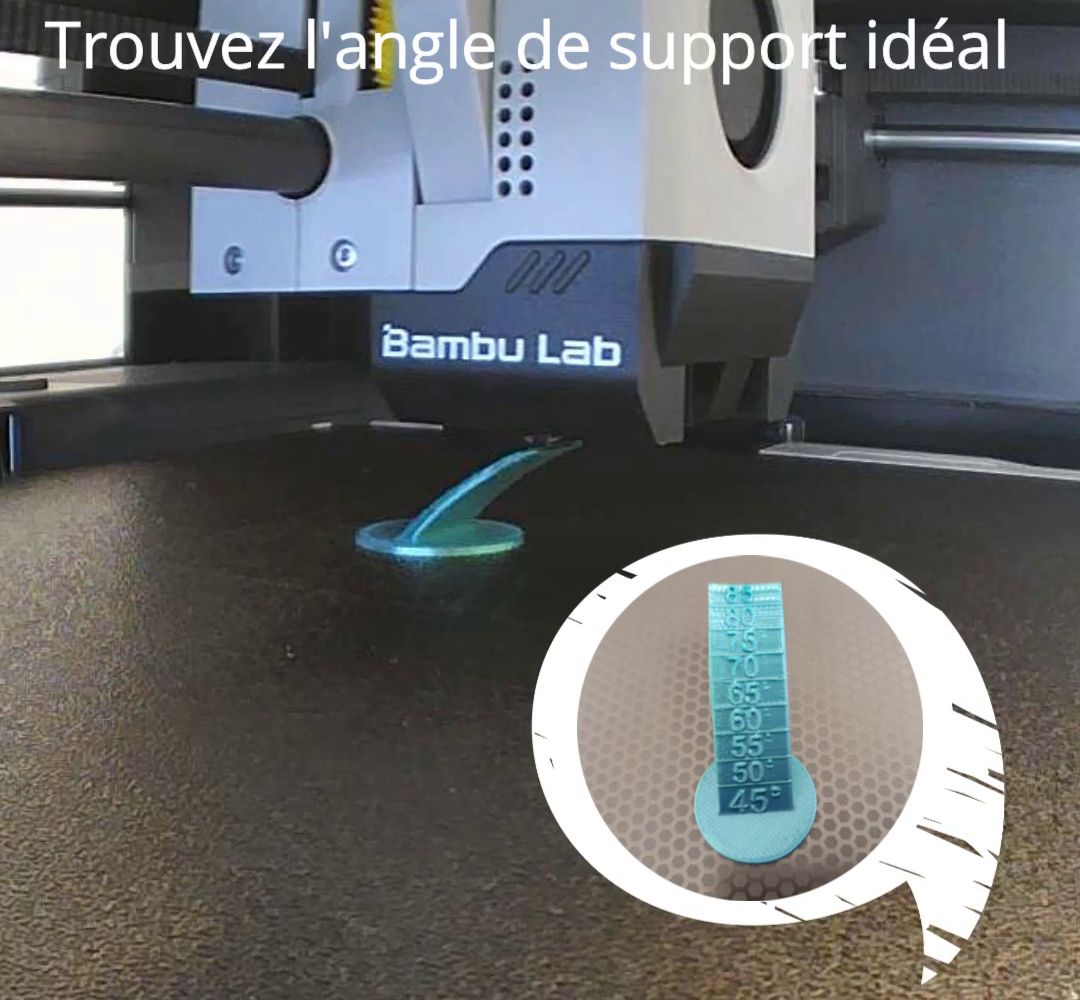
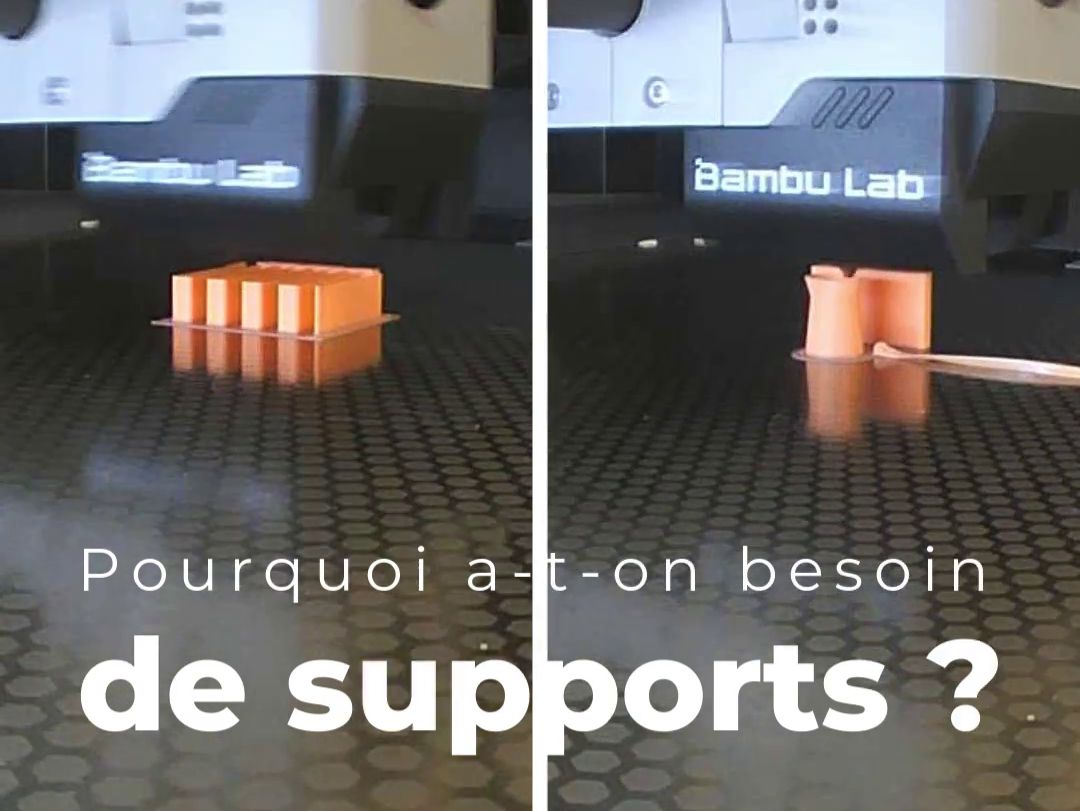
To find your machine's real limit, print an overhang test: our article find your ideal support angle guides you step by step. And to understand when supports are truly essential, read why supports are needed in 3D printing.
The maker's court: how far will you go without supports?
Every printer, every cooling system, and every filament reacts differently to thin air:
- At what angle do you enable supports by default (45°, 55°, 60°)?
- What's the boldest overhang you've successfully printed cleanly, with no help?
- Grid supports or die-hard tree support fan?
Share your angle limit in the comments and tell us about your best printing saves!