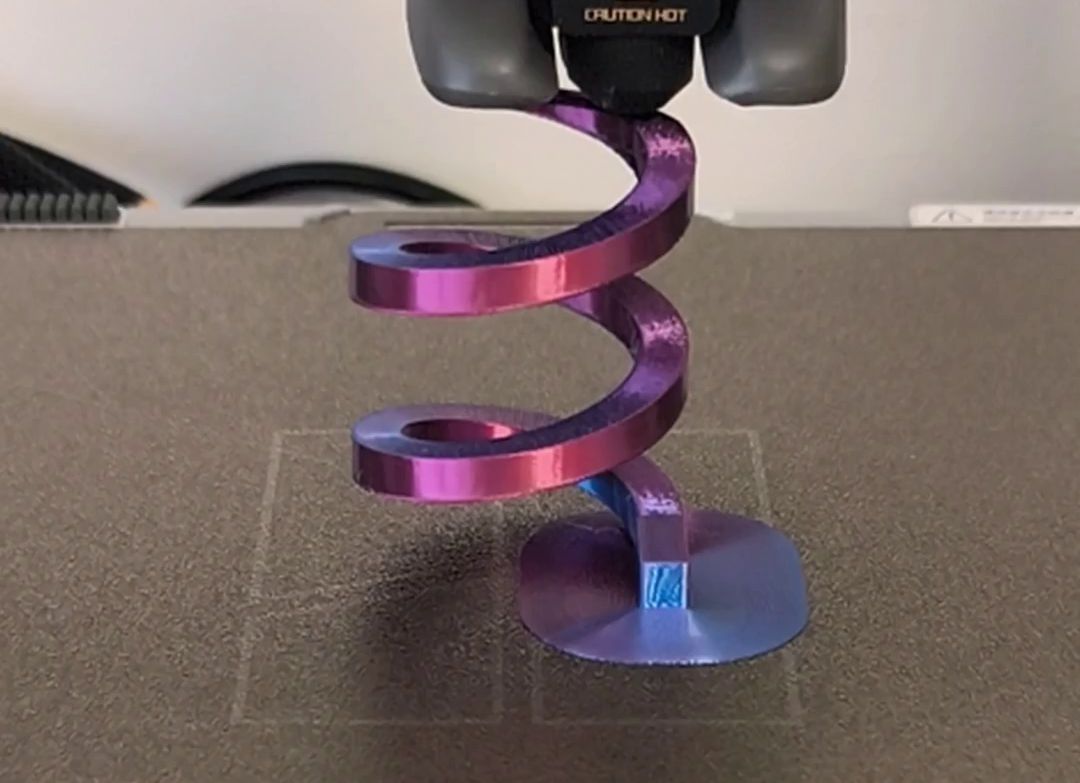
3D Print Test: Find the Ideal Support Angle for Your 3D Printer
One of the most common challenges in 3D printing is managing overhangs. These parts of your objects that are built "in thin air" can sag, rendering your print unusable. To avoid this, we use support structures, but generating them unnecessarily costs time and filament.
The solution? A simple angle test print. In just a few minutes, it lets you determine your printer's limits and optimize the crucial support angle parameter for cleaner, more efficient prints.
What is the Support Angle?

The support angle, often called "overhang angle", is the parameter that tells your slicing software at what inclination angle it should generate supports. In other words, it's the maximum angle an printer can build without needing support underneath.
- If the overhang angle is less than the support angle you've set (for example, 45° for a 60° overhang), the printer won't generate supports.
- If the angle is greater (for example, 60° for a 45° overhang), the slicer will create support to prevent the material from sagging.
Each printer, depending on its cooling quality and settings, has different overhang performance. Finding the optimal value is essential to save filament and reduce post-processing time.
How to Run the Test and Interpret the Results
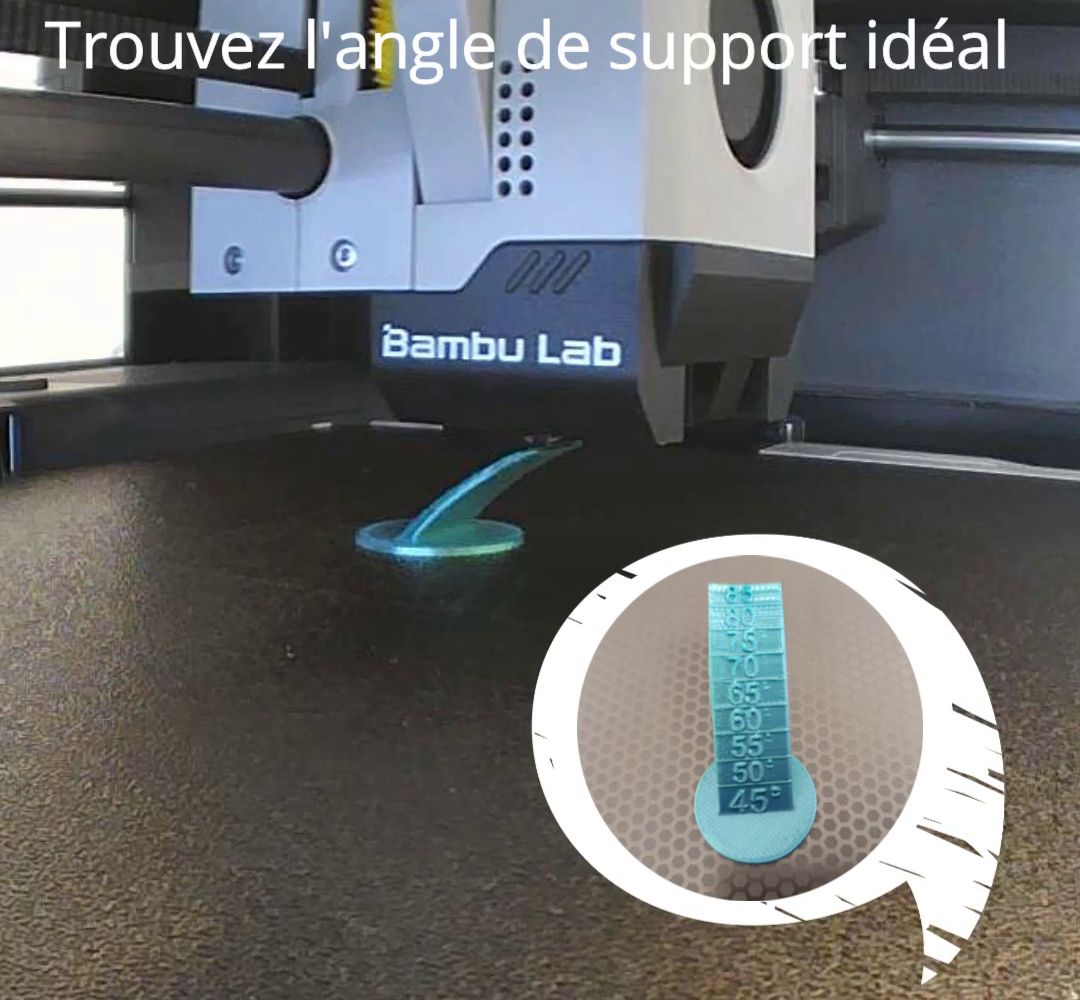
The test is simple and requires only a small 3D file (downloadable here). The test model typically consists of several walls angled at different angles (for example, 45° to 85°).
Step 1: Prepare the Print
Load the test file into your slicing software. For this test, it's crucial to disable supports or set the support angle to a very high value (90°) to ensure no supports are generated. Use the print settings you normally use (for example, 0.2 mm layer height with PLA).
Step 2: Start Printing
Print the model. The print should only take a few minutes.
Step 3: Analyze the Results
Once printing is complete, examine each angle.
- The lowest angle of 45° should be perfect, with smooth, well-formed layers.
- As you progress toward steeper angles, you'll see quality degrade. Layers will start to sag and the finish will be less sharp.
The value to note is the last angle that printed with satisfactory quality. For example, if the 60° angle is perfect, but the 65° angle starts to sag, your optimal support angle is 60°.
Step 4: Configure Your Slicer
Now you just need to set this value in your slicing software. By default, most software uses a value of 45°, but your test may have shown that your printer can handle 60° without problems, allowing you to save time and filament on all your future prints.
This quick test is a few-minute investment that will help you print smarter, using supports only when absolutely necessary.