Understanding Common 3D Printing Failures
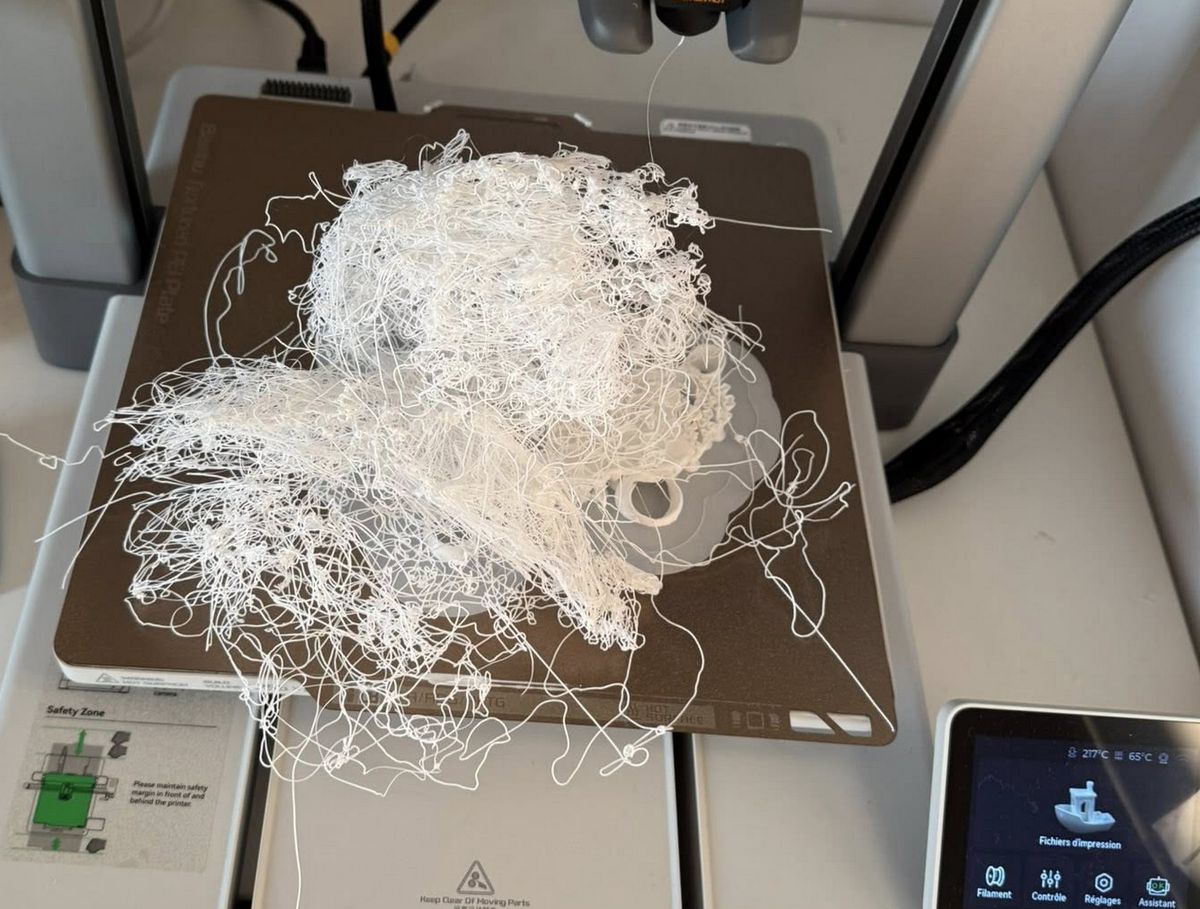
3D printing is a fascinating technology that brings complex ideas to life. However, every maker—from beginner to expert—has experienced the frustration of a failed print. These problems, whether shifted layers, poor bed adhesion, or plastic spaghetti, are an integral part of the learning process. Rather than viewing them as obstacles, consider them opportunities to understand your machine and refine your skills.
Understanding the common causes of these failures is the key to preventing and fixing them. Here are the most frequent problems in FDM (Fused Deposition Modeling) 3D printing and how to solve them.

1. Build Plate Adhesion Issues (Warping, Detachment)
This is one of the most common problems and often the first challenge for beginners. The print doesn't stick properly to the build plate or peels and warps during printing.
- Symptoms: First layer won't stick, print edges lift (warping), entire print detaches from the plate.
- Possible causes:
- Misleveled build plate: If the plate isn't flat or the nozzle-to-plate distance is uneven, the first layer won't adhere properly everywhere.
- Insufficient bed temperature: Some materials (like ABS) require a heated bed to prevent warping from cooling.
- Inadequate print surface: Dirty or unprepared plate (no hairspray, glue stick, PEI coating, etc.).
- Air drafts / Temperature fluctuations: A cold environment or air currents can cool the print too quickly, causing shrinkage and detachment.
- Poor first layer settings: Print speed too fast, layer height too high or too low.
- Solutions:
- Level the plate precisely: Perform rigorous manual or automatic leveling before each important print.
- Optimize bed temperature: Check the filament manufacturer's recommendations.
- Prepare the surface: Use hairspray, glue stick (UHU, Pritt), PEI coating, or BuildTak to improve adhesion. Regularly clean the plate with isopropyl alcohol.
- Create a stable environment: Use an enclosure if possible, or avoid air drafts.
- Adjust first layer settings: Slow down the speed, ensure proper layer height (often slightly squished). Use a Brim or Raft in your slicer to increase adhesion surface.
2. Under-Extrusion or Over-Extrusion
These issues affect the amount of filament deposited, resulting in incomplete or excessive layers.
- Symptoms:
- Under-Extrusion: Insufficient material, missing layers, holes in the print, thin and fragile lines, gaps between lines.
- Over-Extrusion: Excess material, bumps, over-thickness, burrs, smudged details, inaccurate dimensions.
- Possible causes:
- Under-Extrusion: Partially clogged nozzle, incorrect filament diameter in slicer, extrusion temperature too low, insufficient extruder gear tension, knot in filament spool.
- Over-Extrusion: Incorrect filament diameter, flow rate too high in slicer, extrusion temperature too high.
- Solutions:
- Clean the nozzle: Perform a cold pull or use a cleaning needle.
- Check filament diameter: Measure it with calipers and enter the exact value in your slicer.
- Adjust temperatures: Run temperature towers to find the ideal temperature for your filament.
- Calibrate extruder steps (e-steps): Ensure the extruder pushes the correct amount of filament.
- Adjust flow rate: Decrease it for over-extrusion, increase slightly for under-extrusion.
3. Layer Shifting
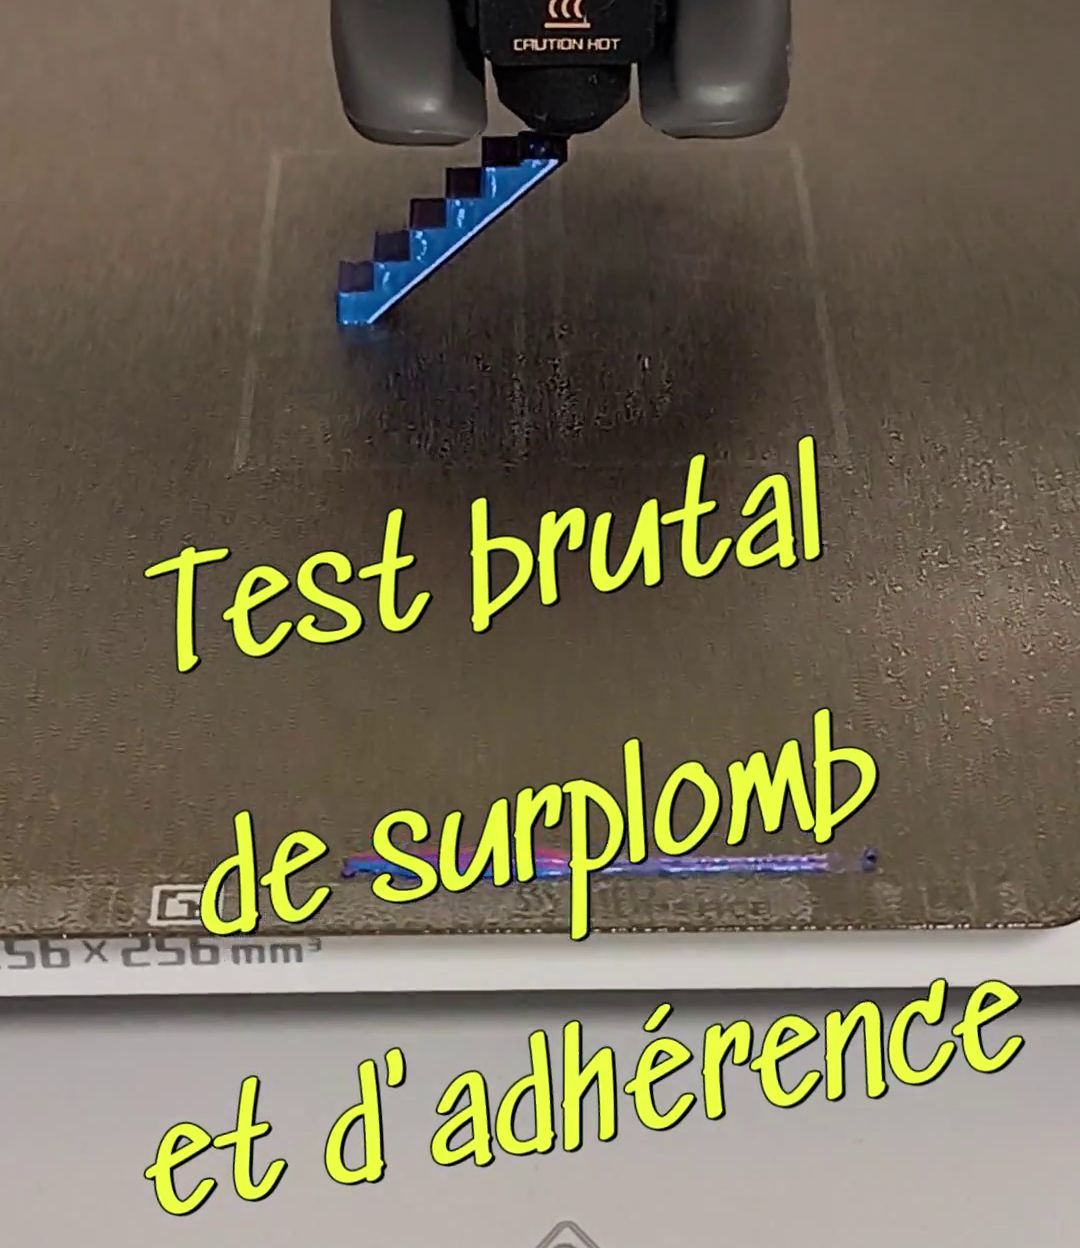
The print appears to have "shifted" horizontally at some point, creating a staircase effect or shape misalignment.
- Symptoms: The printed object has abrupt steps or offsets on the X or Y axis.
- Possible causes:
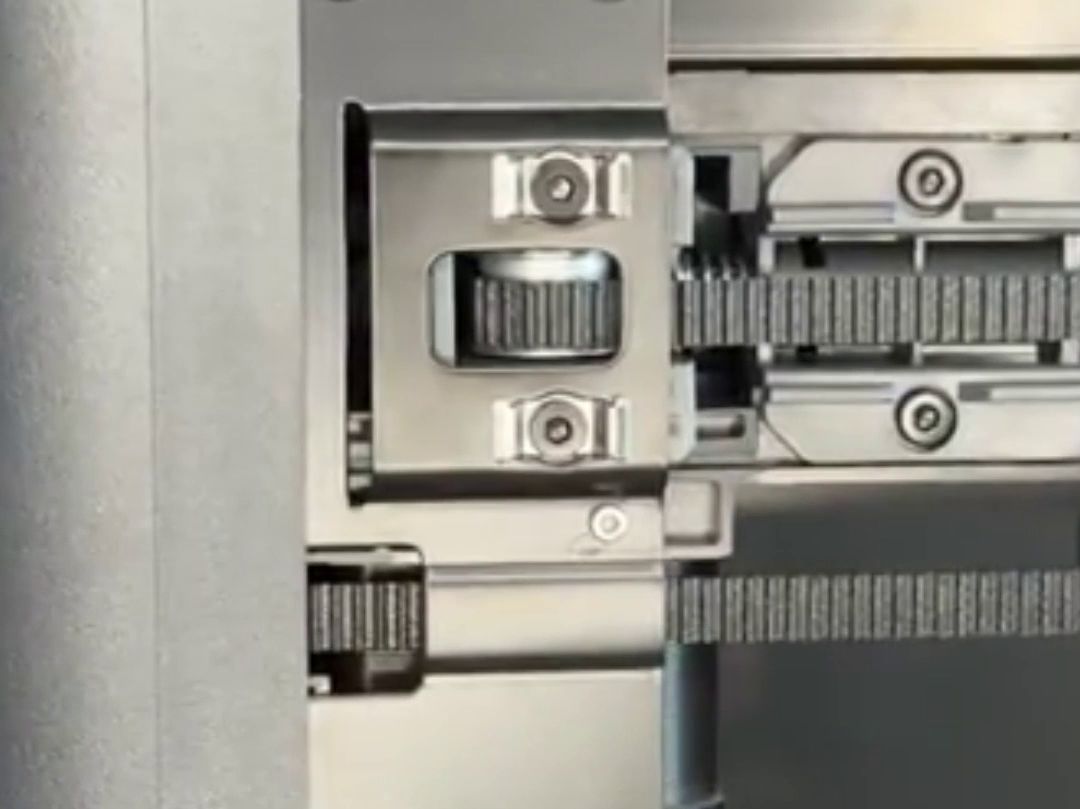
- Loose or poorly tensioned belts: The belts controlling axis movement aren't tight enough, causing slippage.
- Print speed too high: Motors can't keep up with the requested movements.
- Acceleration and jerk too high: Settings that determine how quickly speed changes occur during movements.
- Physical obstruction: The nozzle or print hits an obstacle (for example, a part of the print that slightly lifted).
- Stepper motor problem: Overheating or insufficient power supply.
- Solutions:
- Check and tension the belts: They should be tight but not over-tensioned.
- Reduce print speed: Especially for complex or large prints.
- Lower acceleration and jerk values: In your slicer settings.
- Ensure a clear path: Check that cables or other elements won't interfere with movement.
4. Stringing / Oozing (Unwanted Filament Strands)
Thin plastic strands appear between different parts of the print, resembling spider webs.
- Symptoms: Presence of plastic threads on the object where the extruder moves without printing.
- Possible causes:
- Incorrect retraction settings: Retraction is meant to "suck" some filament back into the nozzle during non-printing moves.
- Extrusion temperature too high: The filament is too liquid and oozes from the nozzle.
- Travel speed too slow: Filament has more time to escape.
- Solutions:
- Increase retraction distance: In small increments (e.g., +0.5 mm).
- Increase retraction speed: In small increments (e.g., +5 mm/s).
- Lower extrusion temperature: Test in 5°C increments.
- Increase travel speed: So the nozzle moves faster between points.
- Check filament moisture: Damp filament can cause stringing.
5. Poor Surface Quality and Missing Details
The print is rough, has artifacts, or small details aren't sharp.
- Symptoms: Irregular lines, rough surface, ghosting (pattern echoes), blurry or missing details.
- Possible causes:
- Printer vibrations: Unstable machine, loose screws, uneven build surface.
- Print speed too high: Especially for small details.
- Insufficient cooling: Particularly for small details or overhangs.
- Worn or damaged nozzle.
- Incorrect flow rate.
- Solutions:
- Stabilize your printer: Place it on a stable surface and check all screws.
- Reduce print speed: Slow down for details or the entire print if needed.
- Check the part cooling fan: Ensure it works correctly and is properly directed.
- Replace the nozzle: If it's old or damaged.
- Calibrate your flow rate.
6. Support-Related Problems
Supports are essential for printing overhangs and complex geometries, but mismanagement can lead to failures.
- Symptoms: Supports difficult to remove, significant marks on the print, support failure that collapses, or poor quality on the support contact surface.
- Possible causes:
- Incorrect support settings: Density too high, Z or XY distance from print poorly adjusted, support/print interface too thin or thick.
- Unsuitable support structure: Supports too thin, unstable, or poorly positioned for the print's geometry.
- Support print speed too fast: Affects their stability.
- Non-optimized support material: For example, using soluble supports (PVA) can simplify post-processing but requires specific storage conditions.
- Solutions:
- Adjust support density and pattern: Lower density makes removal easier. Linear or zigzag patterns are often simpler to remove.
- Optimize separation distances:
- Z Distance (Vertical): This is the gap between the support's top and the print's bottom. Too small makes the support hard to remove; too large leaves a rough surface. One or two layers is often a good starting point.
- XY Distance (Horizontal): This is the lateral gap between support and print edge. Adjust it to ease removal without compromising support.
- Use tree supports: Some slicers offer tree-shaped supports that are easier to remove and use less material.
- Enable support interface: A dense layer printed on top of the support creates a more uniform surface against the print.
- Reduce support print speed: This improves their stability.
- Consider dual extrusion: If your printer has it, use soluble support material (like PVA or HIPS) that can be dissolved after printing, leaving a perfect surface.
Every failed print is a lesson. Note the parameters you adjust and the results you get. Don't get discouraged! With practice, persistence, and a solid understanding of the basics, you'll quickly transform these "failures" into "learning successes," and your 3D prints will become increasingly perfect.
Happy printing!