Bridge Testing in 3D Printing: How to Print Over Voids

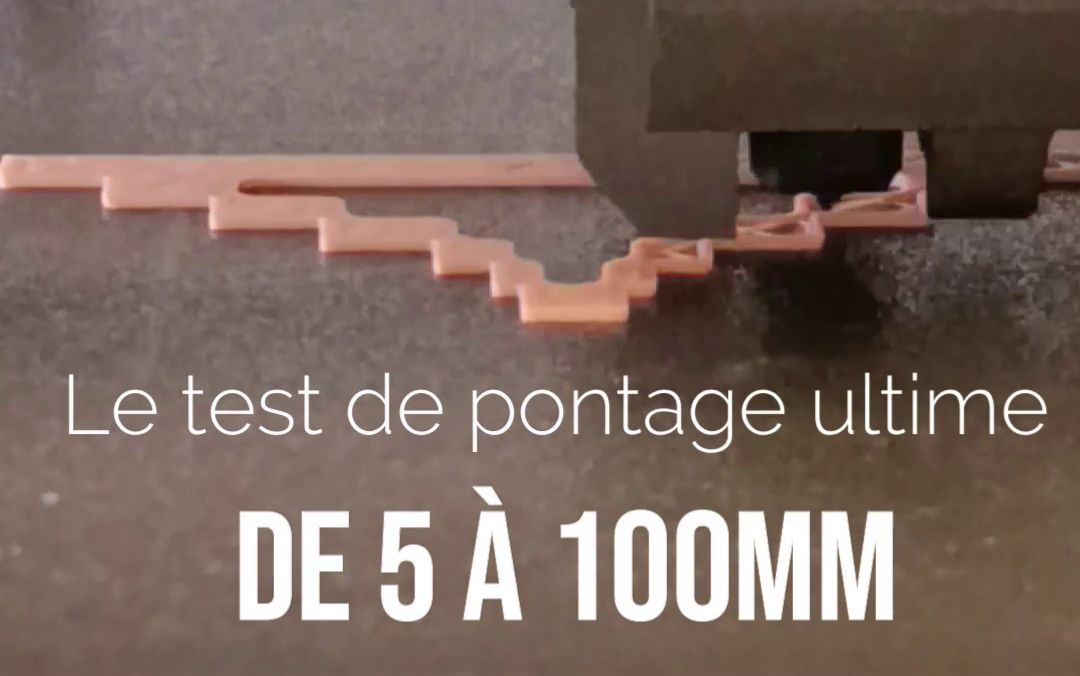
3D printing is fascinating, but it has its limits. One of the most common challenges is successfully printing bridges: these sections of extruded material that must span a gap between two support points without sagging. It's one of the best indicators of your printer's health and configuration.
A bridge test is an excellent way to understand your machine's capabilities and optimize your settings for more precise and cleaner prints.
What Is a Bridge in 3D Printing?

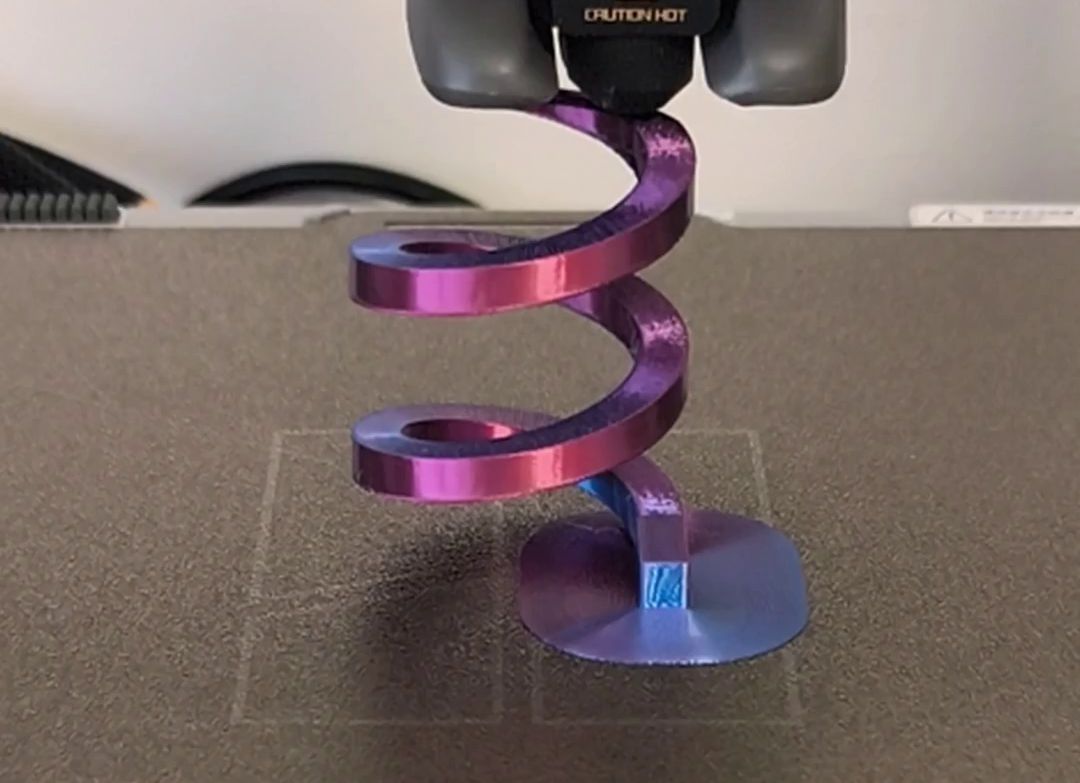
(3D File Source: E3D via MakerWorld)
A bridge is a line of filament extruded horizontally that connects two points of a print with nothing underneath. For a bridge to succeed, the filament must cool and harden very quickly before gravity pulls it down. It's a performance test that challenges three key parameters:
- The print speed of the bridge.
- The effectiveness of the cooling system.
- The extrusion temperature.
Why Is Bridge Testing Crucial?
- For cleaner prints: A successful bridge is straight and smooth, while a failed one sags and looks messy, ruining the appearance of your part.
- To optimize your settings: The test gives you the information needed to precisely adjust your speed, cooling, and temperature for the parts of your print that require bridging.
- To reduce support material: By knowing the maximum distance your printer can span, you can design your parts to avoid needing supports for small gaps, saving you time and filament.
Bridge Testing: How Does It Work?
A typical bridge test is a small model made up of several gaps of different lengths (for example, bridges of 10 mm, 20 mm, 30 mm, etc.). The goal is to print this model to see at what length the bridges start to sag.
1. Prepare the Test
Download a free bridge test file from platforms or check our selection of STL file libraries. There are many models available. Use your standard print settings (for example, PLA, 0.2 mm layer height) so the test is representative of your typical prints.
2. Start Printing and Analyze
Print the model. Once finished, examine each bridge.
- The shortest bridges should turn out well, straight and tight.
- As you move to the longer bridges, you'll see quality degrade.
- The length of the last bridge that printed without significant sagging is your machine's maximum capability.
3. Adjust Your Settings
If your bridges sag too early, you can adjust the settings in your slicing software to improve performance:
- Print speed: Slightly increase the print speed for bridges. Faster printing can allow you to cross the gap before the filament has time to sag.
- Cooling: Make sure your part cooling fan is set to 100%. This is the most important setting for successful bridging.
- Temperature: Lower the print temperature by 5 to 10°C for bridges. Slightly cooler filament will harden faster.
In conclusion, a bridge test is a simple but powerful tool to improve print quality. In just a few minutes, you get valuable information that will help you design and print more complex parts with greater confidence.