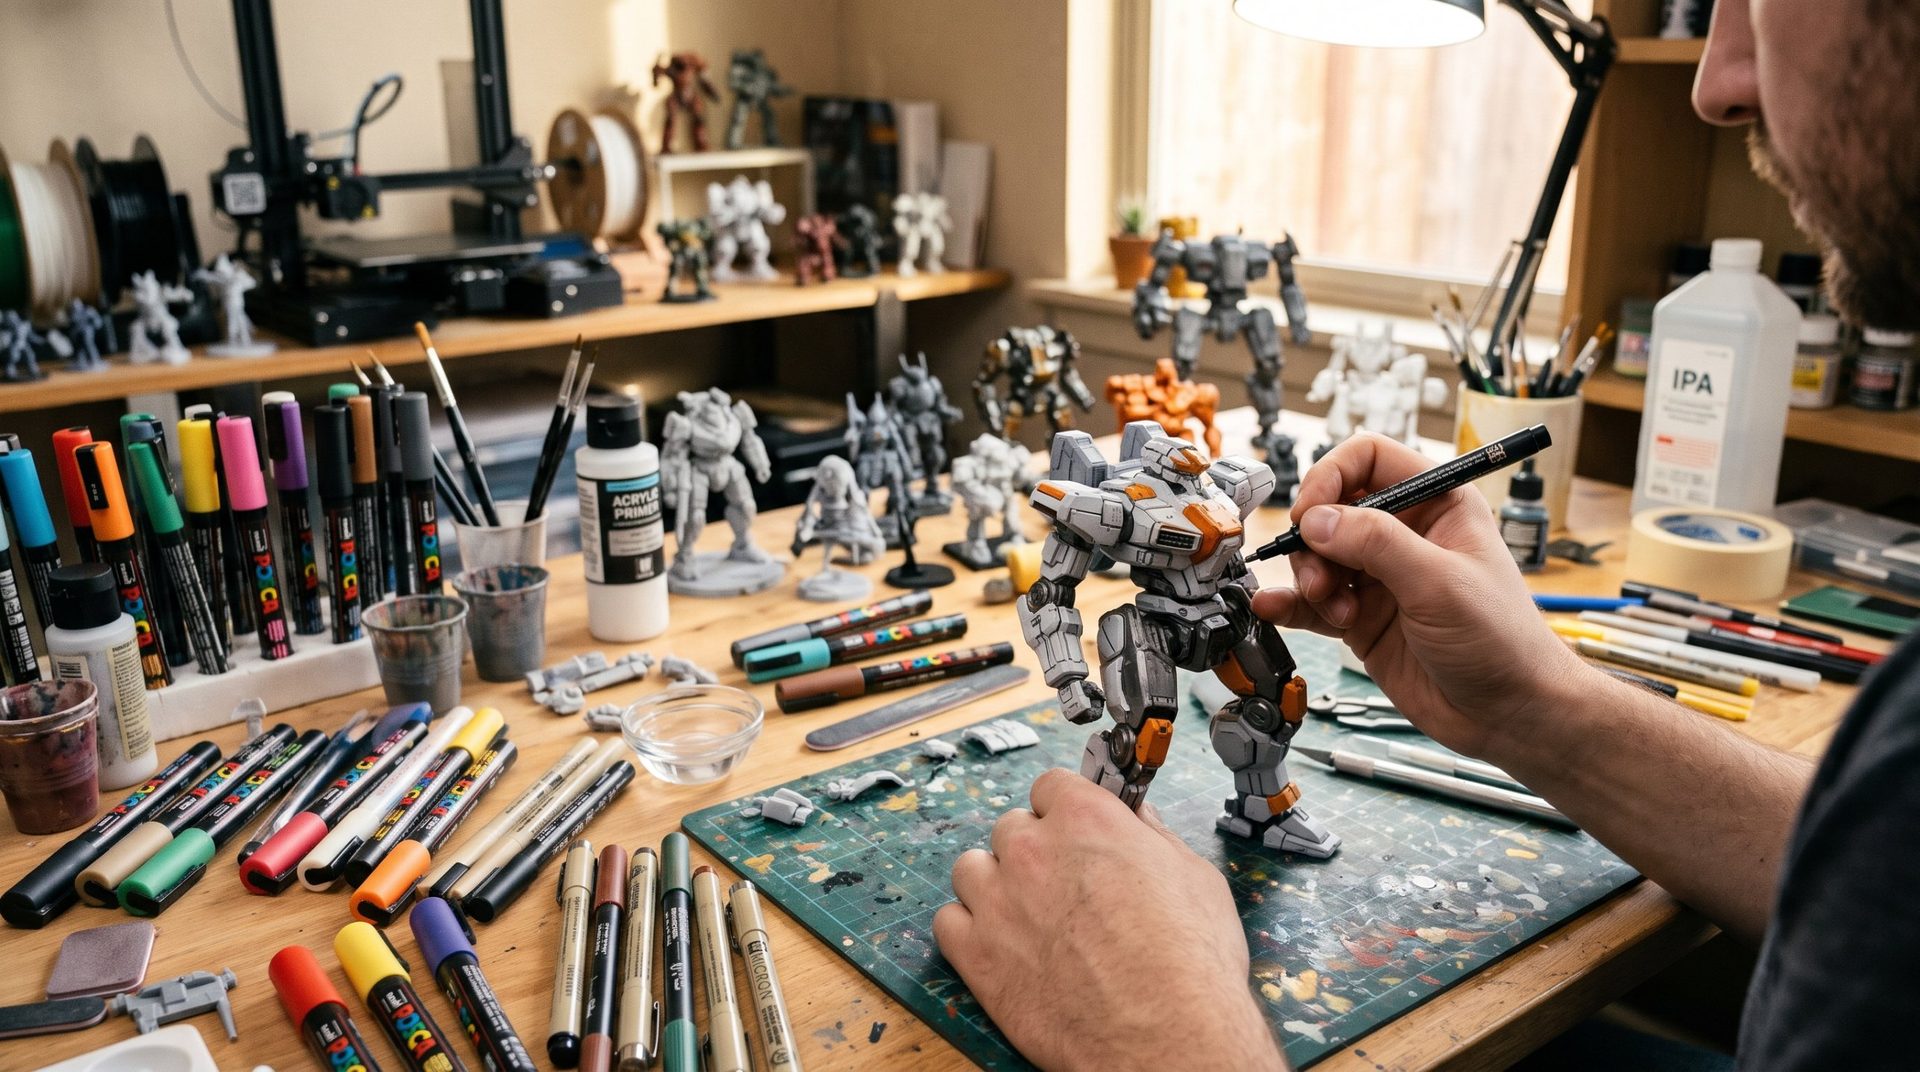
How to Paint a 3D Miniature Like a Pro: The Step-by-Step Guide

You just printed an amazing 3D miniature, but it still looks like a chunk of raw plastic? Don't worry! Going from 3D printing to a professionally painted model is within everyone's reach.
Here's a simple step-by-step guide to master the 4 fundamental miniature painting techniques: sanding, priming, washing, and dry brushing.
👉 Step 1: Prep and Sanding (The Foundation of Everything)
Before you grab your brush, you need to prepare the surface. 3D prints (especially FDM, but also resin) sometimes show layer lines or support marks.
-
What you need: Fine-grit sandpaper (400 then 800 or 1000).
-
The method: Gently sand any rough areas. To avoid breathing fine dust and get a smoother finish, try wet sanding (lightly dampen your sandpaper).
👉 Step 2: Priming (The Essential Base Coat)
Never paint directly on the plastic! Acrylic paint won't stick and may chip off.
-
What you need: A spray primer can in black, gray, or white.
-
The method: Shake the can well and spray about 20–30 cm from the miniature with short, quick bursts.
Pro tip: A black primer gives natural deep shadows, while white primer makes your colors pop right away with just one coat.
👉 Step 3: Base Coating (Laying Down Your Colors)
Now it's time to add color to your miniature by painting each area (skin, clothes, armor, leather).
-
What you need: Acrylic modeling paint, paint palette, flat and fine brushes.
-
The method: Thin your paint slightly with a drop of water on the palette. Apply two thin coats rather than one thick coat to avoid drowning the sculpture's details.
👉 Step 4: Washing (Revealing Details and Depth)
Once your base colors are down, the miniature might look "flat." This is where the magic of washing comes in.
-
The principle: A wash is very thin, heavily pigmented paint that flows automatically into recesses to create realistic shadows.
-
The method: Apply the wash generously over the whole area or target clothing folds and armor. Let it dry completely to see the magic happen!
👉 Step 5: Dry Brushing (Bringing Out the Highlights)
This is the perfect complement to washing, ideal for catching light on edges.
-
The method:
-
Pick a color lighter than your base coat on a stiff-bristled brush.
-
Wipe almost all the paint onto a paper towel. The brush should look dry.
-
Quickly and gently brush the raised areas of your miniature.
-
-
The result: Paint deposits only on edges and high points, creating striking contrast!
By combining these 4 simple steps, your 3D miniatures will immediately take on a whole new dimension. All that's left is to apply a matte or satin varnish to protect your masterpiece!