
How to Cut and Split a 3D File (STL)?
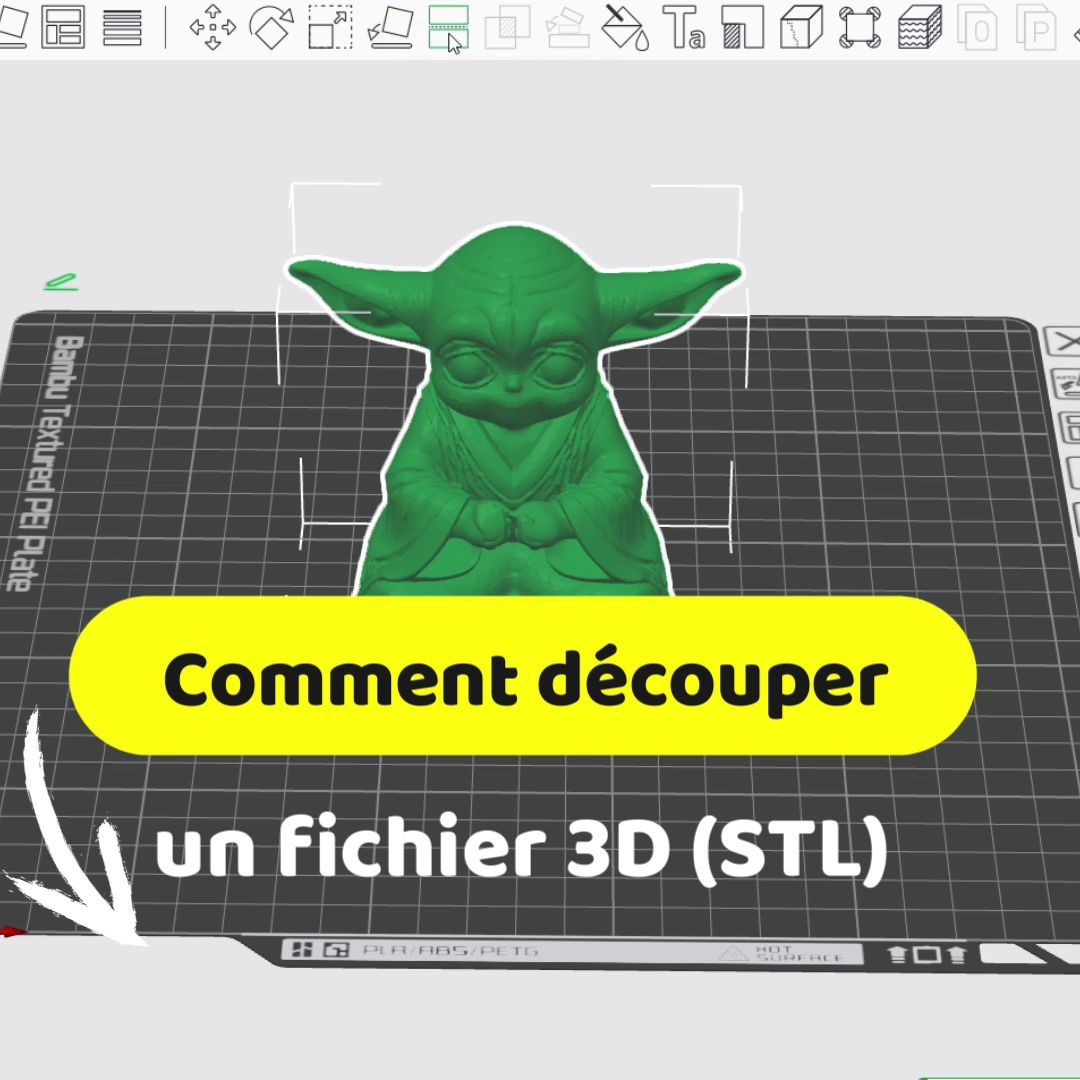
One of the first limitations encountered by a 3D printer user is the build volume. Your design is perfect, but it's too large for your build plate. The solution is simple and essential: split your digital model into several manageable pieces, which will be printed separately and then assembled.

Why Split a 3D Model?
Splitting is not just a last resort; it's often a printing strategy to optimize the process.
- Size constraint: The most obvious reason: the object exceeds your printer's maximum dimensions.
- Support optimization: Splitting a model lets you strategically position the cut surface on the build plate. This can reduce or eliminate the need for supports, improving the final surface finish on visible faces.
- Finishing and colors: Splitting allows you to print different sections in different colors or materials, making finishing and painting easier.
- Risk reduction: A 20-hour print is riskier than two 10-hour prints. If a small section fails, you don't lose the entire print.
Tools for Splitting: From Simple to Professional
Two categories of software can help you split your STL files.
1. CAD Modeling Software: The Best Method
Programs like Fusion, Blender or Meshmixer offer the best precision. This method is highly recommended because it lets you create assembly keys.
- The process: You define a precise cutting plane. Before separating the pieces, you model interlocking systems (for example, a tenon and mortise, or dowels) that guarantee perfect alignment during final assembly and add strength.
- Advantage: Assembly will be more precise, more robust, and the seam line will be nearly invisible.
2. Slicer Software: The Quick Method
Some slicing programs like PrusaSlicer, Cura, Bambu Studio have built-in cutting tools.
- The process: Simply load your model, select the "Cut" (or "Split") function, and move a virtual plane to define where to cut. The software then generates two or more new STL files ready to print.
- Drawback: This method is fast, but it creates simple planar cuts. Assembly will depend only on glue, with no alignment keys.
The Crucial Step: Final Assembly
Once the pieces are printed, assembly requires careful attention.
- Surface preparation: Remove any support residue or burrs on the cut surfaces. Light sanding ensures a better fit.
- Adhesive choice: Read our article: "What glue for your XXL 3D prints?"
- Seam finishing: Once the glue is dry, you can sand the seam line and apply body filler or primer to hide it completely before painting.
Splitting and assembling files is an essential skill that unlocks your 3D printer's full potential, letting you move from small gadgets to complex, ambitious projects.


