Blender and 3D Printing: Art in Service of Making
Blender is a powerful, free and open-source 3D modeling, sculpting, animation and rendering software. Often perceived as a tool for artists and animators, it is one of the most complete and efficient software for preparing models intended for 3D printing. From design to repair, Blender is an indispensable ally in your additive manufacturing workflow.

Why Choose Blender for 3D Printing?
While many software options exist for 3D design, Blender stands out with advantages that make it particularly suited to makers' needs:
- An all-in-one tool: Blender lets you design your model from scratch, modify it, sculpt it, and repair it, all within a single interface. No need to switch between different software.
- The power of open-source: Its free nature is a major advantage, but its active community is an invaluable resource. Updates are frequent and many add-ons are available to streamline your work.
- Advanced repair tools: Models intended for 3D printing must be perfect. Blender offers a range of tools and features that allow you to correct mesh errors, a crucial point before slicing a file.
The Workflow: From Modeling to Export
To use Blender successfully in your 3D printing process, it's important to follow a few key steps:
1. Modeling
Whether you start with primitives (cubes, spheres, etc.) or use sculpting tools to create organic forms, Blender offers complete freedom. Be sure to design your part with 3D printing constraints in mind, such as wall thickness and overhangs.
2. Geometry Verification
This is the most critical step. A model that looks perfect on screen may contain invisible errors that will make printing impossible. The most common issues are:
- Non-manifold geometry: The mesh is not "watertight." It has holes or edges that are not connected, preventing the slicing software from defining the inside and outside of the object.
- Inverted normals: The faces of your model are not all oriented outward. The printer won't know what to print.
- Holes in the mesh: Your model is not a closed shape.
Fortunately, Blender includes a built-in add-on called "3D Print Toolbox". This complementary module is a true goldmine. It allows you to detect and correct these errors in one click, and verify that your model is ready for printing.
3. Export
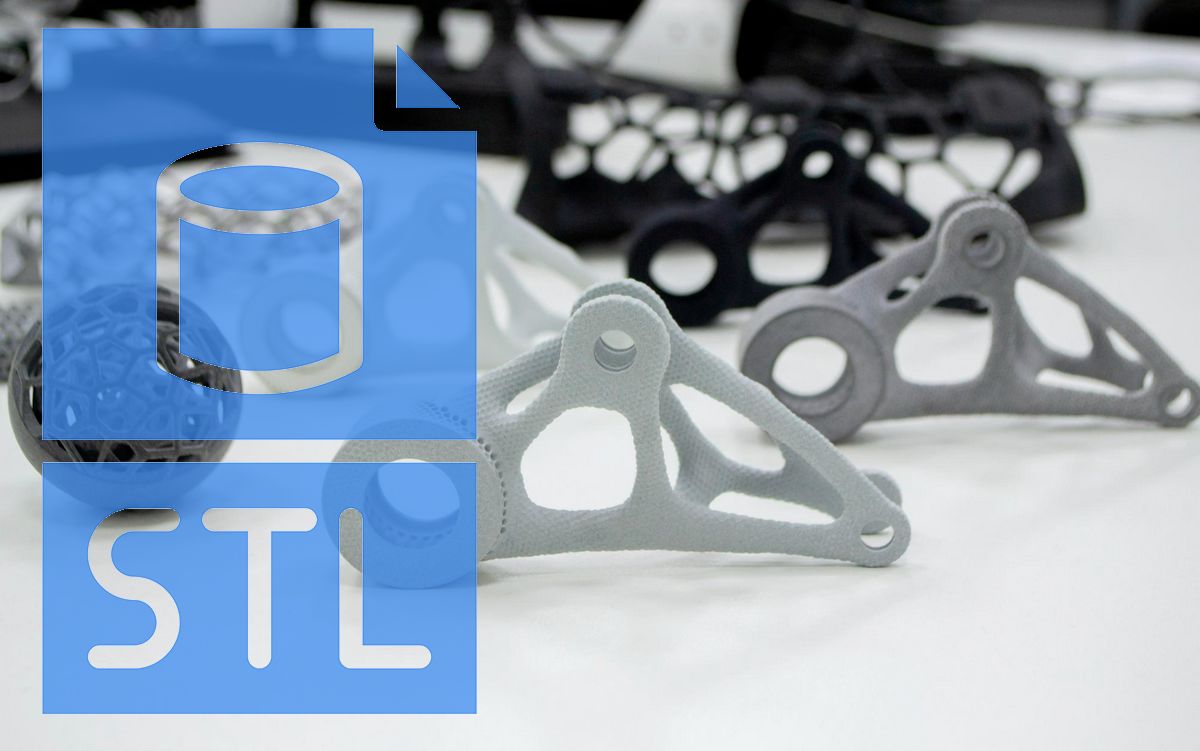
Once your model is "clean" and error-free, it's ready to be exported. The standard file format for 3D printing is .STL. When you export your file, make sure to choose the correct unit of measurement (mm, cm, etc.) so your model has the right size once sliced.
Blender Tools That Make the Difference
- The "3D Print Toolbox" add-on: Absolutely essential. It displays crucial information about your mesh and has repair and verification functions.
- Boolean modifiers: These tools let you combine, intersect or subtract shapes. They're perfect for creating technical parts that fit together.
- Sculpting tools: They provide the freedom to create complex organic forms and characters, without the constraints of traditional polygon modeling.
In conclusion, Blender is much more than just a creative tool. It's an essential link in the production chain of 3D-printed objects. By mastering its verification and repair tools, you can transform your digital concepts into flawless physical objects, moving from simple modeling to true design for manufacturing.
👉 Blender, ZBrush, Nomad Sculpt… compare them on our 3D modeling software page.