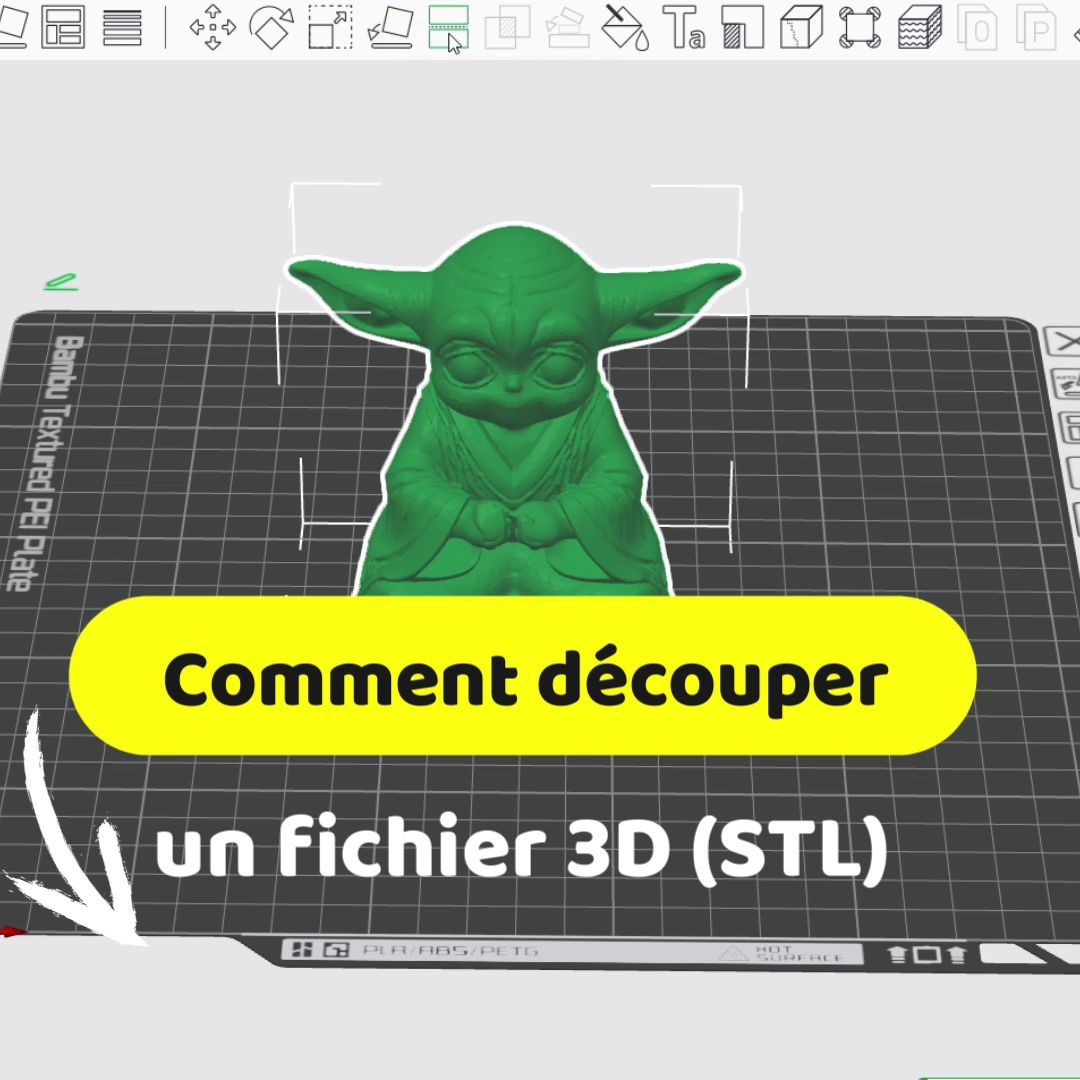
Model a 3D File for 3D Printing Without Being an Expert

Modeling an object for 3D printing may seem intimidating, but with the right tools and a structured method, it's within everyone's reach. Here's a guide to get you started easily.

✅ Choose the Right Software for Your Profile
Selecting the right tool is the most important step. It depends on what you want to create:
| Profile | Recommended Software | Type of Modeling |
| Complete Beginner / Child | Tinkercad | Block-based (Boolean) |
| Technical Objects / Repairs | Fusion or Onshape | Parametric (Precise) |
| Organic Forms / Art | Nomad Sculpt (iPad) or Blender | Digital Sculpting |
✅ The Tinkercad Method: Shape Assembly
This is the simplest method to get started without learning complex mathematical concepts.
-
The principle: You don't draw lines; you assemble solid shapes (cubes, cylinders, spheres).
-
The trick: To make a hole, use a "hole shape". For example, a "negative" cylinder placed at the center of a solid cube will create a perfectly round hole once the two objects are merged.
✅ The Golden Rules for 3D Printing
A model that looks good on screen isn't necessarily printable. Here are three basic rules:
Avoid Overhangs
The printer deposits plastic layer by layer. It cannot print in mid-air. If your object has a part that overhangs beyond 45°, you'll need to add "supports" (disposable pillars).
Wall Thickness
Don't create "infinitely thin" surfaces. Your walls must have a minimum thickness (usually at least 1.2 mm) to be solid and recognized by the slicing software.
Model Watertightness (Manifold)
Your object must be "closed". Imagine filling it with water: there should be no leaks. A model with missing faces will cause the print to fail.
✅ From Modeling to Printer
Once your object is complete, the process always follows this path:
-
Export: Save your file in .STL or .3MF format.
-
Slice: Import the file into slicing software like Bambu Studio, Cura or PrusaSlicer. This software transforms your design into G-code coordinates that your printer can read.
-
Print: Transfer the file via USB or Wi-Fi.
3D modeling is no longer reserved for engineers or IT experts. Thanks to intuitive tools like Tinkercad for simple assembly, or Fusion for technical precision, the barrier to entry has completely disappeared.
The secret to success lies in practice: don't try to create a complex engine on day one. Start with simple shapes, follow the 45° rule for supports, and learn from each print, even if it fails. By mastering design, you'll stop just downloading others' objects and start solving your own problems and bringing your imagination to life.
So, what will you model?
👉 To choose your tool: our guide to 3D modeling software, free, paid and AI-powered.