The Art of Failure in FDM: Diagnosing and Fixing 3D Printing Errors

In the field of FDM 3D printing (Fused Deposition Modeling), failure is an integral part of the process. While social media overflows with perfect parts, every maker and technician eventually encounters a print gone wrong.
Far from being mere waste of time or filament, these errors are excellent indicators to refine your machine's calibration and master your slicer software.
Here's a technical breakdown of the 4 most common FDM printing errors, their mechanical causes, and solutions to eliminate them.
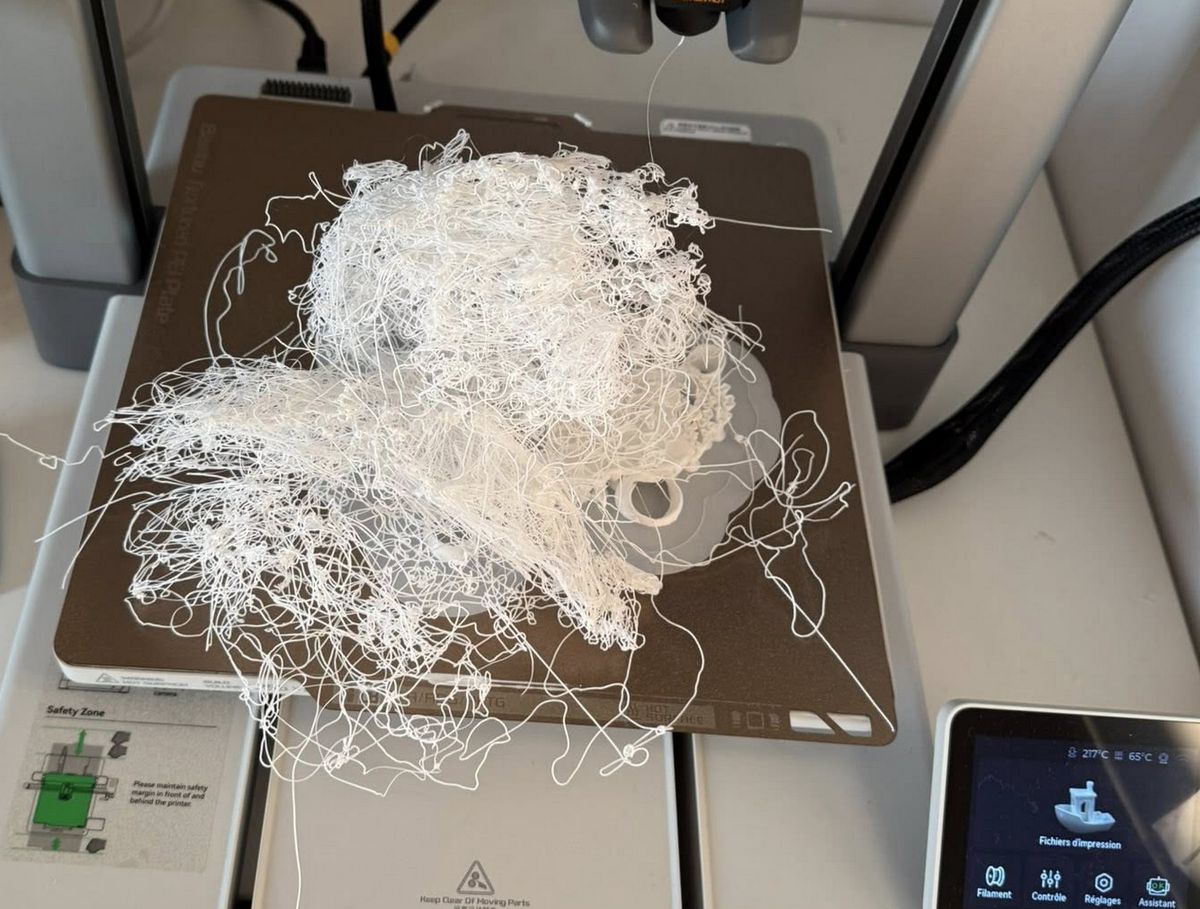
👉 "Spaghetti" Printing (Loss of Overall Adhesion)
The Phenomenon
The printer continues extruding filament into thin air after the part detaches from the build plate, creating a tangled mess of plastic string.
Main Causes
-
Insufficient build plate adhesion: Dirty plate (fingerprints, dust), incorrect first layer height (Z-offset).
-
Premature cooling (Warping): Material shrinkage at corners gradually lifts the part from the bed.
-
Missing support structures: Printing overhanging elements without adequate support.
Technical Solutions
-
Clean the build plate: Degrease the surface at room temperature with isopropyl alcohol (90%+ IPA).
-
Calibrate Z-Offset: Adjust nozzle height to slightly compress the first layer, increasing mechanical grip.
-
Brims and Rafts in the Slicer: Use a brim or raft to increase contact surface for small or narrow parts.
👉 Extrusion "Blob" (Plastic Buildup Around the Nozzle)
The Phenomenon
A massive accumulation of molten plastic wraps around the nozzle, heating block, and sometimes the hotend body, risking damage to the thermal probe or heating cartridge.
Main Causes
-
First layer failure: Plastic adheres to the nozzle instead of the plate and continuously accumulates around it.
-
Hotend leak: Poor nozzle assembly against the heatbreak tube allows molten filament to escape through the threads.
Technical Solutions
-
Validate the first layer: Never start a print without visually checking the deposition of the first 2–3 layers.
-
Hot nozzle assembly: Always perform final nozzle tightening at operating temperature (240°C–250°C) to ensure thermal sealing and prevent leaks.
-
Error detection: Use a camera with AI-powered failure detection (Obico/OctoPrint) to automatically cut heating in case of problems.
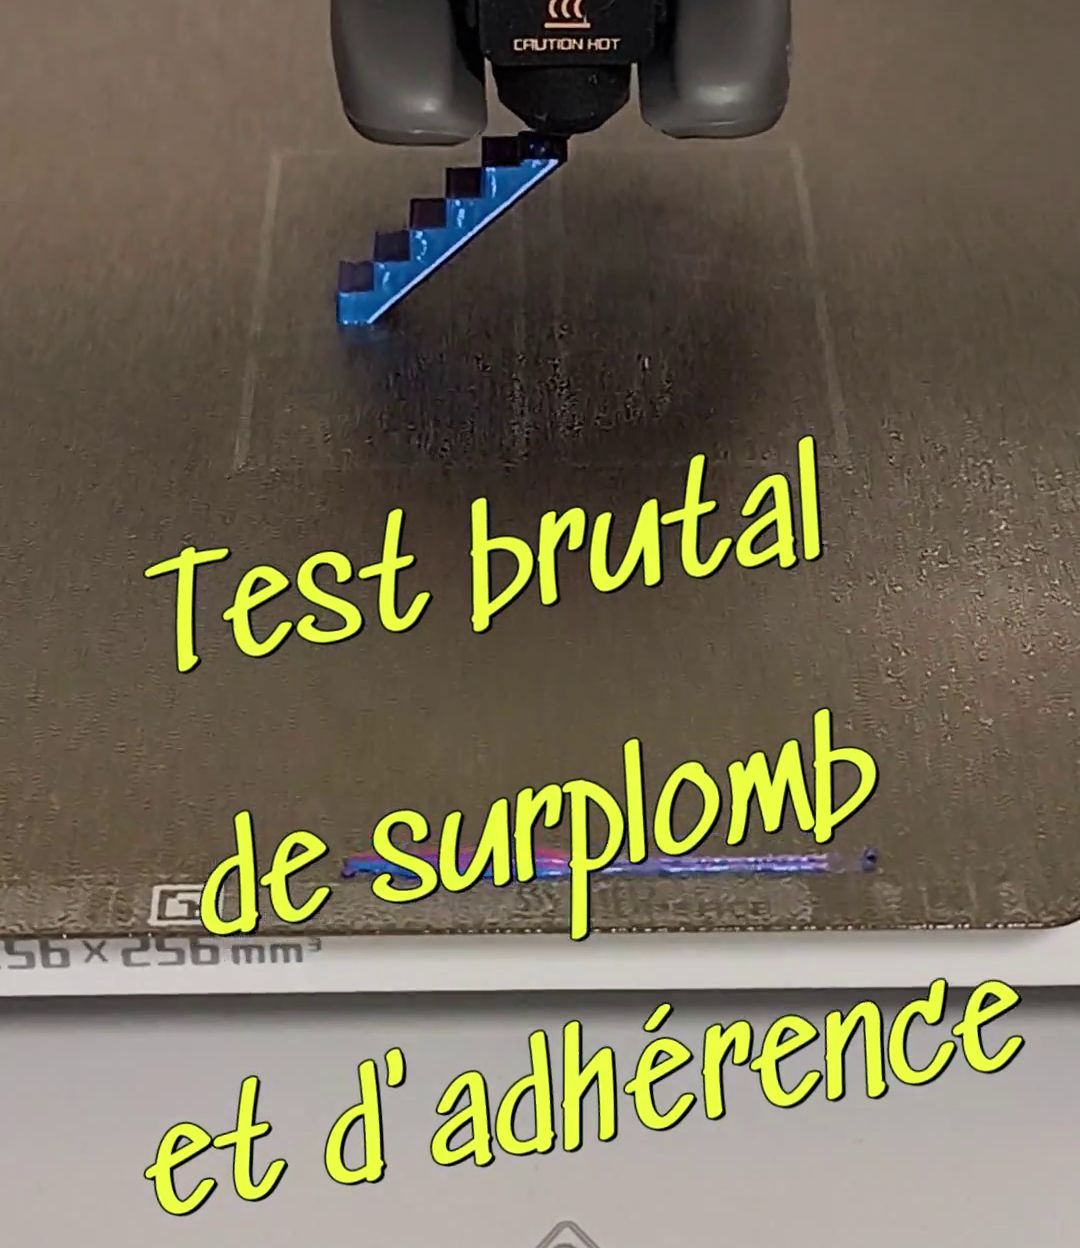
👉 Warping (Corner Delamination)
The Phenomenon
The corners of the part shrink, curl upward, and lift from the plate, deforming the base geometry and risking print failure.
Main Causes
-
Thermal shock: Plastic cools too quickly as it exits the nozzle and contracts, pulling upward with force.
-
Ambient air currents: Temperature fluctuations around the machine (too-cold room, open window).
Technical Solutions
-
Temperature management: Increase build plate temperature (e.g., 60°C for PLA, 80°C for PETG).
-
Layer fan cooling: Reduce cooling fan speed on the first layers.
-
Closed enclosure: For shrink-sensitive materials like ABS or ASA, always use a closed chamber to maintain stable ambient temperature.
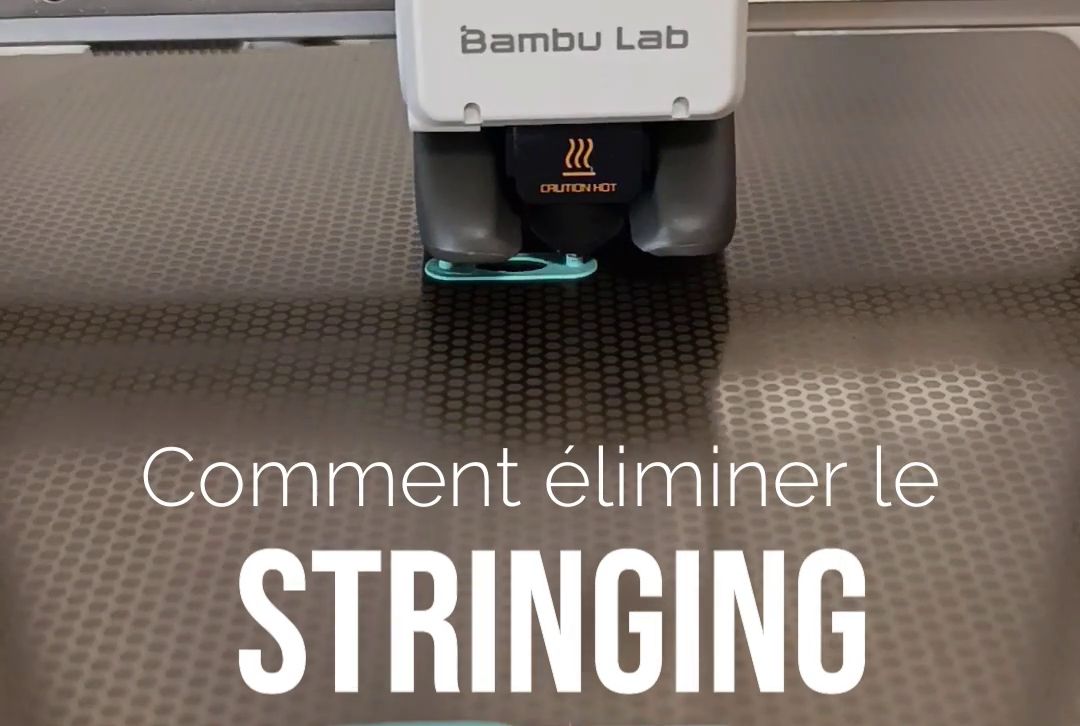
👉 Stringing (Angel Hair)
The Phenomenon
Thin plastic filaments connect different parts of the piece during idle nozzle movements.
Main Causes
-
Poor retraction: Filament is not retracted far enough (or fast enough) during non-extrusion moves.
-
Extrusion temperature too high: Plastic becomes too fluid and oozes due to gravity.
-
Wet filament: Water absorbed by the filament evaporates in the nozzle, creating pressure that pushes plastic out.
Technical Solutions
-
Retraction tuning: Adjust retraction distance and speed in your slicer (e.g., 1–2 mm for direct drive extruders, 4–6 mm for Bowden systems).
-
Temperature tower: Print a temperature test to find your filament's ideal extrusion point.
-
Dry your filament: Use a filament dryer before printing, especially for PETG, TPU, or Nylon.
✅ Summary: Quick FDM Troubleshooting Guide
| Symptom Observed | Parameter to Check | Priority Corrective Action |
| Part lifting / Spaghetti | Adhesion / Z-Offset | Clean with IPA, lower Z-Offset slightly |
| Corners lifting (Warping) | Bed temperature / Cooling | Raise bed temp, turn off fan for first 3–4 layers |
| Thin strings between walls (Stringing) | Retraction / Humidity | Dry filament, adjust retraction speed/distance |
| Under-extrusion / Missing lines | Nozzle / Extruder | Perform a cold pull, check drive gear tension |
Your Turn
FDM printing relies on a delicate balance between mechanics, thermodynamics, and software. By documenting your errors and the settings applied to fix them, you'll develop precise understanding of your machine.
Feel free to share your experience and your worst FDM failures in the comments! 👇