Brutal Overhang and Adhesion Test: A Merciless Double Diagnosis

For any 3D printing enthusiast, overhangs and bed adhesion are two permanent challenges. A brutal overhang and adhesion test is a single-print diagnostic designed to push your machine to its limits and simultaneously evaluate two of your printer's most critical performance metrics.
Download this test file: @GoBrrr via Makerworld

Why Run This Double Test?
Such a test is often a compact part combining overhangs at various angles, bridges, and a base with small contact zones on the build plate. The result is a valuable indicator for several reasons:
- Cooling evaluation: Overhangs push your cooling system to the max. If the filament isn't cooled fast enough, it sags and loses precision.
- Bed adhesion test: The part often features thin corners or isolated elements that are the first to peel if adhesion isn't perfect. It's the ideal way to validate your first layer settings.
- Overall settings optimization: If you switch filaments or parameters, this test gives you a quick, comprehensive snapshot of your machine's performance, from initial adhesion to final details.
How to Interpret the Results?
Once the test is printed, analysis is straightforward:
For overhangs:
- Perfect, smooth overhangs: Your cooling system is excellent and your temperature settings are optimal.
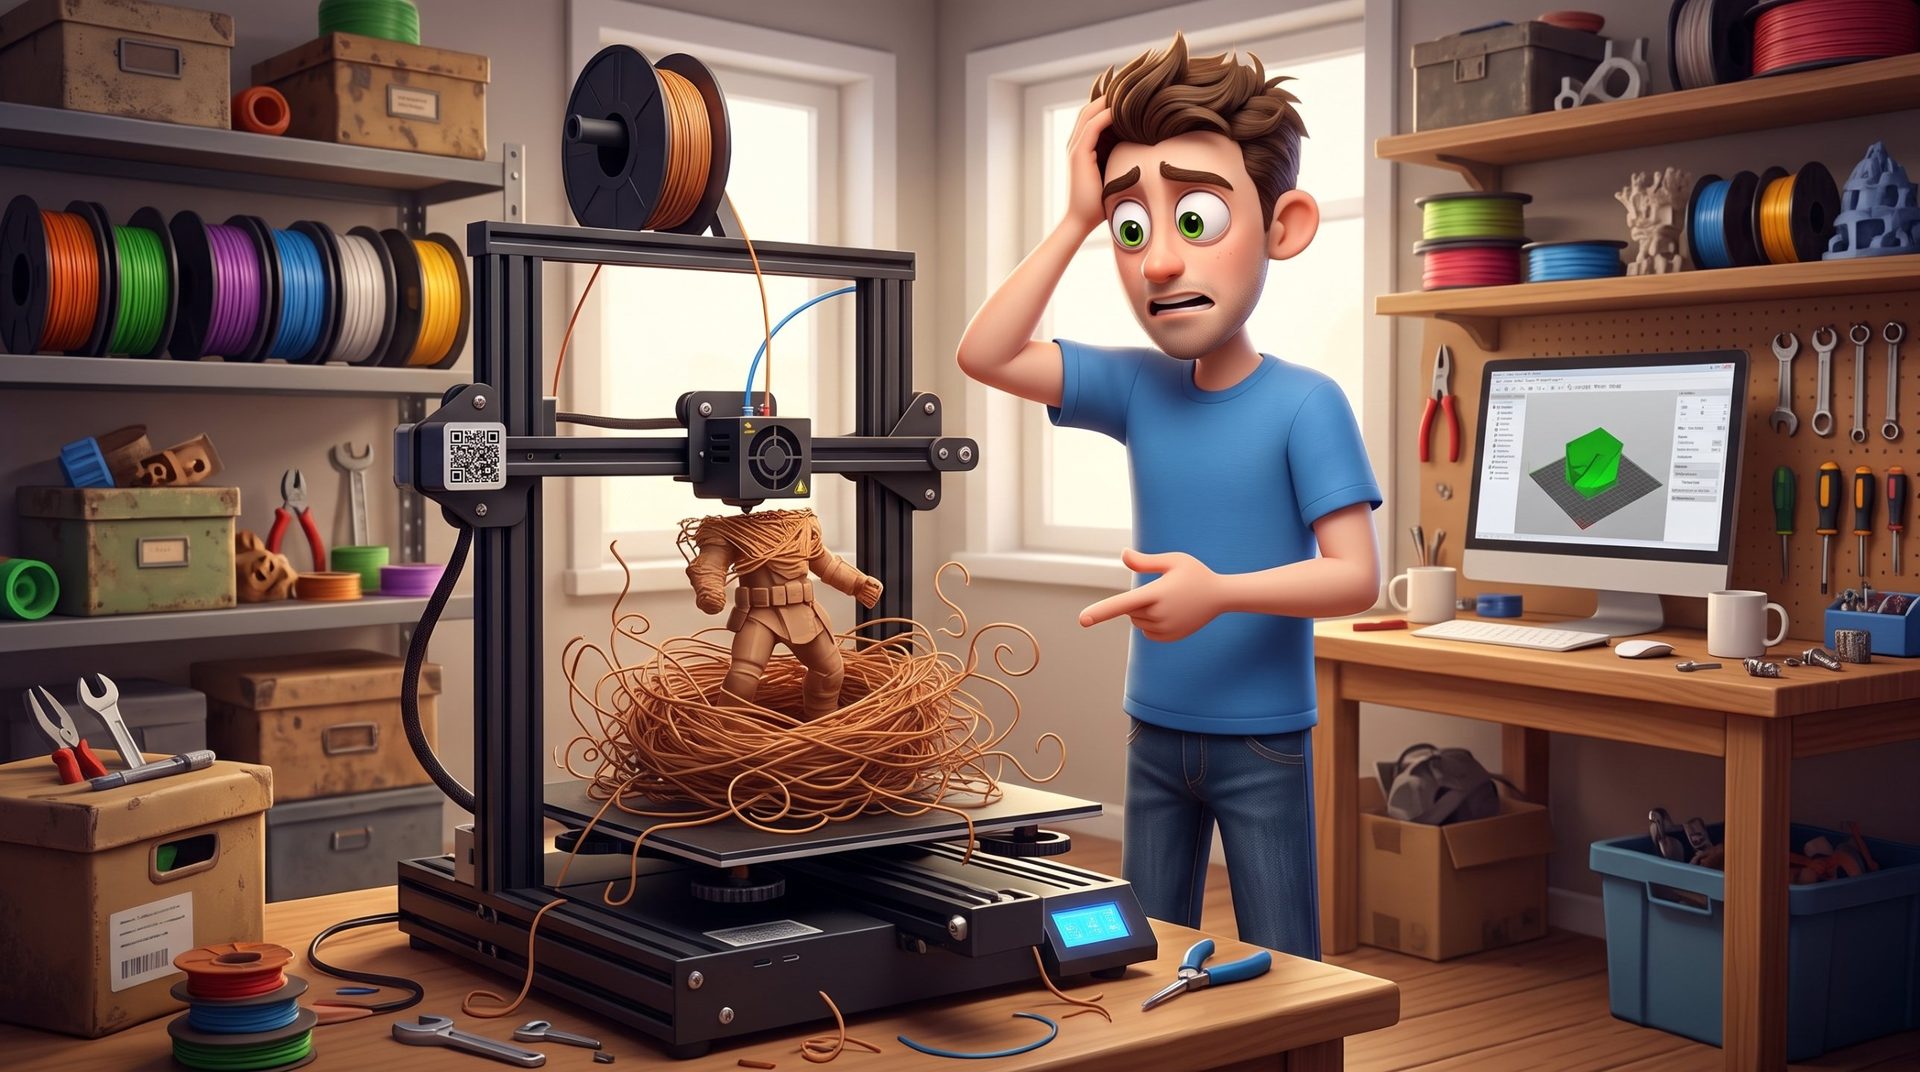
- Drooping filament or "spaghetti": Layers sagging and separating? This signals insufficient cooling. The filament doesn't have time to harden before the next layer is deposited.
- Rough or messy surface: If layers are misaligned, it may be due to over-extrusion or an axis movement issue.
For adhesion:
- Lifted corners or warping: If the part's base lifts, it indicates an adhesion problem. The bed may not be hot enough, too dirty, or your Z-offset (first layer height) is miscalibrated.
- Part sliding during print: The part detached and was moved by the print head. This is a clear sign that adhesion was insufficient.
How to Improve Your Test Results?
For overhangs:
- Increase cooling: Enable part cooling fan at 100%.
- Lower temperature: Print at the lowest temperature recommended by the filament manufacturer, while avoiding under-extrusion.
- Reduce speed: Slower print speeds give filament more time to cool.
For adhesion:
- Clean the bed: Always clean your build plate with isopropyl alcohol before each print to remove fingerprints or grease.
- Adjust bed temperature: Make sure you're using the temperature recommended for your filament.
- Calibrate your Z-offset: The first layer should be slightly squished onto the bed without being too thin.
- Use adhesive: A thin layer of glue stick or hairspray can work wonders for difficult materials.
In conclusion, this combined test is an indispensable tool. It gives you clear, direct feedback to optimize the two trickiest aspects of 3D printing, guaranteeing success with your most complex projects.