How 3D Printing Revolutionizes LED Neon Signs
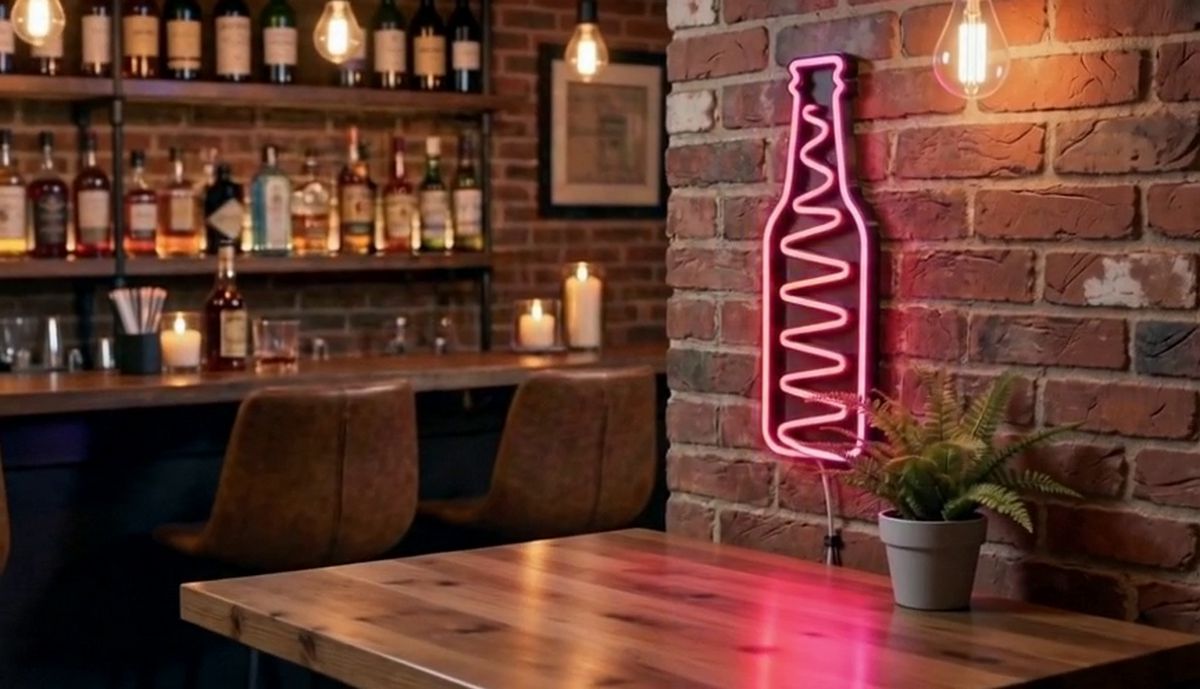
(Image Source and 3D File: Biotura Studio)
Neon signs have long been the symbol of urban culture, American diners, and cyberpunk vibes. But true neon (made from glass tubes filled with rare gases) is expensive, energy-hungry, requires expert glassblowing, and remains extremely fragile.
Today, 3D printing has completely democratized this format by combining it with a modern alternative: LED Flex Neon. The principle is deceptively simple and brilliant: you use a 3D printer to fabricate the frame (the sign structure) and insert flexible silicone LED strips that perfectly mimic the look of a real neon tube.
✅ Why This Combo Works So Well
Pairing 3D printing with LED strips offers advantages that the traditional sign industry simply cannot match:
-
Total customization (with no extra cost): Whether you want to recreate your Twitch channel logo, write a quote, or draw a complex geometric shape, the manufacturing cost stays the same. The only limit is your 3D printer's build plate size (and even then, large signs can be printed in multiple interlocking pieces).
-
Safety and durability: Unlike glass tubes that need dangerous high-voltage transformers, LED Flex Neon typically runs on 12V. It doesn't get hot, won't break if dropped, and lasts over 50,000 hours.
-
Affordability: A custom glass neon sign often costs hundreds or even thousands of euros. With a desktop 3D printer, the cost (filament + LED strip + power supply) rarely exceeds €30–50.
✅ How to Make Your Own Sign
The process requires some modeling and basic soldering skills, but remains very accessible to anyone with an FDM (fused deposition modeling) printer.
1. CAD Design and Modeling: Creating the channel.
It all starts with a vector drawing (in Illustrator or Inkscape). This vector is then imported into 3D software (like Fusion or Tinkercad) to be extruded. The goal isn't to create a solid shape, but to design a channel (a U-shaped groove) whose width matches your LED Flex Neon strip exactly (usually 6 or 8 mm). Holes must be planned to run electrical wires at the back.
2. Frame Printing: PLA or PETG.
Printing is typically done with black or white filament to make the light pop. PLA is the easiest material to use and works perfectly for an indoor sign. For outdoor use or high-sun display windows, PETG or ASA is recommended to prevent heat from warping the plastic.
3. Electronics Prep: Cutting and soldering.
LED Flex Neon can be cut, but only at pre-marked lines (usually every 2.5 cm). Once segments are cut to size, slightly strip the silicone at the ends and solder small wires to connect the different letters or shapes together, respecting polarity (+ and -).
4. Final Assembly: Insertion and bonding.
This is the most satisfying step. The LED Flex Neon strip is inserted snugly into the 3D-printed channel. If modeling was done correctly, friction alone will hold it in place. Otherwise, a few drops of cyanoacrylate glue will do the job. All that's left is to hide the wires at the back and plug in the 12V power supply.
✅ A New Niche for Makers
This intersection of digital fabrication and lighting has created a real micro-economy. Many "makers" (3D hobbyists) have launched small businesses on platforms like Etsy, offering custom signs for weddings, kids' rooms, and local businesses.
It's the perfect example of how 3D printing has gone from prototyping gadget to final production tool—capable of competing with complex artisanal industries.