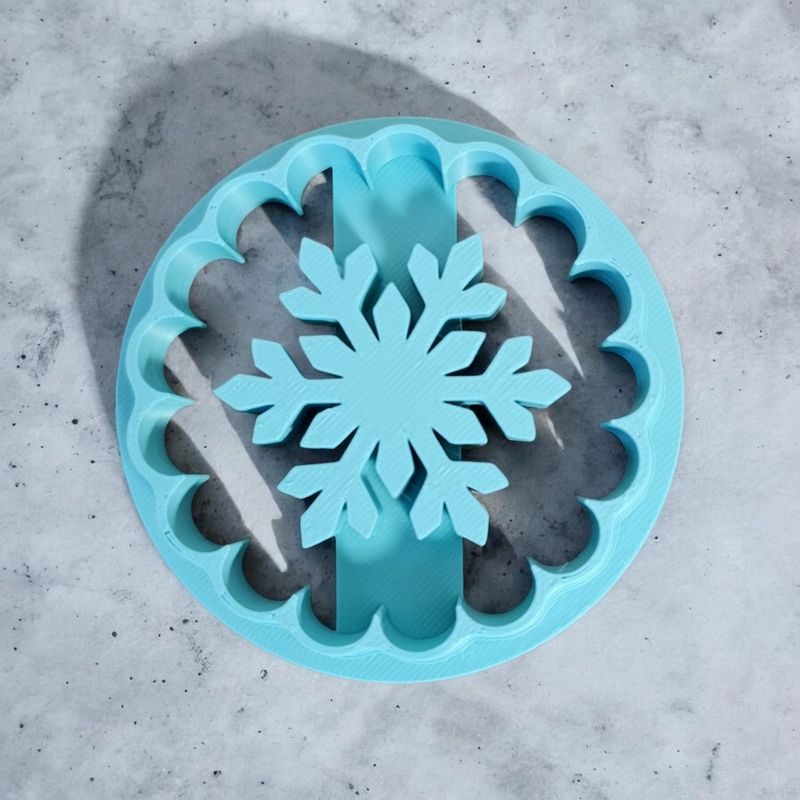
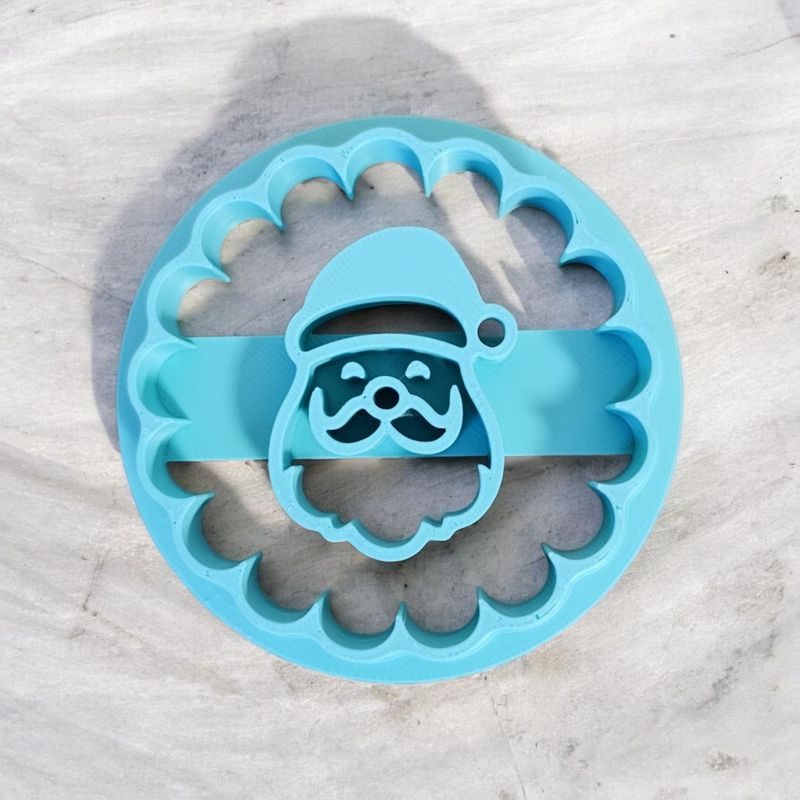
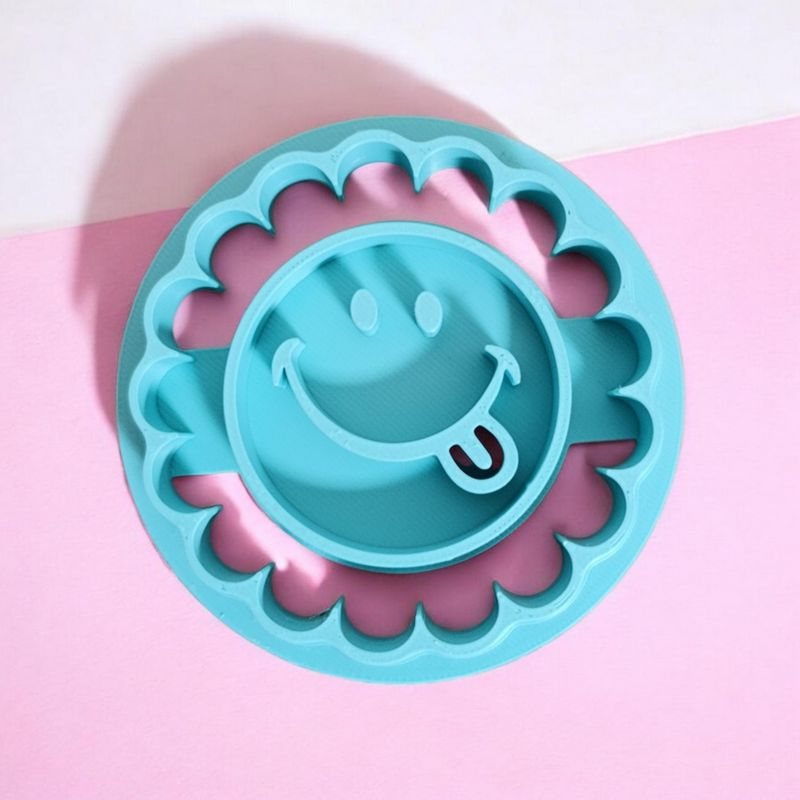
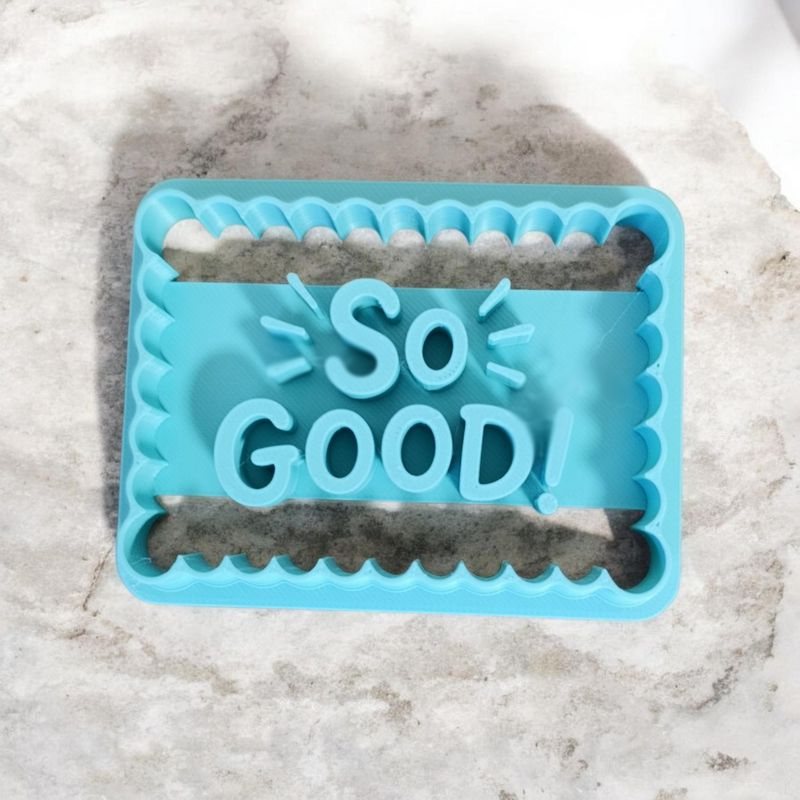
3D Printing for Pastry and Chocolate Molds

The art of pastry and chocolate making is in full creative fervor. Thanks to 3D printing, chefs, artisans, and enthusiasts can now bring to life unique shapes, personalized logos, or complex patterns that were previously impossible to find commercially. It's the ideal tool to express unlimited creativity.
Why use 3D printing to print molds?

- Infinite personalization: Create any shape, from your company logo to a cartoon character, for cakes, chocolates, or cookies that stand out from the ordinary.
- Rapid prototyping: A designer can imagine a mold, print it in a few hours, and test it immediately, without going through the costly and lengthy process of manufacturing a traditional metal or plastic mold.
- Cost and agility: For one-off pieces or limited runs, 3D printing is often more economical than having a custom mold manufactured.
The golden rule: a 3D-printed mold is not a food-grade mold
This is the most important aspect to understand. A mold directly printed in 3D with an FDM printer must not be used for direct contact with food.
Why? The 3D printing process, done by depositing successive layers, creates micro-gaps on the object's surface. These tiny spaces are impossible to clean perfectly and become havens for bacteria, even if you use a so-called "food-safe" filament. The filament's food certification does not guarantee the final object is non-porous.
The right method: surmolding for complete safety
The solution, widely adopted by professionals, is to use 3D printing to create a master mold, not the final mold.
- Print the master mold: Use any filament, such as PLA or PETG, to print the shape you want. Take care to print it with the finest layer quality possible to achieve a smooth surface.
- Prepare your food-grade mold: Use the 3D-printed master mold to create a second mold. This one will be made from a material that is completely safe for food contact, such as food-grade silicone.
- The surmolding process: You place your master mold in a box, then pour food-grade silicone around it. Once the silicone has cured, simply remove the 3D-printed piece to obtain a silicone mold that is perfectly smooth, non-porous, and ready to use.
This method lets you enjoy the creative freedom of 3D printing while respecting food hygiene and safety standards. It's the ideal solution for technology and taste to work beautifully together!