How to Write the Perfect AI Prompt for 3D Modeling
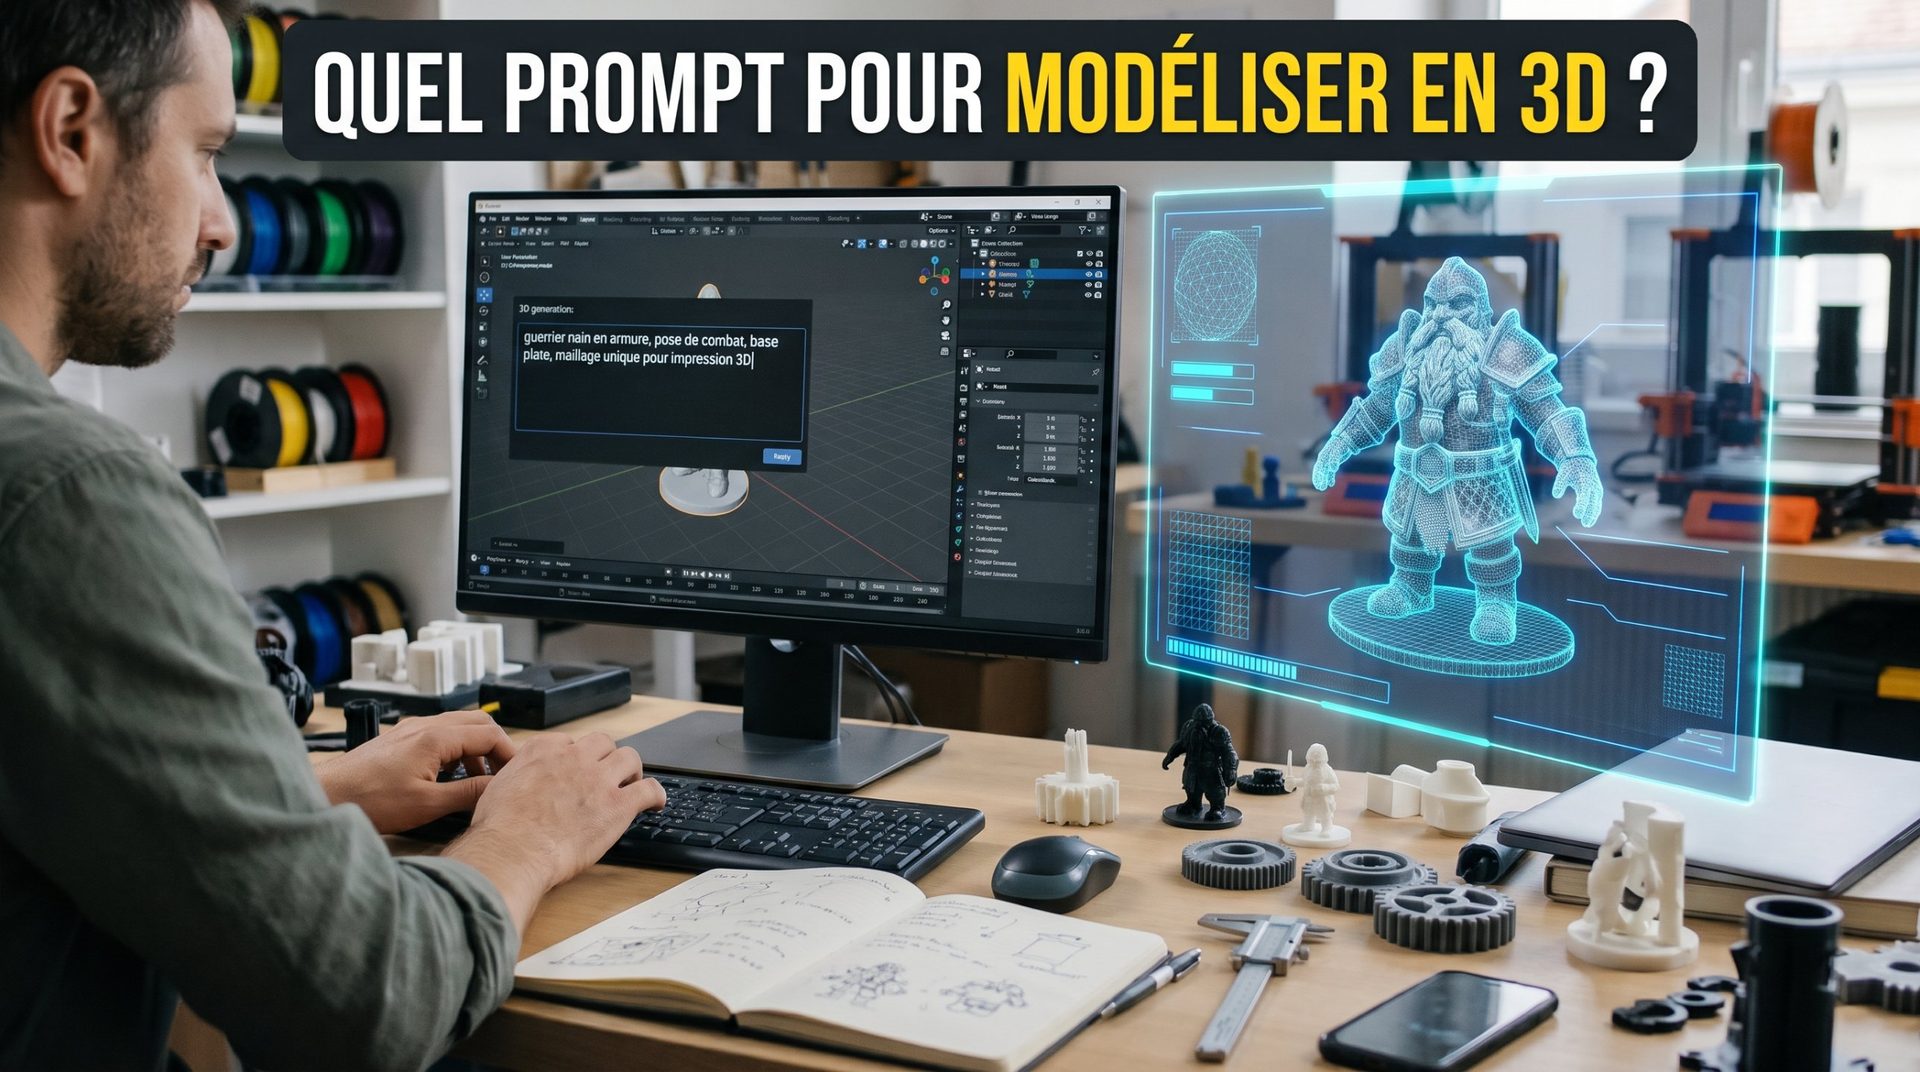
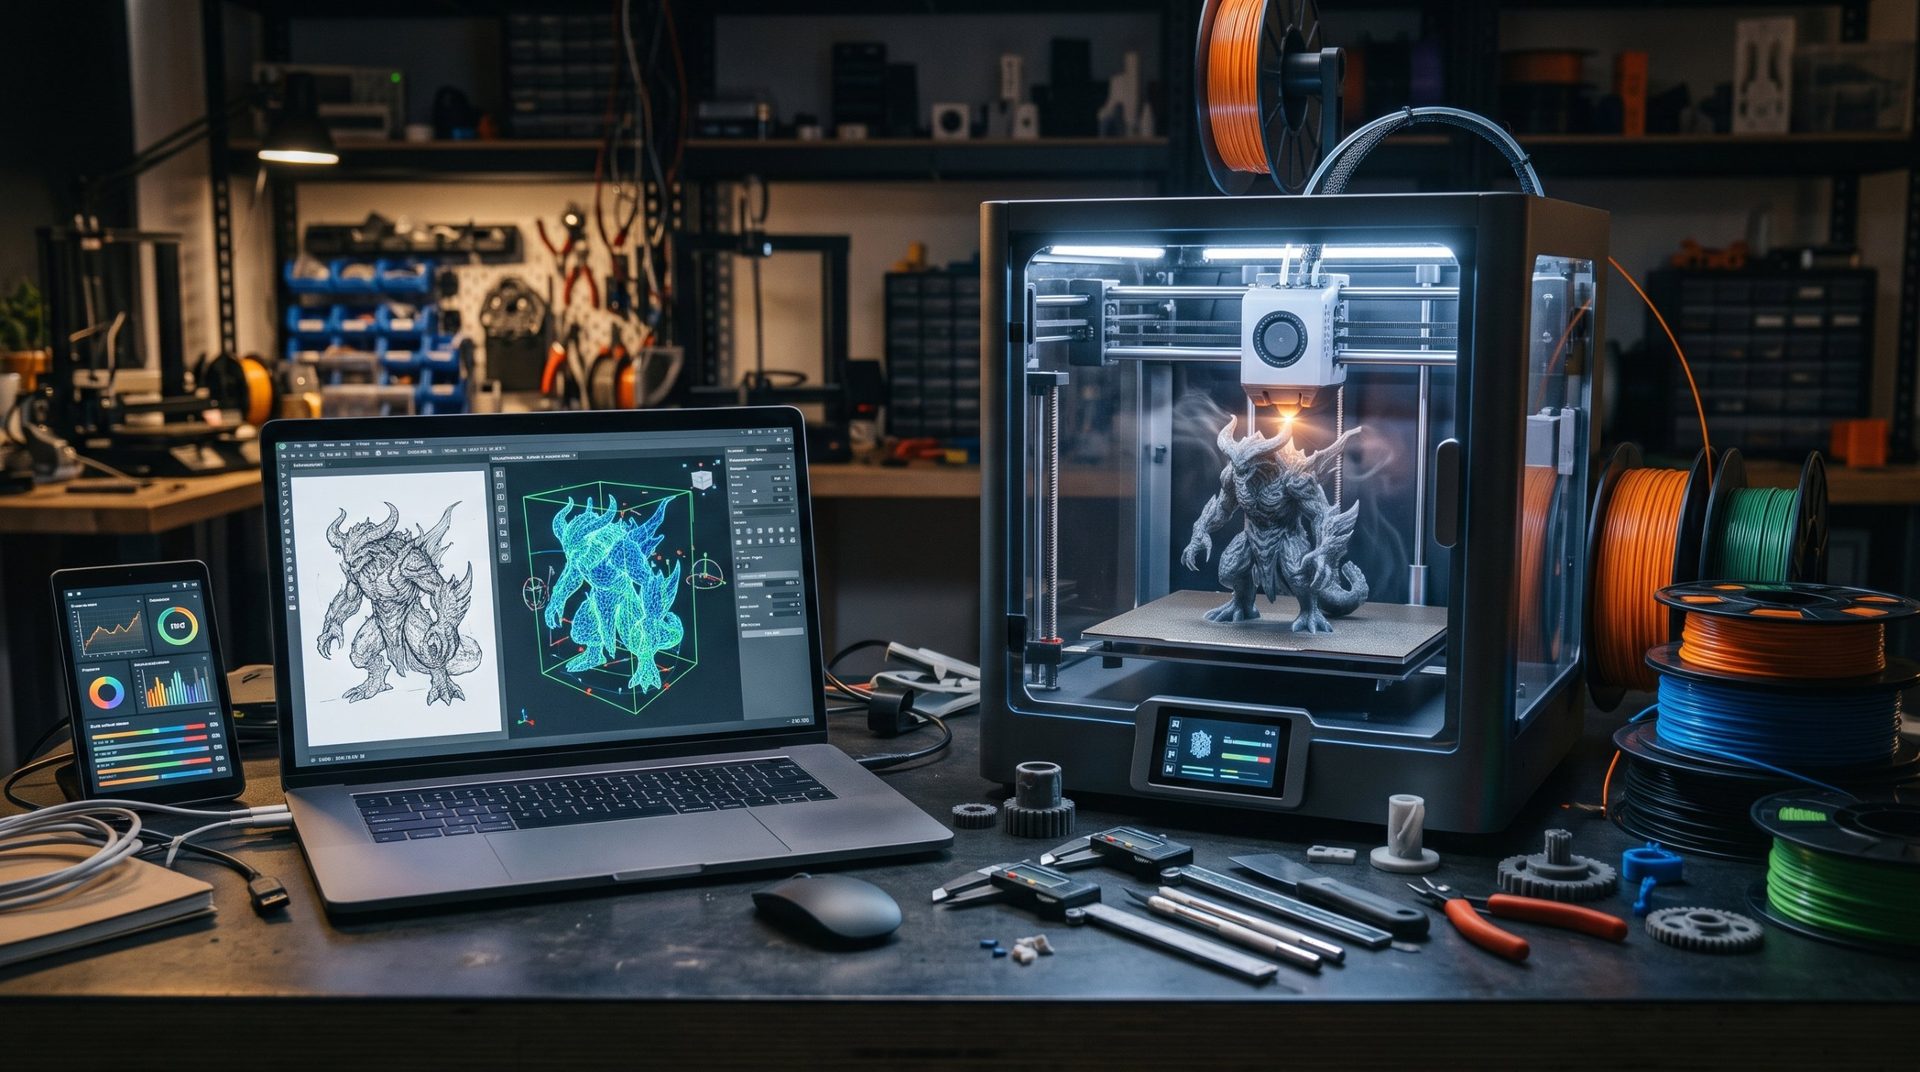
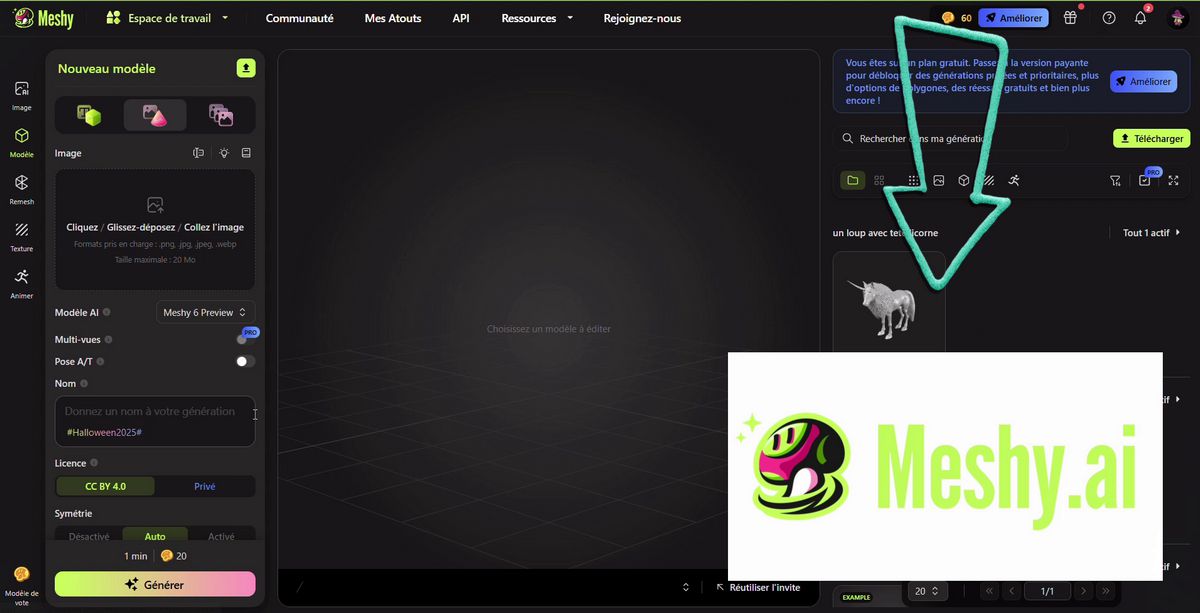
With AI-powered 3D generators (Tripo AI, Meshy, Luma Genie…), the gap between imagination and a printable file has shrunk to nearly nothing: just a few seconds and a simple sentence can get you a 3D model.
Yet, like image generation, the quality of your result hinges on how clear your instructions are. A vague prompt ("a dragon") often produces disappointing geometry, while a structured prompt ("a fantasy-style dragon, static and compact pose, thick forms, flat base, for 3D printing") gets you much closer to a print-ready file.
Here's how to structure your prompts for successful 3D models.
The formula for a good 3D prompt
To get a detailed, well-proportioned, and easy-to-print model, build your prompt around five pillars:
[Main subject] + [Details] + [Style] + [Print constraints] + [Proportions]
Put the essentials first: on most tools, the opening words carry the most weight. Many generators understand English better; if results disappoint, try translating your prompt.
1. Main subject (precise and specific)
Be as specific as possible and steer clear of generic terms.
- Not ideal: "a car"
- Recommended: "a retro off-road rally car" or "a futuristic cyberpunk police car"
2. Details (shapes, textures, accessories)
Describe what makes up the object to guide the AI on volumes and reliefs.
- For a character: specify the pose, clothing, and expression. For printing, opt for a static, compact pose with arms close to the body.
- For an object: indicate the look of materials (weathered metal, matte plastic, ancient stone) and key features (buttons, gears, fasteners).
3. Style (visual rendering)
Style heavily influences the complexity of the final mesh:
- Technical styles: low-poly (simple geometric shapes, very easy to print), high-poly (maximum detail), voxel (cubic style).
- Artistic styles: realistic, cartoon, fantasy, cyberpunk, steampunk, sci-fi, ornamental, gothic…
4. Print constraints (essential for makers)
This is the step that makes the difference. Certain keywords, recommended by the tool makers themselves, steer the AI toward a printable object:
- "Single mesh" / "solid" (single, solid mesh): to avoid multiple separate pieces.
- "Watertight" (watertight): for a closed volume with no holes in the mesh.
- "Flat base" (flat base): so the object sits flush on the build plate.
- "No floating parts" (no floating parts): to avoid detached pieces and overhangs impossible to print without excessive support material.
These keywords boost your chances of success, though nothing is guaranteed: a pass through your slicer's repair function often comes in handy.
5. Proportions and scale
Generators create models at an arbitrary scale: when imported into Bambu Studio or OrcaSlicer, they're often tiny or gigantic. And most don't respect actual millimeter dimensions. Stating a size still helps, but for a different reason: it tells the AI how fine to make the details.
- Target size: "75 mm figurine," "32 mm miniature," "25 cm bust." A 3 cm figurine doesn't need the same micro-details as a 25 cm bust, and reliefs too fine will disappear at print time.
- Robust shapes: for hollow or functional pieces (vases, enclosures), ask for "thick walls"; actual thickness is checked later in the slicer.
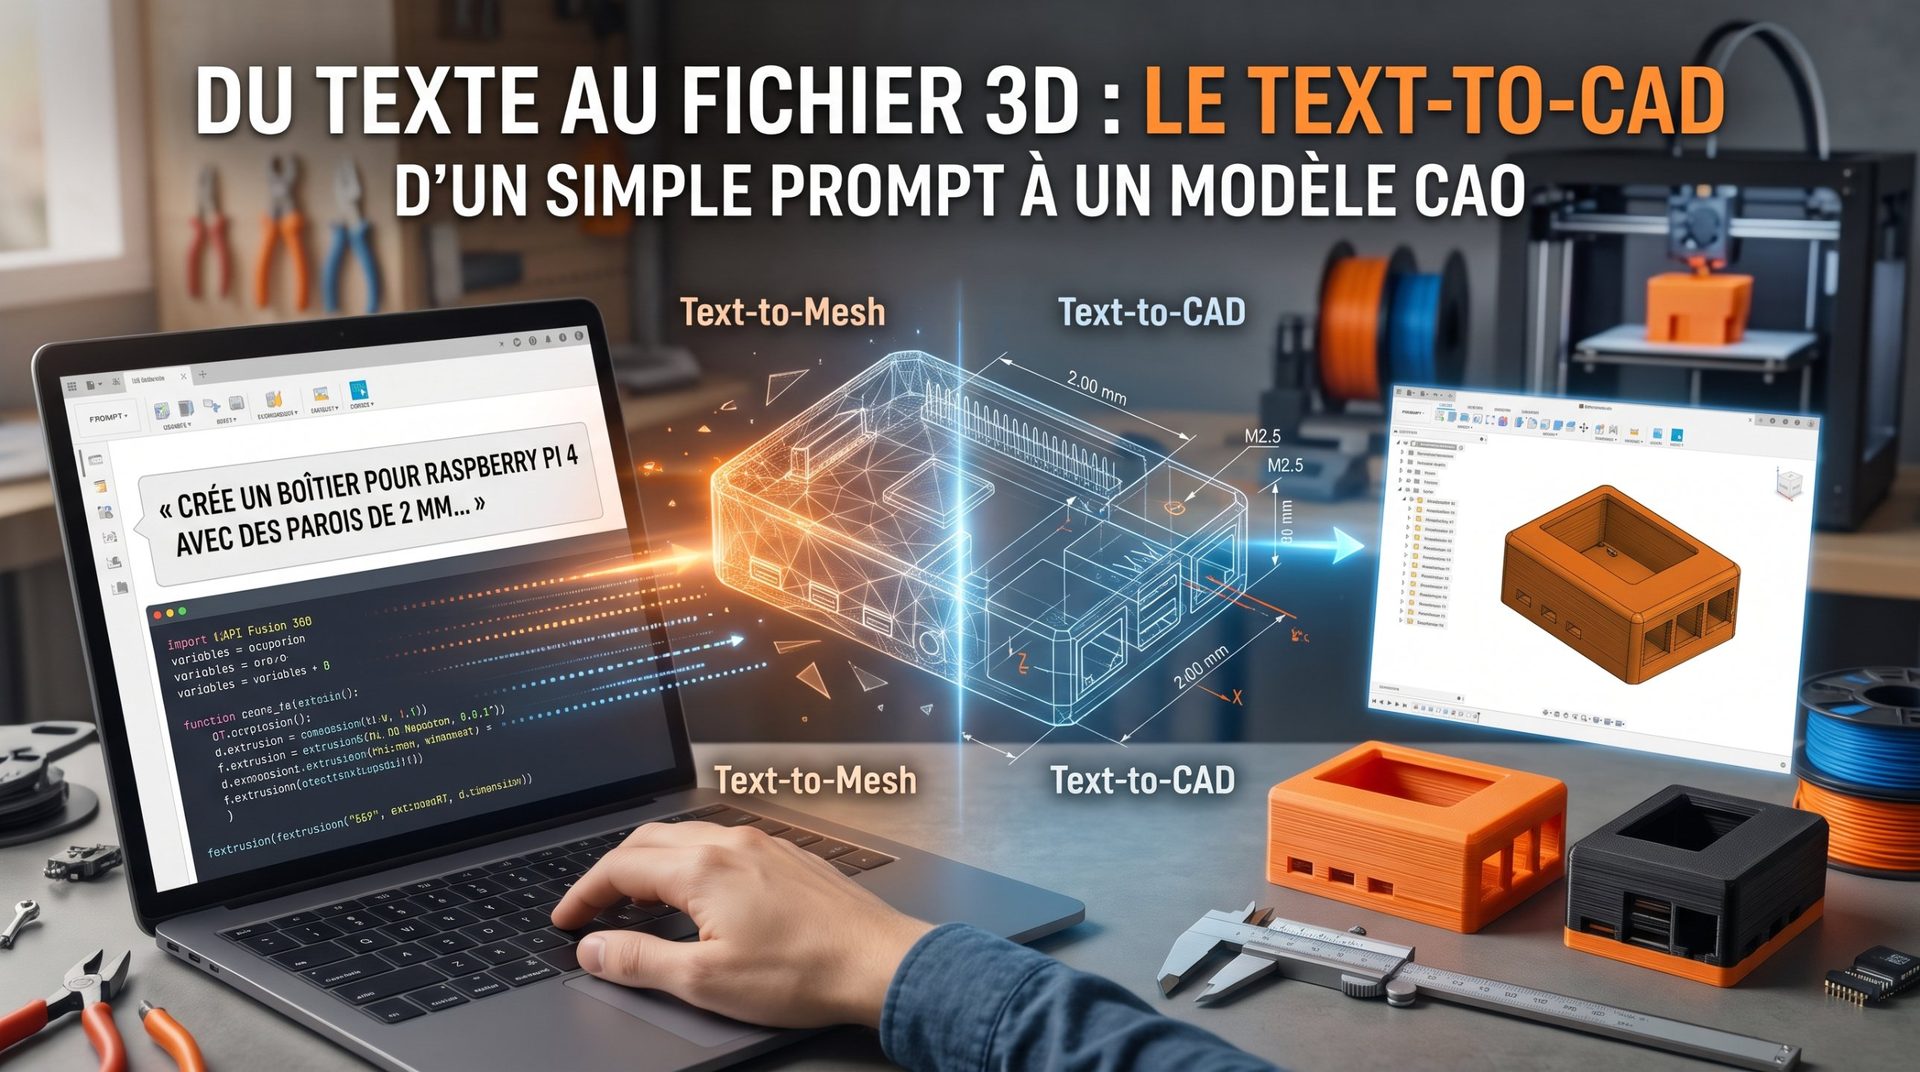
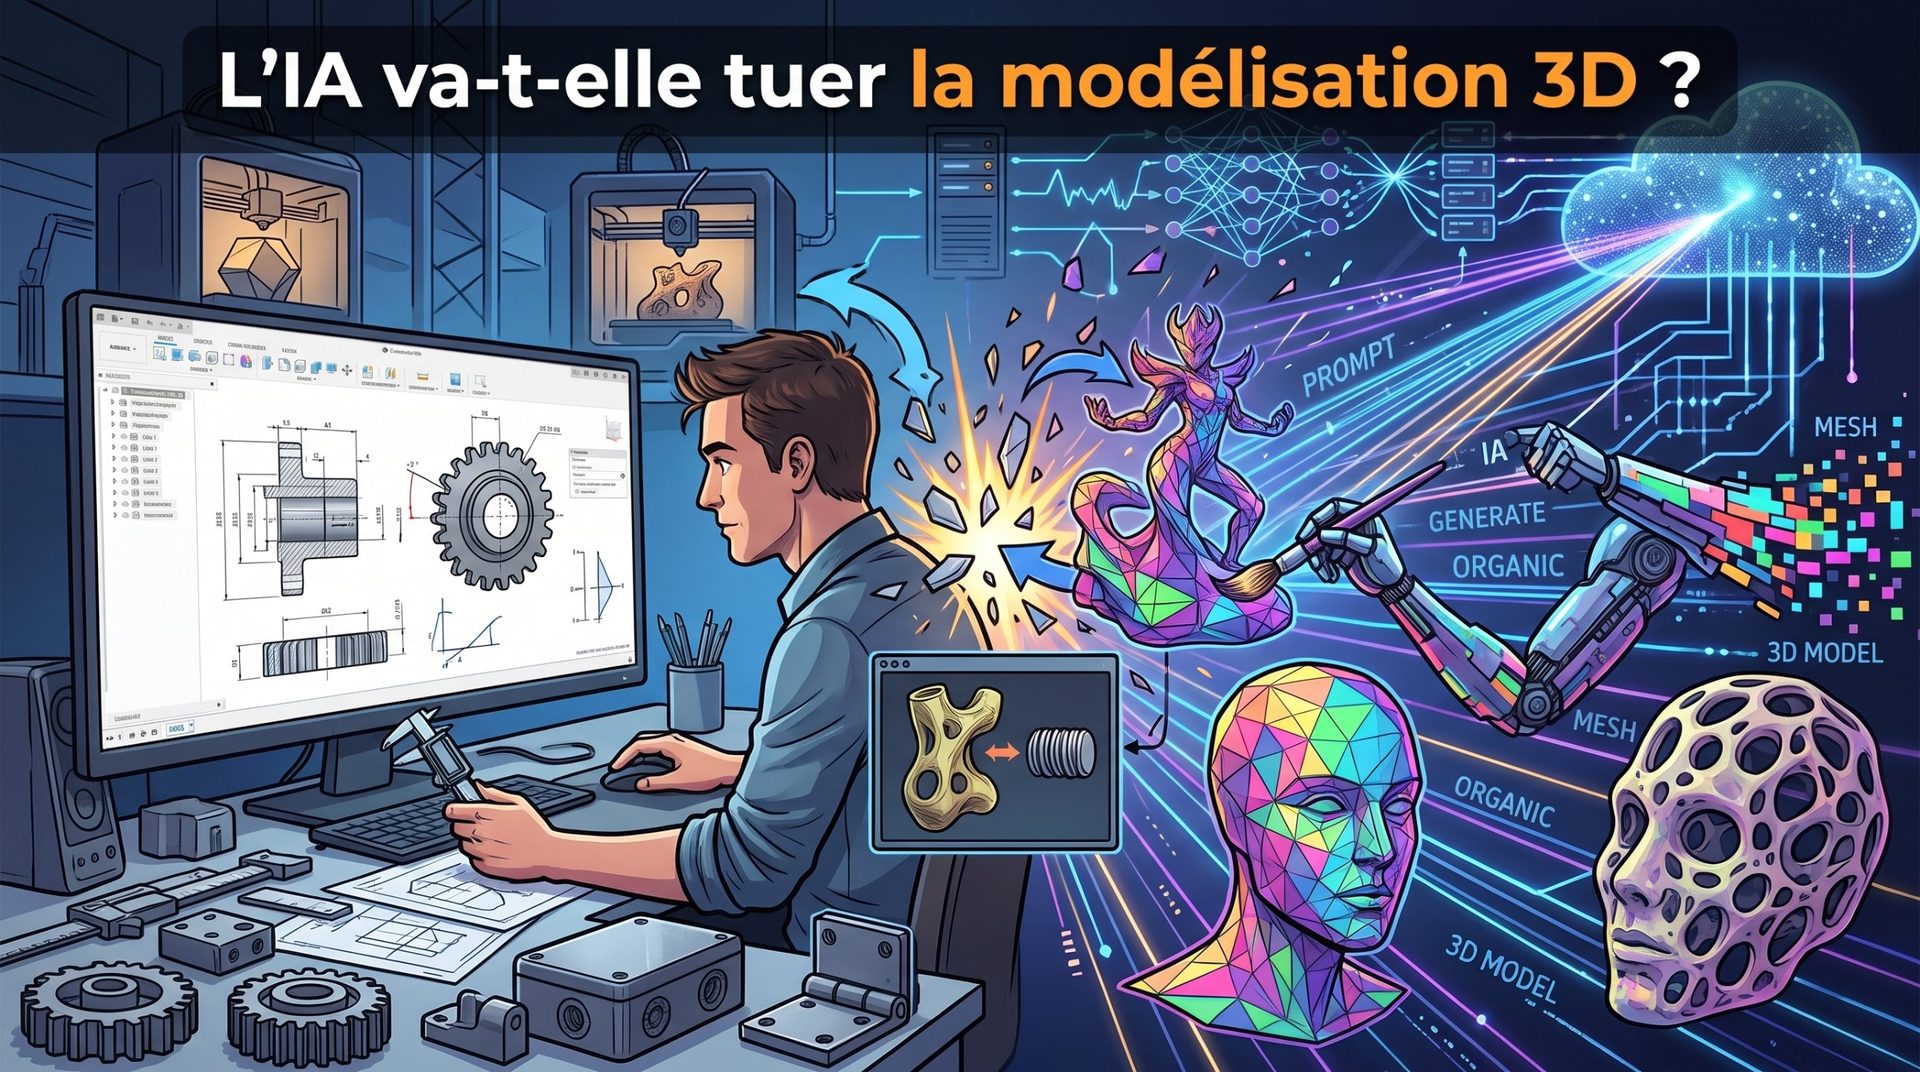
- Functional dimensions: for a precise technical part (8 mm bore, 40 mm center distance, 0.2 mm clearance), you need a Text-to-CAD tool, not a mesh generator, which produces true dimensioned parts.
Copy-paste prompt examples
A figurine (fantasy / tabletop RPG)
"A dwarf warrior figurine in heavy armor, static and compact pose, holding a large two-handed hammer resting on the ground, heroic fantasy style, weathered metal and braided beard, robust proportions for a 75 mm figurine, single mesh, watertight, flat round base, no floating parts, 3D print ready."
A decorative object
"An ornamental geometric vase with interlocking spiral patterns, modern art deco style, tall and slender shape, perfectly flat circular base, thick continuous walls, single mesh, watertight, printable without supports."
A technical part (with a Text-to-CAD tool)
"A camera mount for 2020 aluminum extrusion, 65 mm length, 6 mm thickness, two M5 through-holes with 30 mm center distance, reinforced corners, print flat."
With a standard mesh generator, this last prompt will give you a resembling shape but with rough dimensions: the screws probably won't fit.
4 maker tips for better results
- Compact poses for characters: arms along the body, legs together, weapons resting on the ground. Very dynamic poses (or the "T-pose," meant for animation) create isolated limbs that are hard to print without lots of supports.
- Avoid extreme fine detail: AI loves tiny aerial details (antennae, straps, hair wisps). Add "thick and sturdy" so they don't snap when you remove supports.
- Think image first: if text alone isn't cutting it, generate a reference image first, then use Image-to-3D. Our photo to 3D file guide shows you the step-by-step process.
- The slicer reflex: always check the scale before slicing and fine-tune it to the millimeter with the scale tool. Picking a slicer? Bambu Studio or OrcaSlicer?
Your turn!
Open your favorite AI generator, apply this structure, then import your creations into your slicer. No printer, or need a polished finish? Send us your file: we print it and ship it worldwide.