Bambu Studio vs OrcaSlicer: Which Should You Choose for Your Bambu Lab Printer?
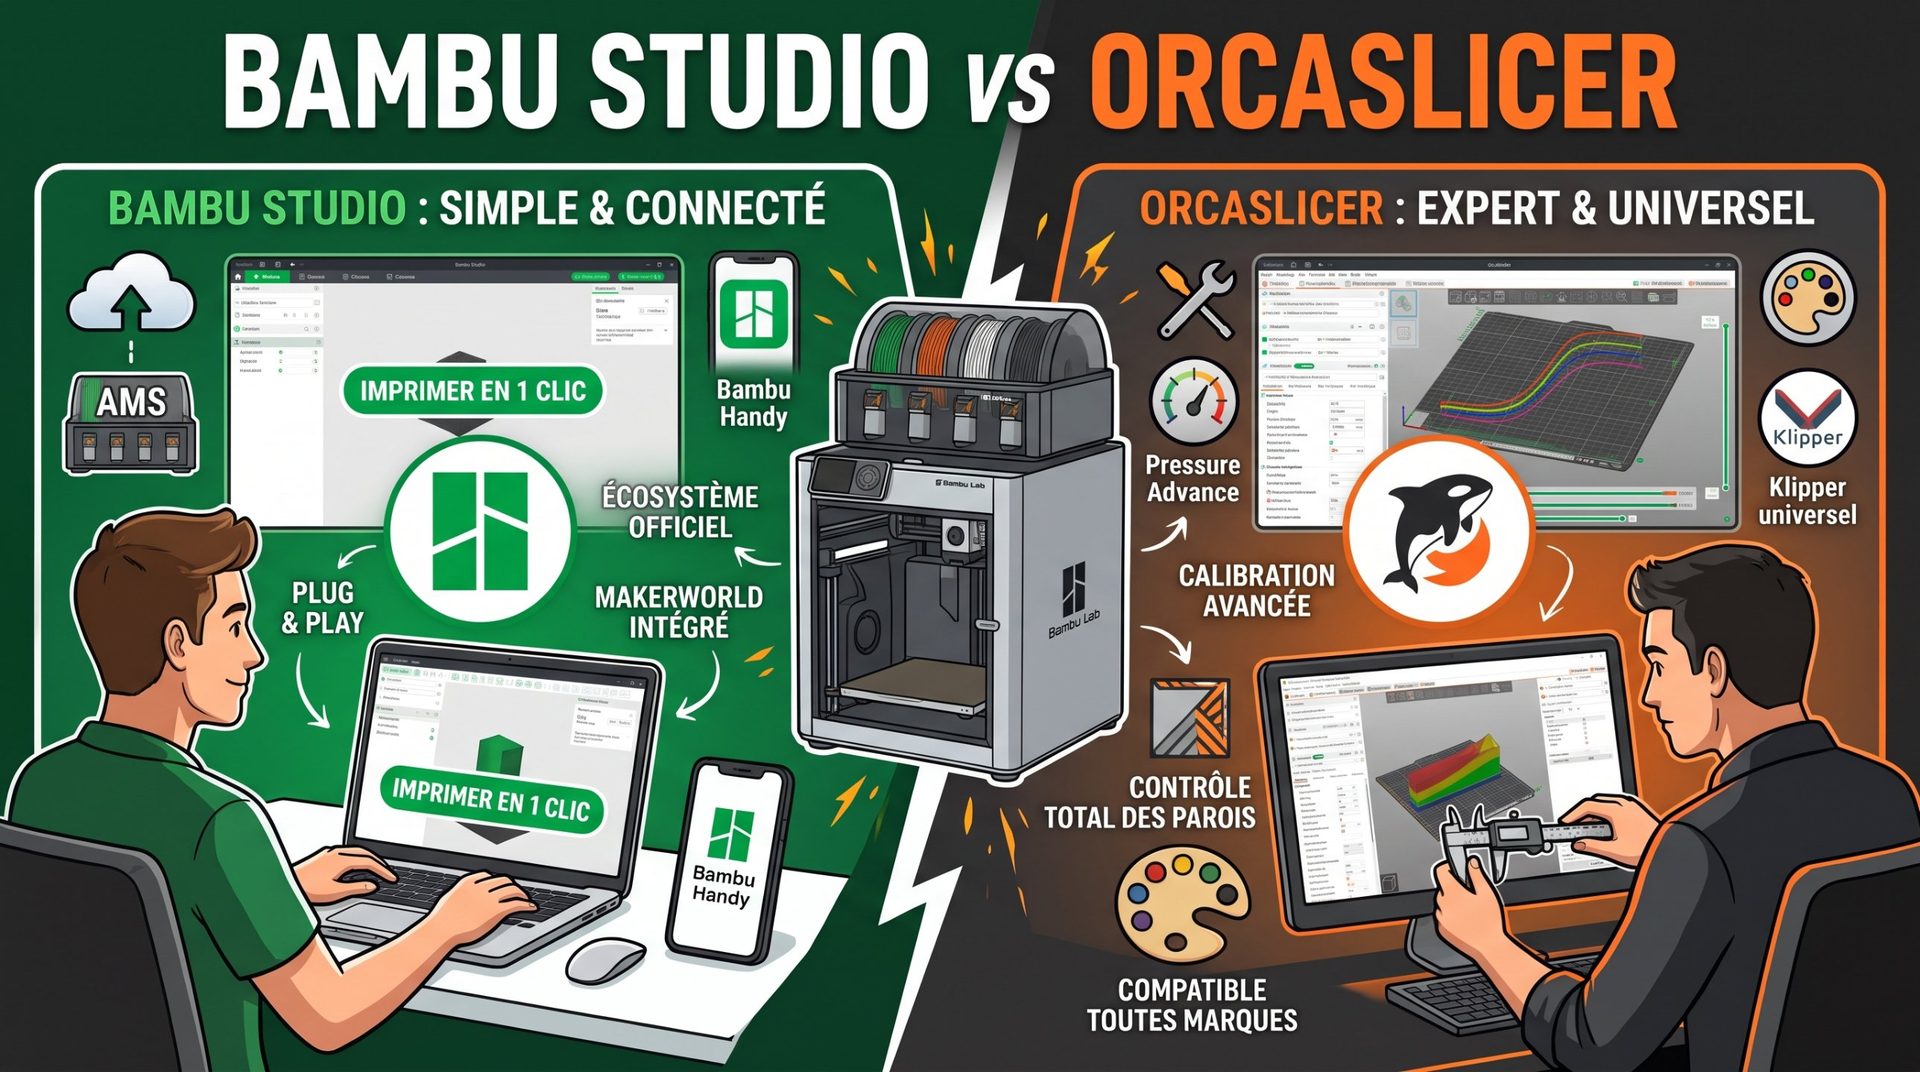
When you own a Bambu Lab printer (A1, P1S, P2S, X1C, H2D, or the new H3C), choosing a slicer almost always comes down to the same showdown: stick with Bambu Studio, the manufacturer's official software, or switch to OrcaSlicer, its open-source community version.
Both tools share the same interface and core engine, inherited from PrusaSlicer. So the choice isn't about ease of learning, but about philosophy: hassle-free simplicity versus pixel-perfect tweaking.
1. Quick Comparison Overview
| Criteria | Bambu Studio | OrcaSlicer |
|---|---|---|
| Philosophy | Simple, smooth, "everything is ready" | Deep customization, advanced settings |
| Cloud and Bambu Handy app | Full integration | Also works, cloud or local network, depending on machine firmware |
| MakerWorld | Open and print in one click | Download then manually open the 3MF file |
| Calibrations | Main ones (flow, pressure advance, temperature, max flow) and auto-calibration on some machines | Most complete on the market (plus: retraction, vibrations, input shaping, tolerances…) |
| New Features | Added after Bambu Lab validation | Often available first |
| Other Printer Brands | Designed mainly for Bambu Lab | Universal: Bambu Lab, Prusa, Creality, Voron, Klipper machines… |
2. Why Choose Bambu Studio?
Bambu Studio remains the natural choice if you want simplicity:
- Out of the box: unbox the printer, pick your filament, and the included profiles nail the vast majority of prints without touching advanced settings.
- Perfect integration: automatic detection of Bambu Lab spools via RFID chip, AMS management, live video on your phone with Bambu Handy… everything works without configuration.
- MakerWorld in one click: if you often print models from MakerWorld, launching a print from the website straight to your printer is real convenience. That's also where our free 3D files are hosted.
3. Why Switch to OrcaSlicer?
OrcaSlicer is for makers who use third-party filaments or technical materials, or who want the perfect setup:
- Comprehensive calibrations: the Calibration menu generates test parts to dial in flow, temperature, pressure advance, retraction, or vibrations—no need to hunt online for files.
- Per-filament profiles: each filament profile can keep its own values, like pressure advance. Handy when you switch brands or materials often.
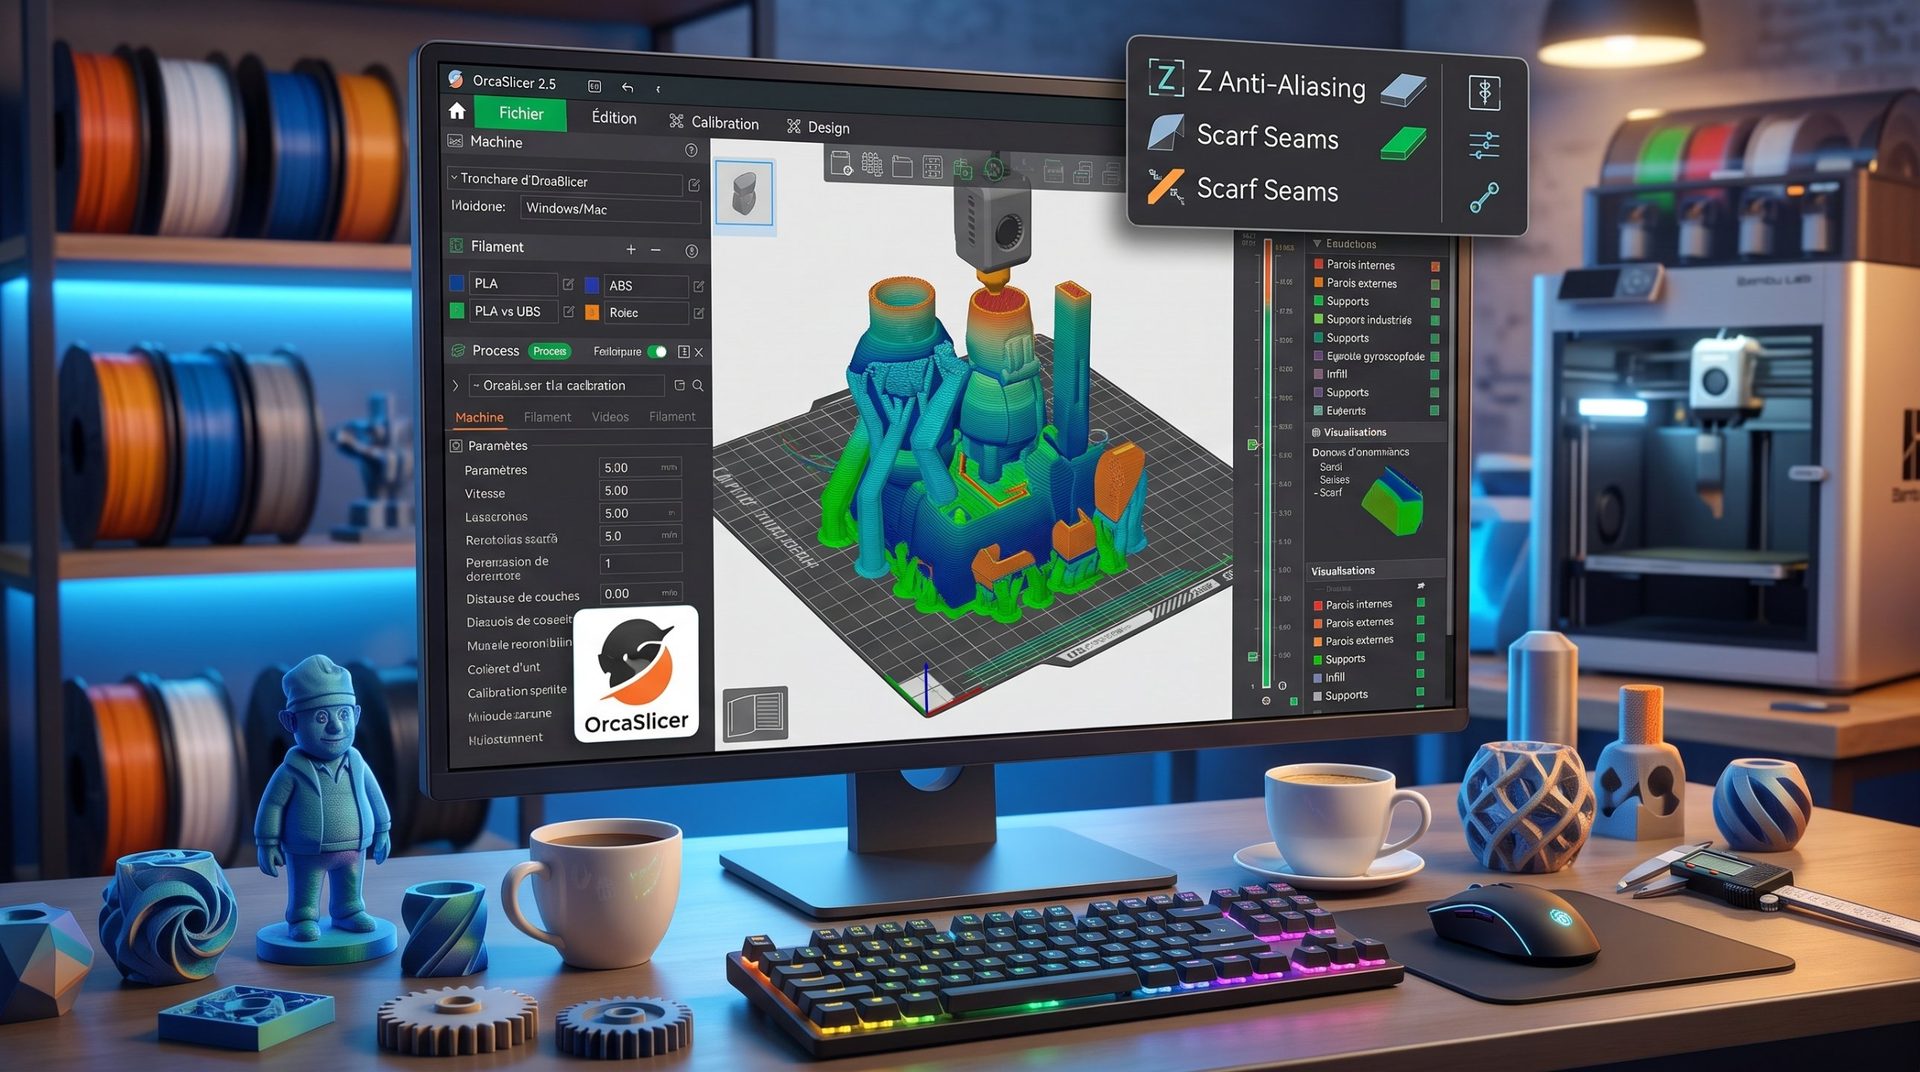
- New features first: many innovations appear in OrcaSlicer before anywhere else, like Z Anti-Aliasing or textured relief. All the details in our article on OrcaSlicer's latest updates.
- One slicer for your whole workshop: if you have a Bambu Lab next to a Prusa, Creality, or Klipper machine, OrcaSlicer brings all your profiles together in one place.
Fair warning: with recent Bambu Lab firmware, sending a print from third-party software may require an extra step (via the Bambu Connect app or local network mode). Check the process for your machine.
The Verdict: Which Should You Install?
- You're new to 3D printing or use mainly Bambu Lab filament: stick with Bambu Studio. It's the simplest, best-integrated, and easiest to learn.
- You use third-party filaments, technical materials, or love fine-tuning: switch to OrcaSlicer. Its calibrations will help you nail tolerances and hide layer seams.
Workshop Pro Tip: nothing stops you from running both! Calibrate a tricky filament in OrcaSlicer, note the values, then plug them into your Bambu Studio profile. To compare with other slicers on the market, check out our guide to the best slicer.
So, Which Slicer Do You Use?
🗳️ What's your favorite slicer right now?
Click your answer to vote and see the results.
Tell us in the comments what keeps you on your slicer!