The Ultimate Bridging Test from 5 to 100mm: Your Turn to Try!
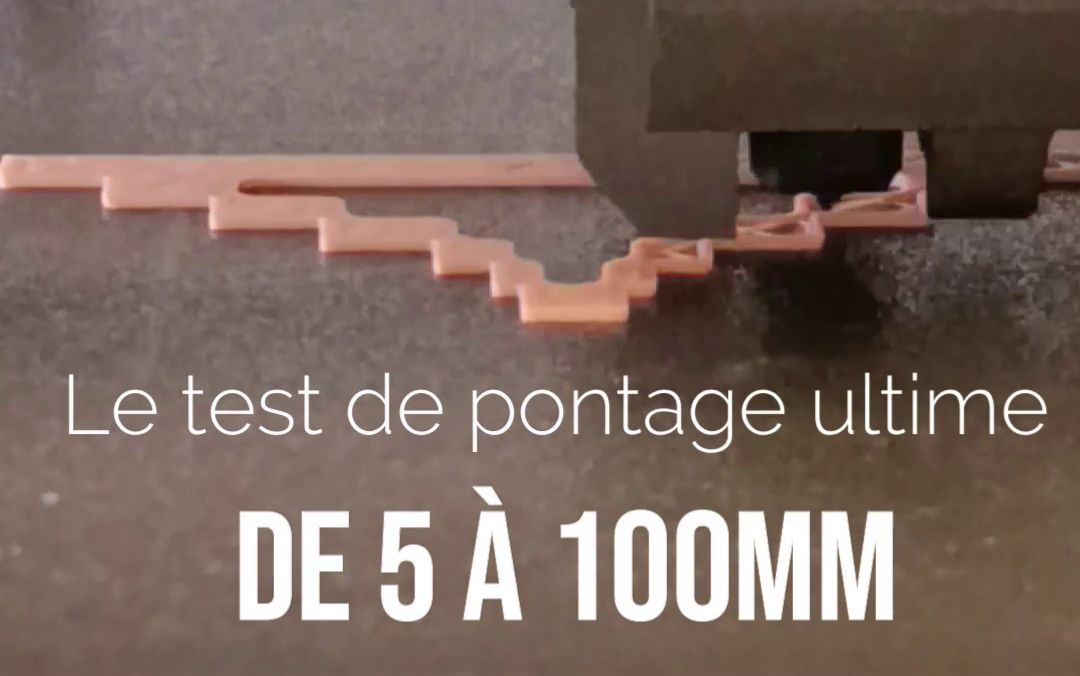
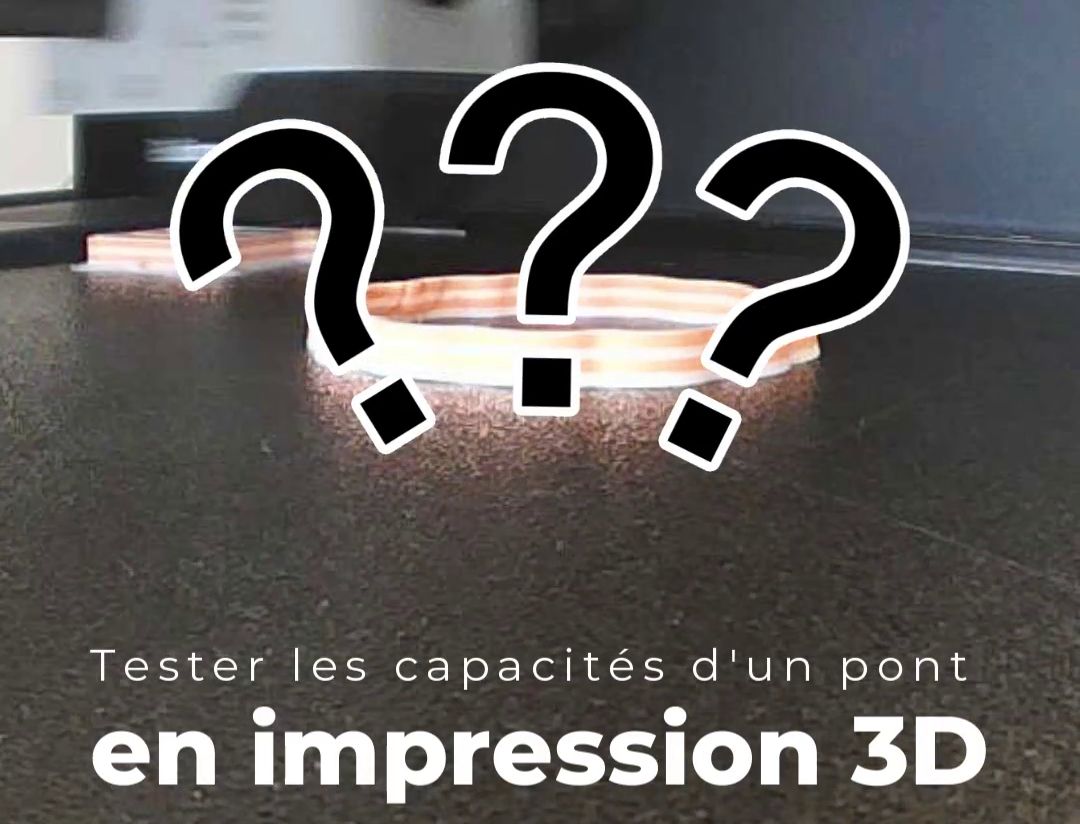
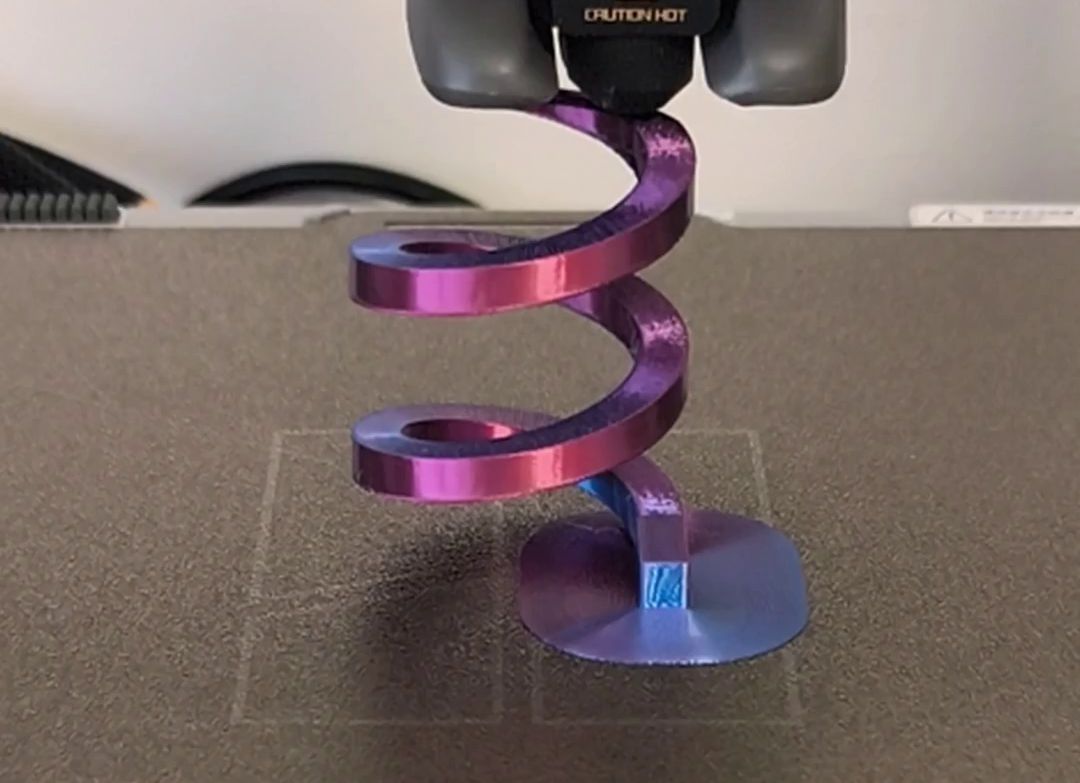
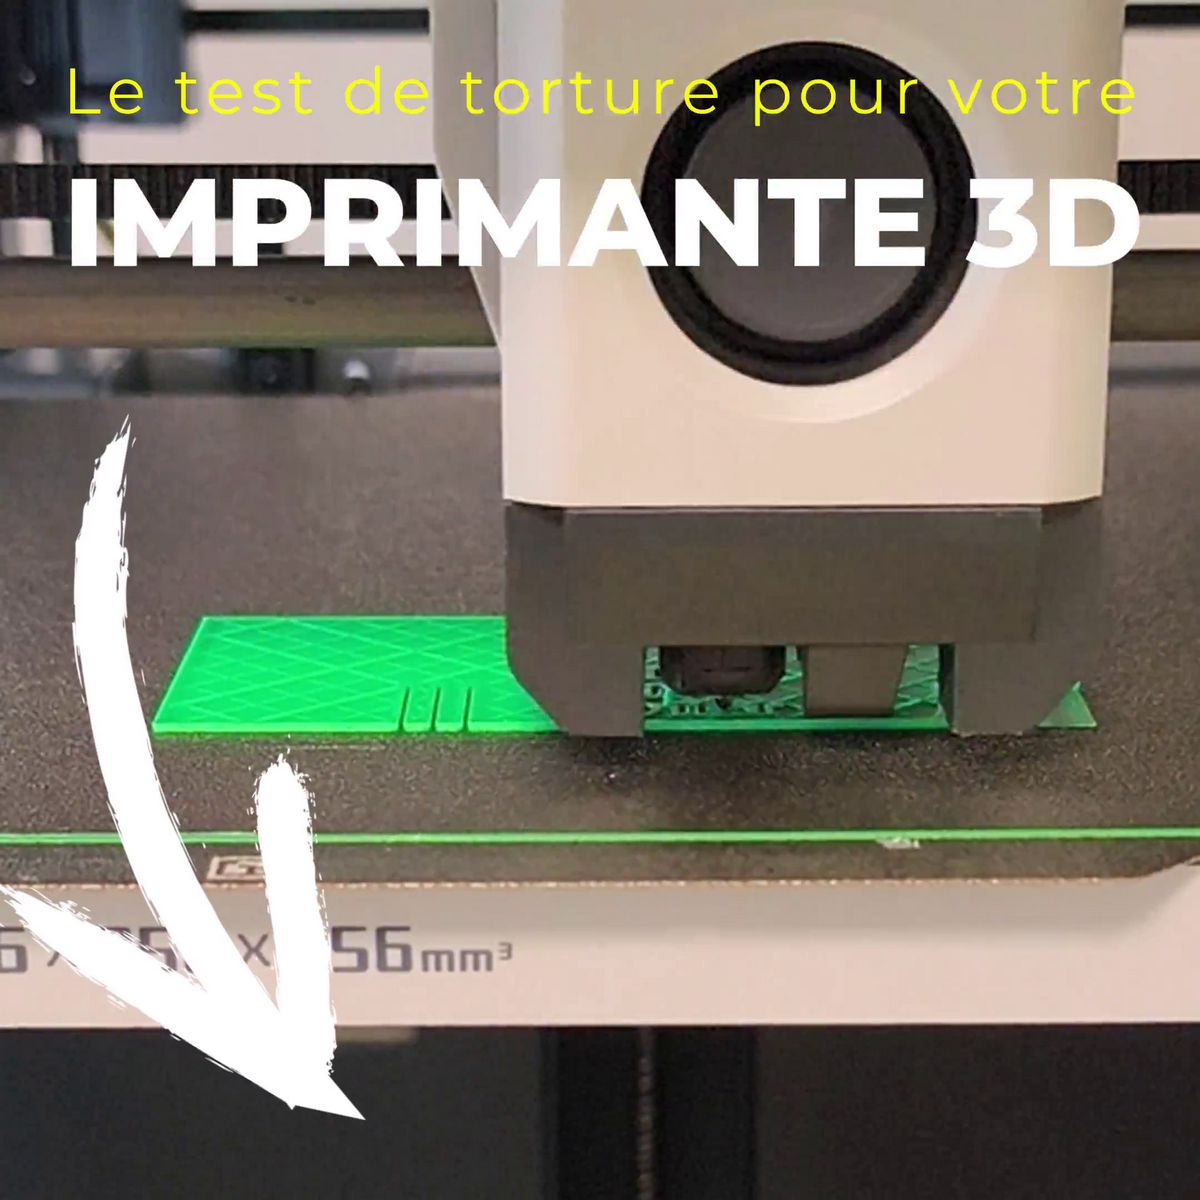
One of the greatest challenges in 3D printing is mastering bridging, which is your printer's ability to deposit filament in mid-air without any support. While a 10 mm bridge is a basic test, a test from 5 mm to 100 mm is the ultimate stress test for your machine, revealing its true capabilities and limits.
Your turn to try! Download the file 👉 Tridense via MakerWorld

(Image and 3D File Source: Tridense via MakerWorld)
What is a Bridge and Why Such a Wide Test?
A bridge is a line of filament printed between two points of support. To prevent it from sagging, the filament must be deposited at optimal speed and temperature, then solidified instantly by the cooling system.
A test from 5 to 100 mm isn't just a bridging test—it's a complete evaluation of:
- Your cooling power: The key to a good bridge is fast and efficient cooling.
- Your extruder precision: Filament must be deposited with perfect flow rate, neither too much nor too little.
- Your firmware efficiency: Your printer's algorithms must adjust speed and flow for each bridge.
Analyzing the Results
1. Easy Bridges (5 mm to 20 mm)
- Goal: Get perfectly straight and smooth bridges.
- Analysis: If these bridges are perfect, your printer has good baseline cooling and well-tuned standard parameters. If you notice sagging, your cooling probably isn't powerful enough or your bridging speed is too high.
2. Intermediate Bridges (20 mm to 50 mm)
- Goal: Minimize sagging. Slight sagging is acceptable.
- Analysis: This is where most printers reveal their true nature. If your bridges still look very good, that proves your cooling system and extruder are high quality. Using a more powerful cooling fan can make all the difference.
3. Extreme Bridges (50 mm to 100 mm)
- Goal: Achieve the feat of printing a bridge without it collapsing. Slight sagging counts as a victory.
- Analysis: These bridges are nearly impossible without a high-performance printer and thorough calibration. If you manage to print lines on these bridges, congratulate yourself. This shows you've mastered your print settings perfectly and your machine is among the most capable in its category.
Tips if You Struggle
- Reduce bridging speed: This is the simplest solution. Try dropping to 20 or 15 mm/s.
- Check your cooling: Make sure your fans are blowing directly on the extrusion zone.
- Adjust first layer height: A bridge's first layer set too high can cause sagging.
- Check nozzle cleanliness: A partially clogged nozzle can cause under-extrusion problems.
In conclusion, a 5 to 100 mm bridging test is more than just a print—it's an excellent diagnostic tool that will help you understand your machine's limits and push past them.