The XYZ Calibration Cube: Your 3D Printer's Compass

Just acquired a 3D printer, or noticing that your parts aren't fitting together perfectly? The first thing you should do is verify the basics. That's where the XYZ calibration cube comes in. This small object, simple in appearance, is the most powerful and straightforward diagnostic tool to ensure your 3D printer operates with millimeter precision.
What is a calibration cube?

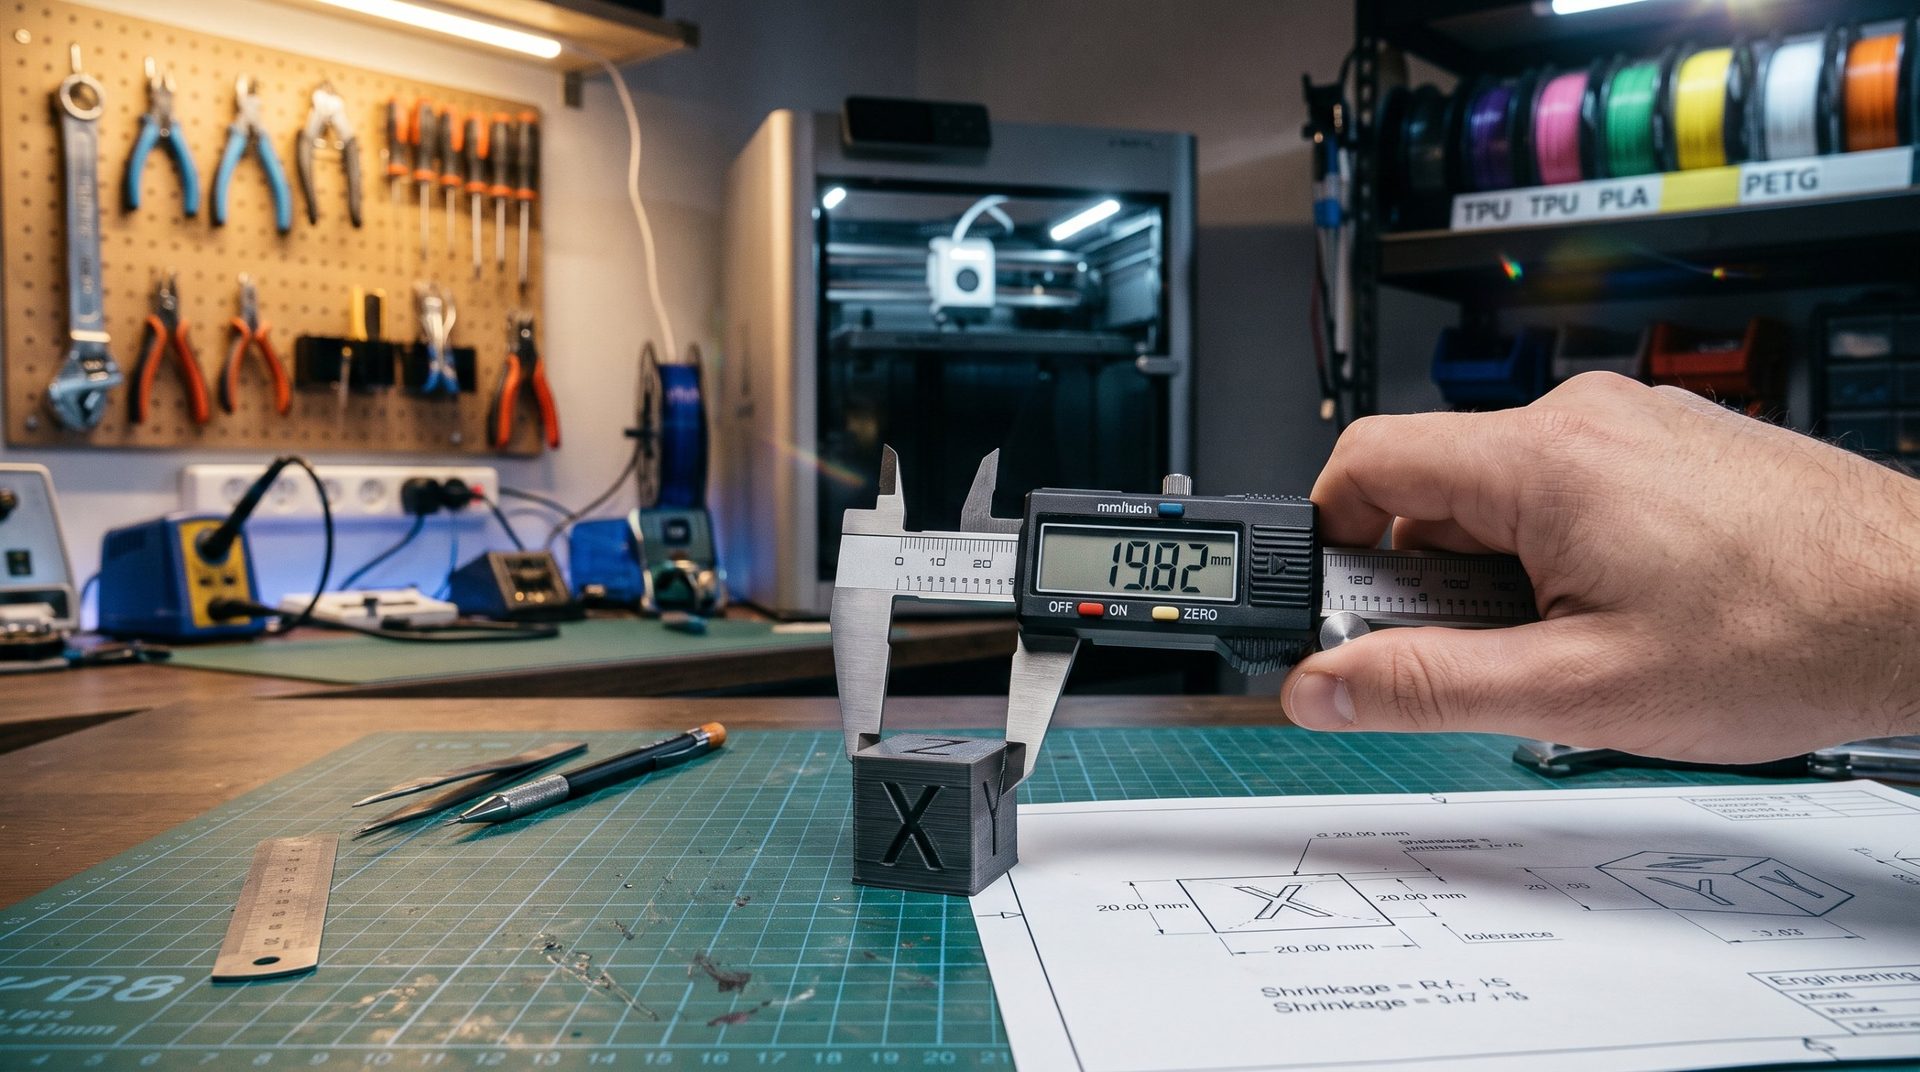
The calibration cube is a small 3D file, typically 20x20x20 mm, with the letters X, Y, and Z embossed on its faces. Each face corresponds to one axis of movement on your printer. It's designed to test your machine's precision across all three dimensions.
Printing it lets you verify whether the dimensions of your digital model match exactly with the physical object—a crucial step before diving into complex projects.
Why is printing this calibration cube essential?
This test helps diagnose several common issues:
- Dimensional accuracy: The main goal is to verify that an object measuring 20 mm in your slicing software prints at exactly 20 mm. This precision is vital for mechanical parts or enclosures that need to assemble without gaps.
- Movement problems: The cube can reveal defects like ghosting (surface waves) that often indicate loose belts or vibrations.
- Extrusion: The appearance of the letters and the quality of the top and bottom layers can give you clues about over-extrusion (too much material) or under-extrusion (not enough material).
How to run the test and interpret it
The process is simple and takes only a few minutes.
Step 1: Print the cube
Download an STL file of a calibration cube (Download here). Use your standard print settings (for example, PLA with a 0.2 mm layer height).
Step 2: Measure and analyze
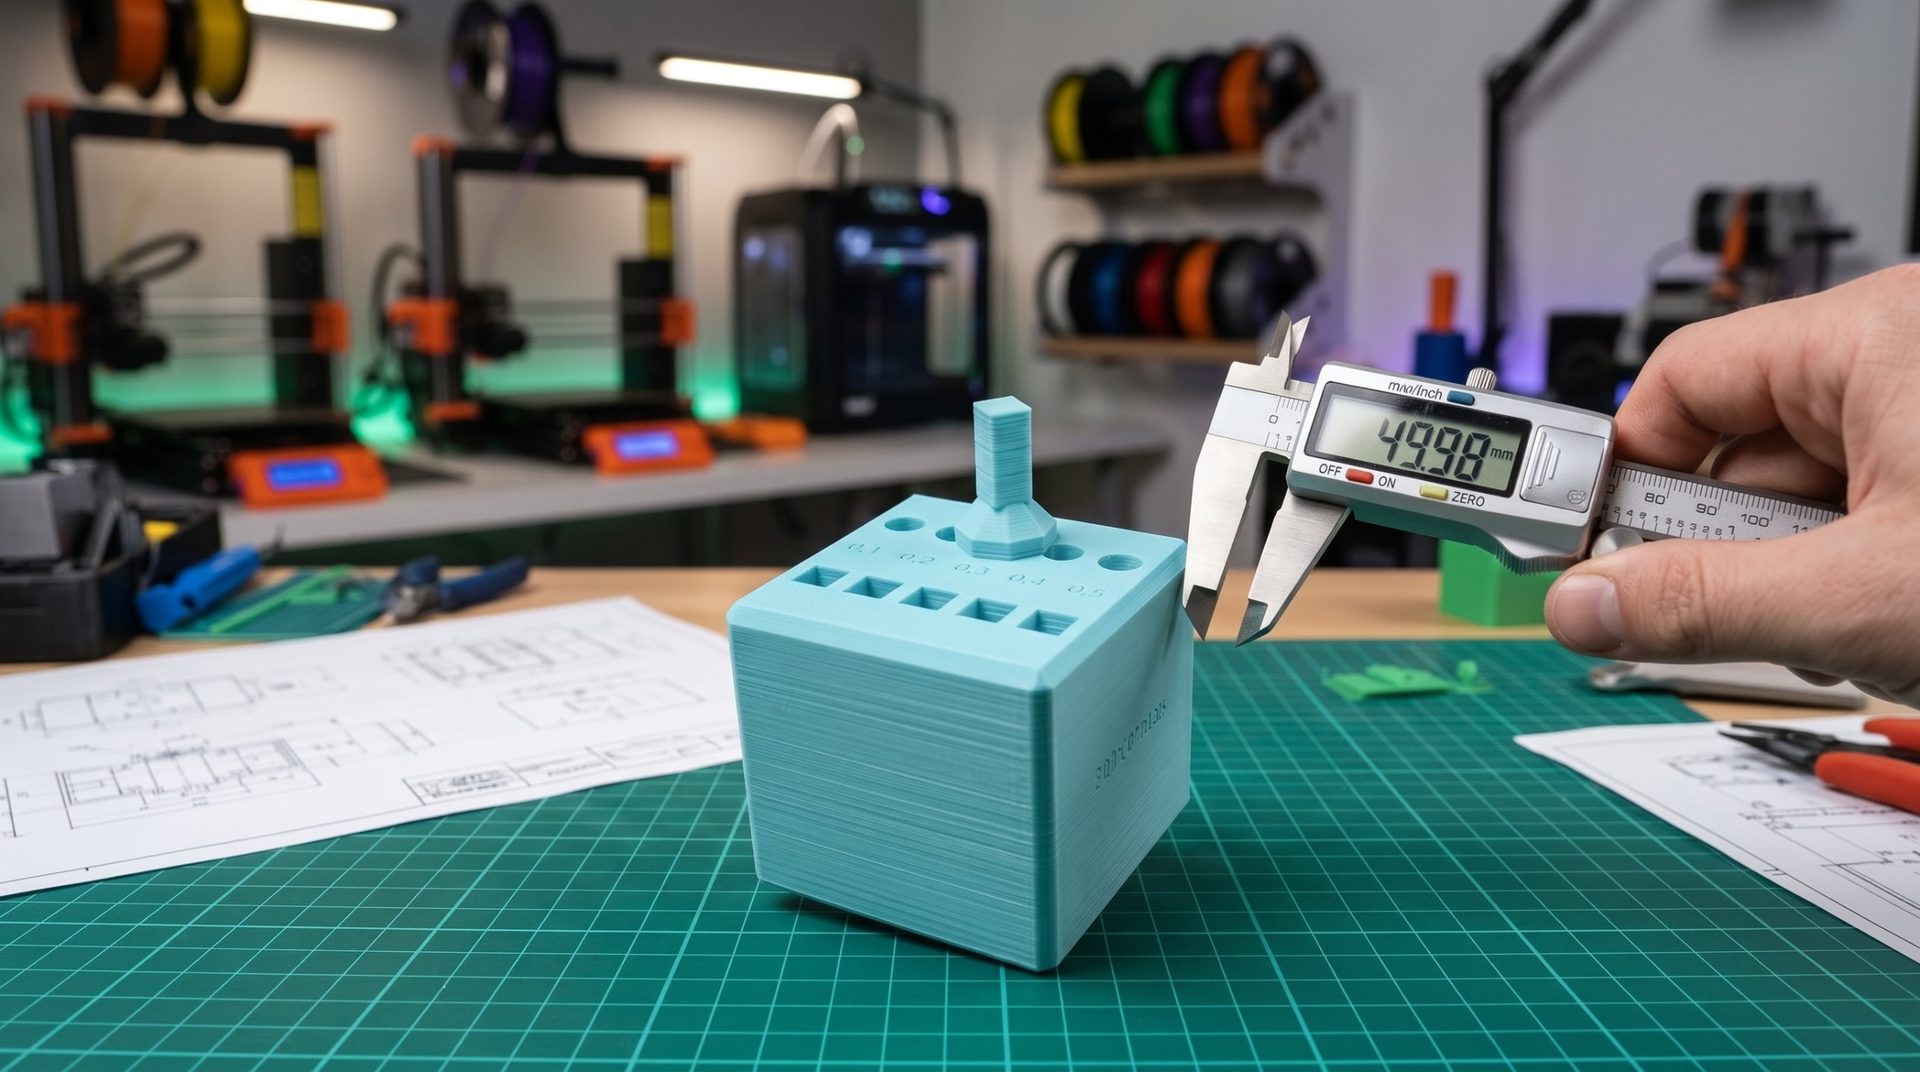
Once printing is complete and the cube has cooled, use a caliper to measure the dimensions of each side.
- If your measurements are 20.0 mm on all three axes, your printer is perfectly calibrated!
- If you get 20.2 mm on the X axis, it means your printer is moving slightly too far for each step.
- If you get 19.8 mm on the Z axis, it indicates movement that's too short.
Step 3: Correct any errors
Based on your measurement results, you can adjust the "steps per mm" in your printer's firmware. This technical setting tells the printer how many motor steps it needs to make to move one millimeter. Once you've made this adjustment, print the cube again to validate your calibration.
The XYZ calibration cube is the foundation of every successful print. It's a small investment in time that guarantees precise, reliable parts and helps you better understand your 3D printer's performance.