The All-in-One 3D Printing Test: The Ultimate Proof for Your 3D Printer
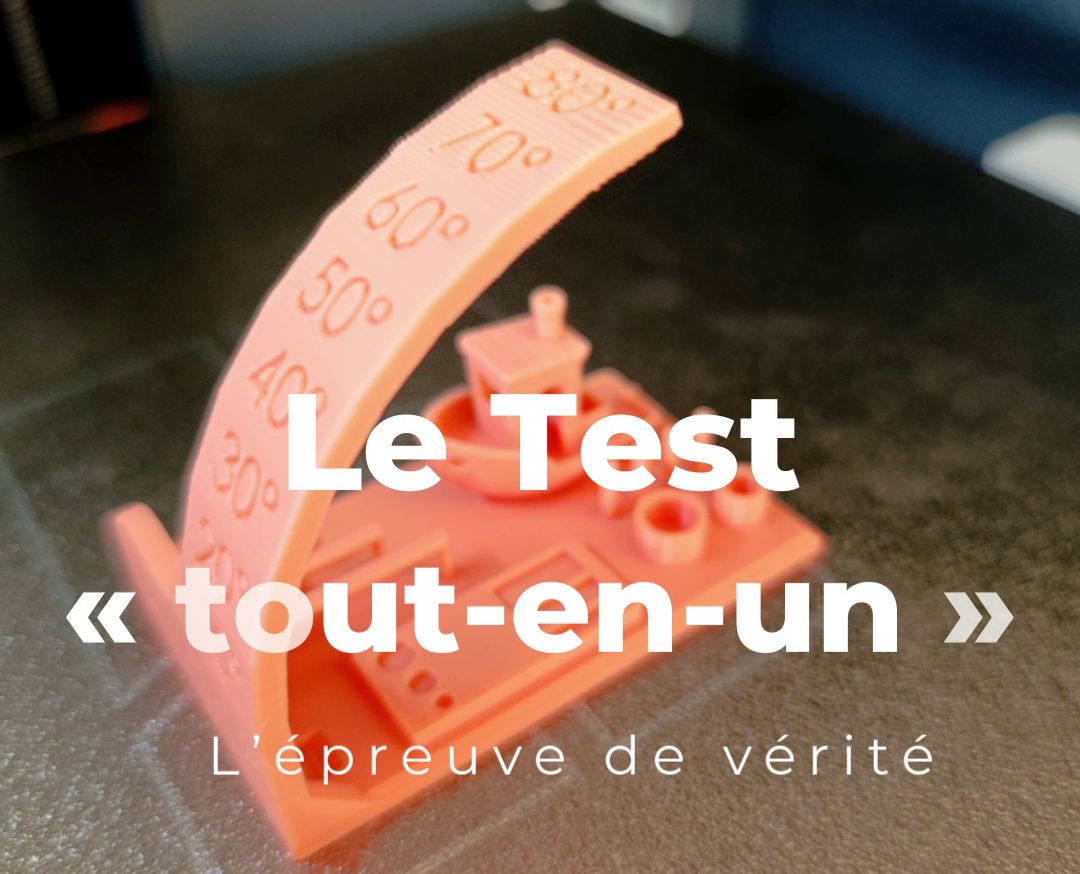
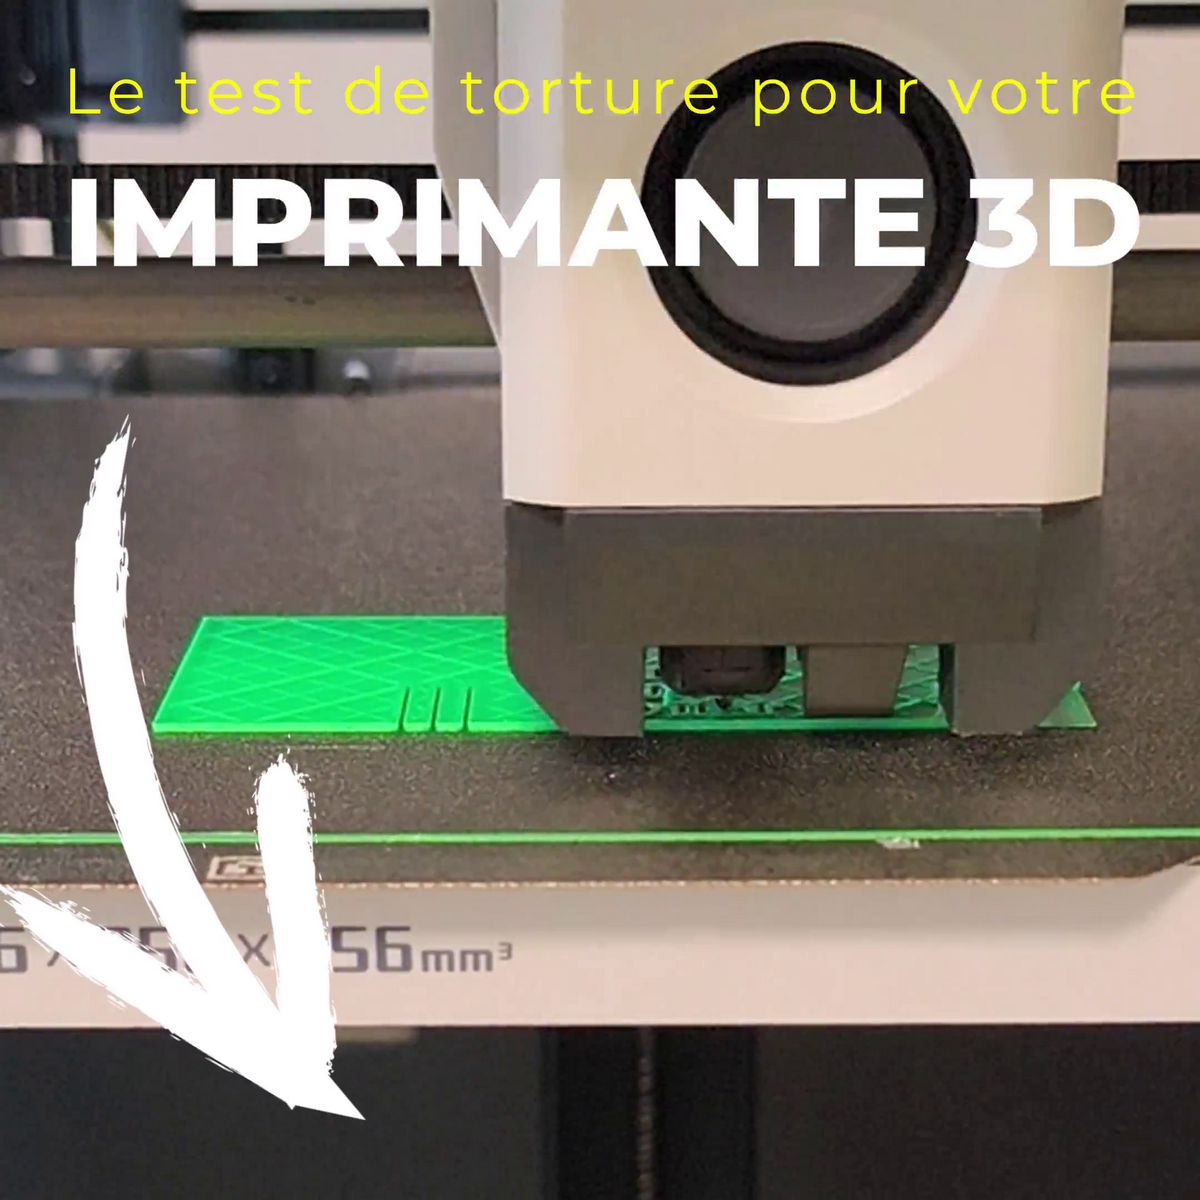
A perfect 3D print isn't just about luck. It's the result of a well-calibrated machine, quality filament, and optimized slicing parameters. To determine your printer's condition and identify its weaknesses, the maker community has created the all-in-one test, also known as a "torture test". It's a unique model that combines a multitude of technical challenges into a single print.
This guide will explain what these tests evaluate and how they can help you perfect your machine.

What is an all-in-one 3D test?
An all-in-one test model is a carefully designed 3D file to challenge your printer's capabilities across multiple crucial aspects. Instead of printing a stringing test, then a bridging test, then another angle test, you can verify everything at once.
Many online platforms are packed with free tests ready to download and print. Check out our selection of STL file libraries.
The most popular models include dedicated sections for the following challenges:
1. Stringing (Unwanted Strings)
This section tests your printer's ability to handle nozzle retraction movements. If plastic strings form between two walls, it indicates a retraction setting problem or extrusion temperature that's too high. A stringing test built into the model lets you see your settings' effectiveness at a glance.
Bridging
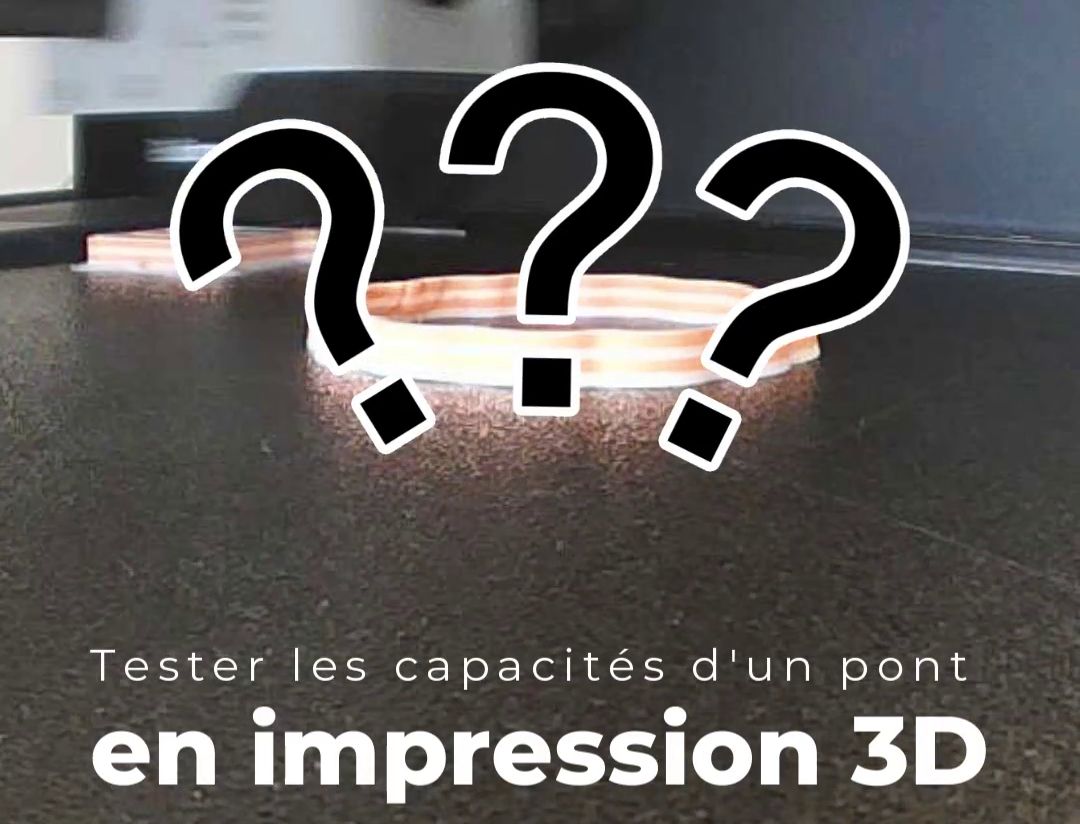
Bridging is the printer's ability to extrude filament across a gap between two support points. If your bridges are clean and straight, it means your cooling and print speed are well-tuned. If they sag or droop, you'll know you need to adjust these parameters.
Overhangs and Angles
This part of the test evaluates your printer's ability to print progressively overlapping layers to create increasingly steep angles. If the filament sags at a certain angle (for example, 60°, 70°, or 80°), it indicates your machine's limit or a need to improve cooling.
Tolerances and Dimensional Accuracy
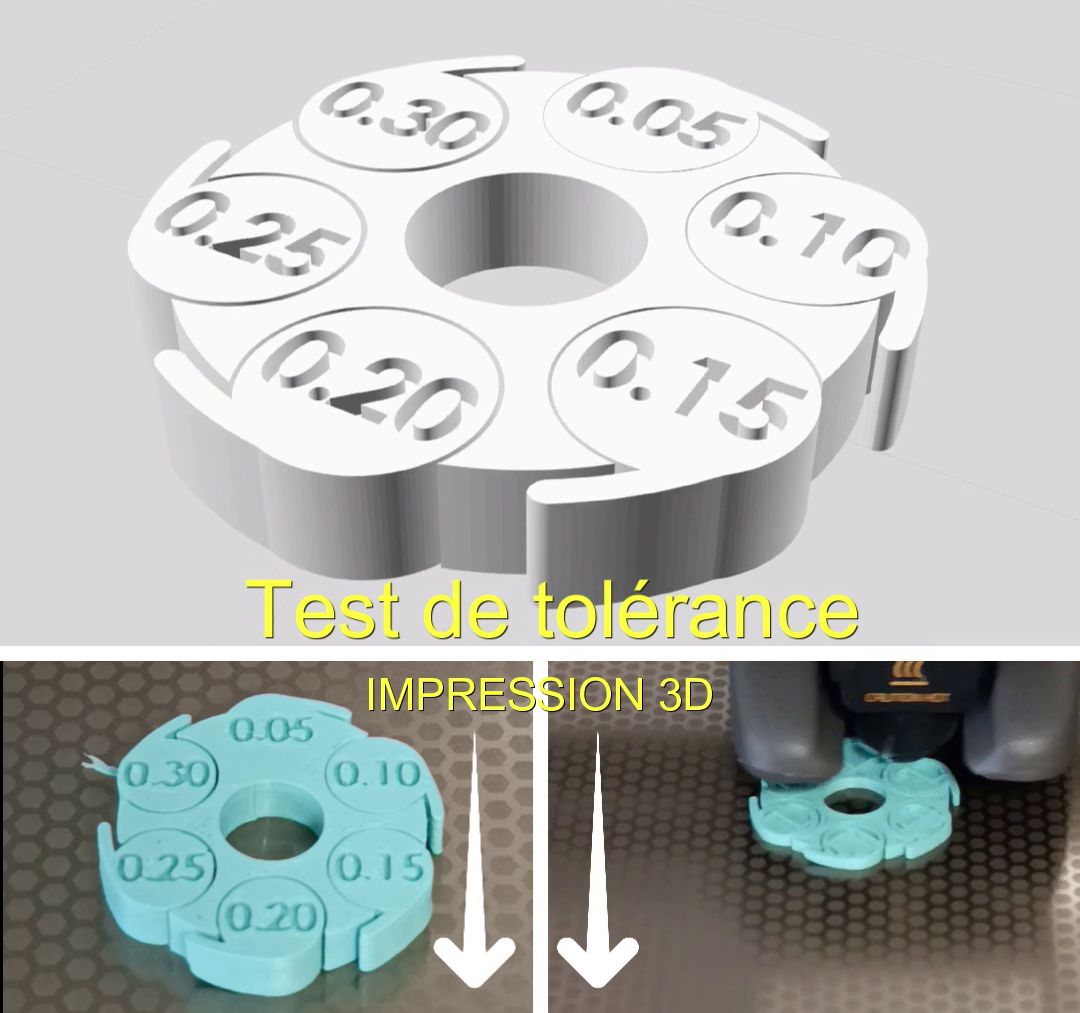
These tests are often interlocking parts. For example, a bar that must fit into a hole with a slightly larger diameter. If the test works, you have a precise idea of your printer's accuracy. If the part won't fit, it may indicate a need to calibrate your filament flow.
Fine Details and Small Parts
These sections verify the machine's ability to reproduce very fine details. Thin columns or sharp points are printed to test your extruder and nozzle quality on miniature pieces.
How to Use an All-in-One Test?
- Print the model: Start printing the test model using a filament you know well (for example, standard PLA).
- Analyze the result: Once printing is complete, examine each section carefully. Take notes on what succeeded and what failed.
- Adjust your settings: Based on your analysis, adjust only one parameter at a time in your slicer software:
- If stringing is a problem, adjust retraction.
- If bridges are sagging, adjust speed or cooling.
- If angles print poorly, improve cooling.
- Repeat the process: Print the model again with the new settings to see if the problem is resolved.
In conclusion, the all-in-one test is a simple and powerful diagnostic tool. It lets you take the pulse of your printer and identify areas that need improvement. By taking time to calibrate your machine, you'll gain efficiency and quality, and spend less time fixing your prints. It's one of the best investments you can make for your future creations.