Should You Give Your Filament Scraps a Second Life?
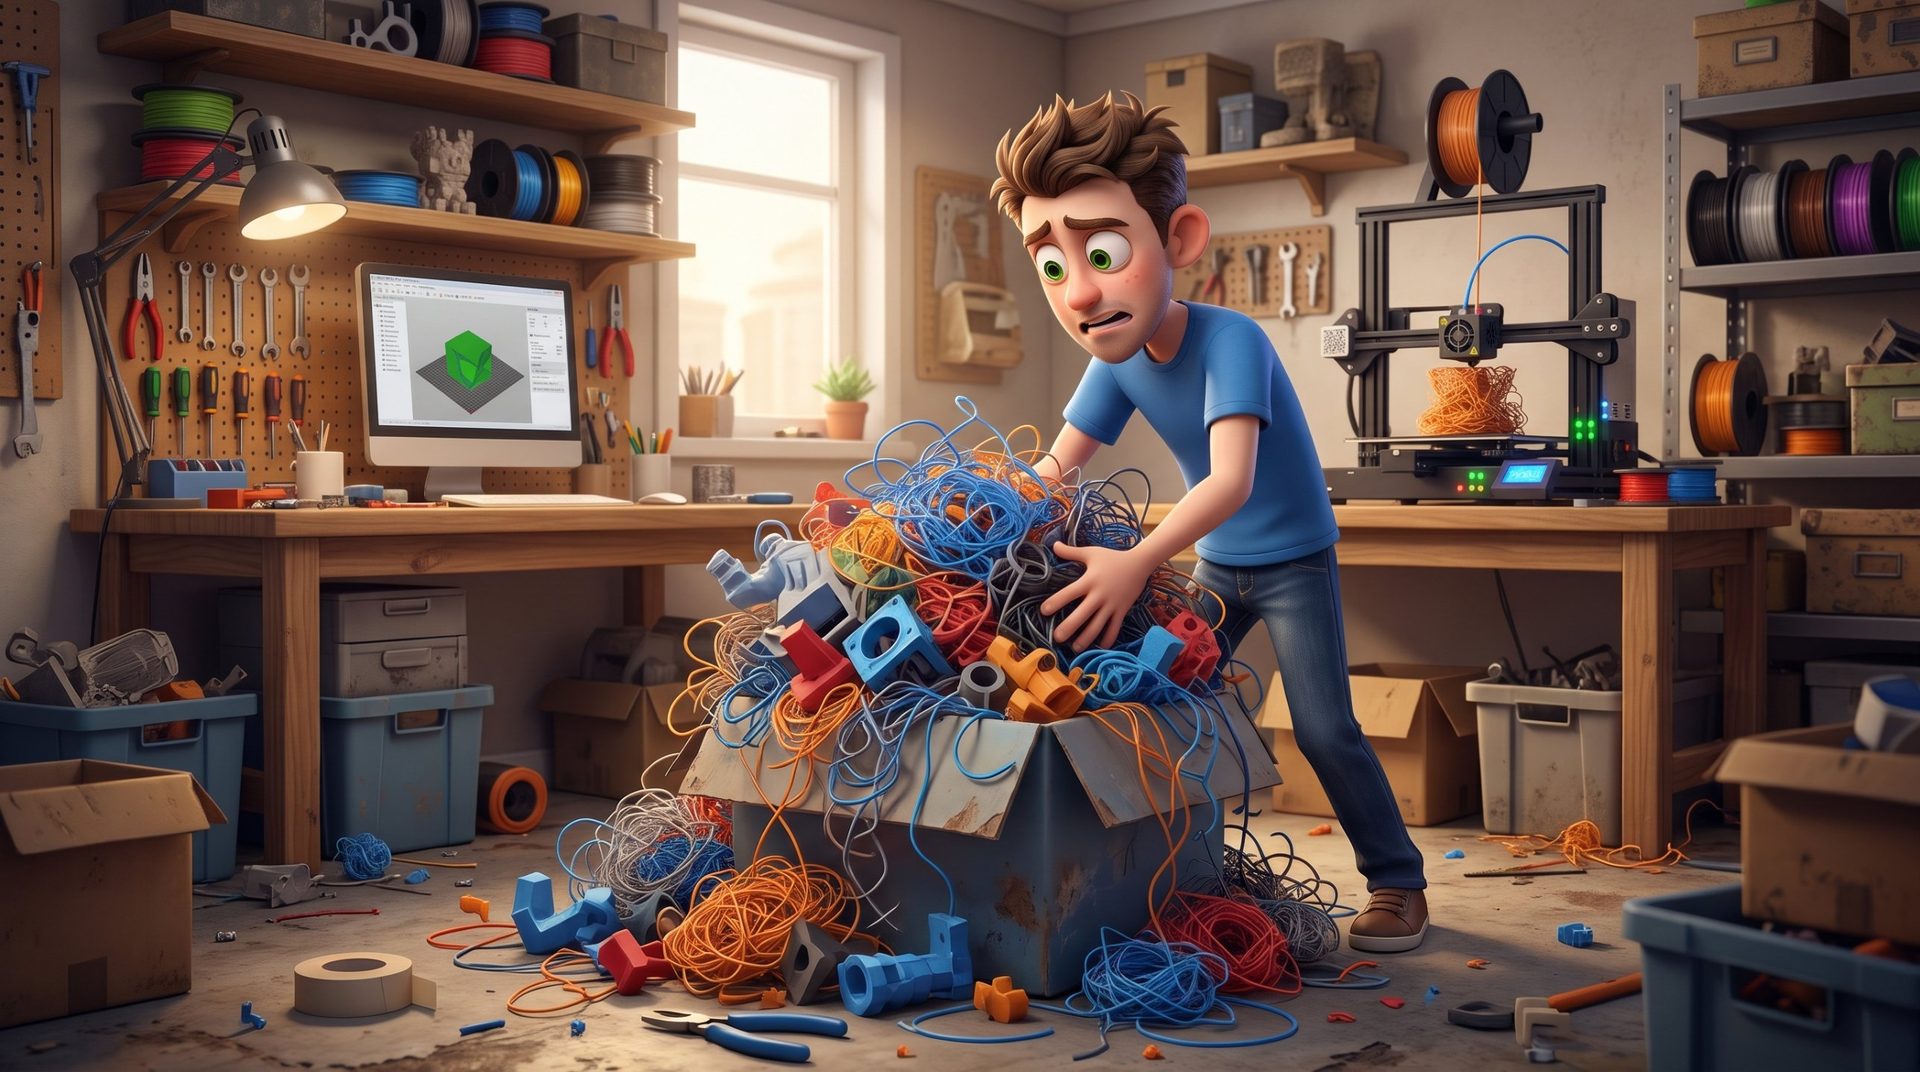
Beneath every maker's workbench lurks a mysterious entity: a bin, a cardboard box, or a large bag that fills relentlessly.
Inside? A chaotic mix of two-tone purge towers, rafts, kilometers of torn-off supports, and aborted parts that failed 85% of the way through after a nozzle jam in the middle of the night.
To the average person, it's trash. To a maker, it's a strategic reserve of raw material that's psychologically impossible to throw away. But between the fantasy of infinite recycling and the reality of the workshop, what are all these scraps actually worth?
The grand illusion: "I'll make new spools from these someday"
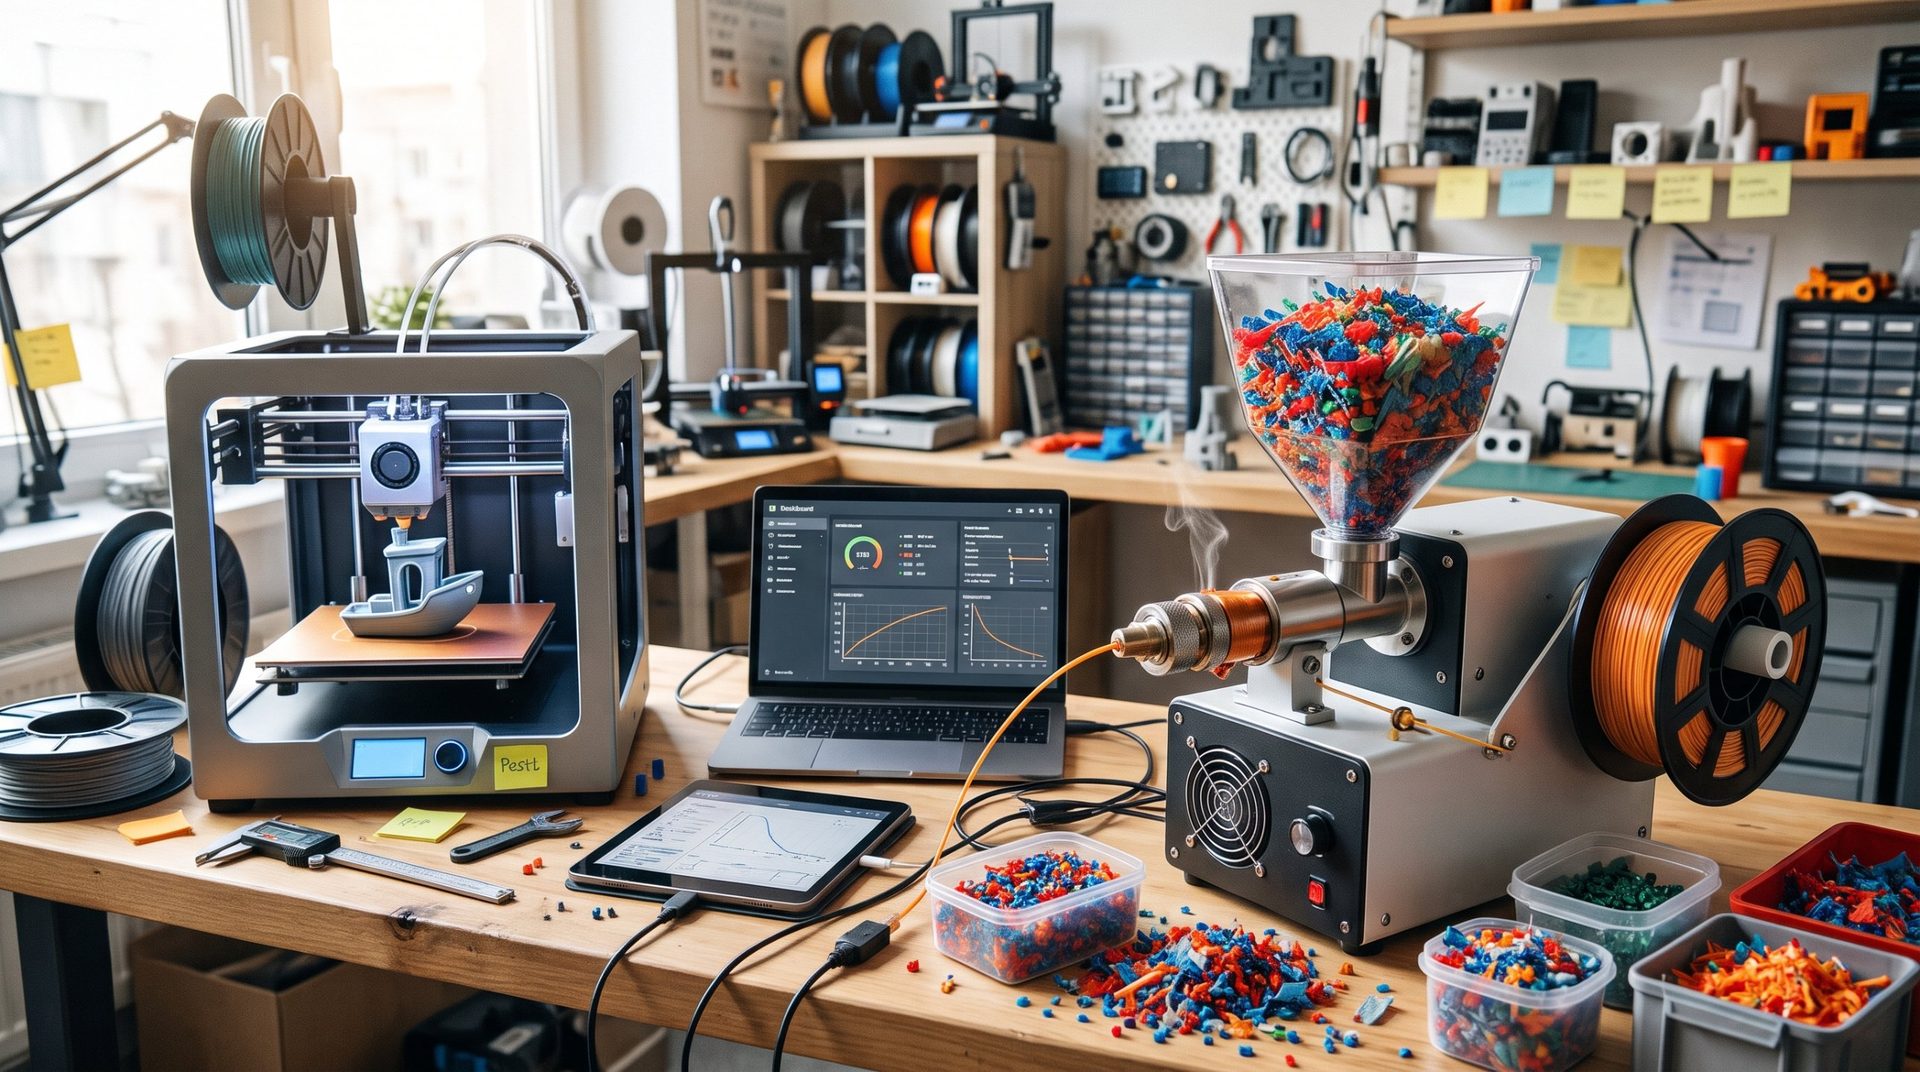
It's the promise we all make when we dump our first nest of spaghetti into the bin: one day, I'll buy a shredder and a filament extruder. These machines really do exist, and we've detailed how they work in our article on home recycling of scraps into new spools. But making quality filament at home remains an uphill battle:
- Diameter precision: a good commercial spool maintains a tolerance of around ±0.02 to ±0.05 mm. If your homemade filament wavers between 1.60 and 1.90 mm, the extruder slips, skips steps, or the nozzle clogs.
- Invisible impurities: workshop dust, adhesive residue, and burned particles stuck to your scraps end up directly in a 0.4 mm nozzle.
- Plastic degradation: each pass through heat shortens the molecular chains of PLA. Remelted two or three times, it becomes more brittle and loses strength.
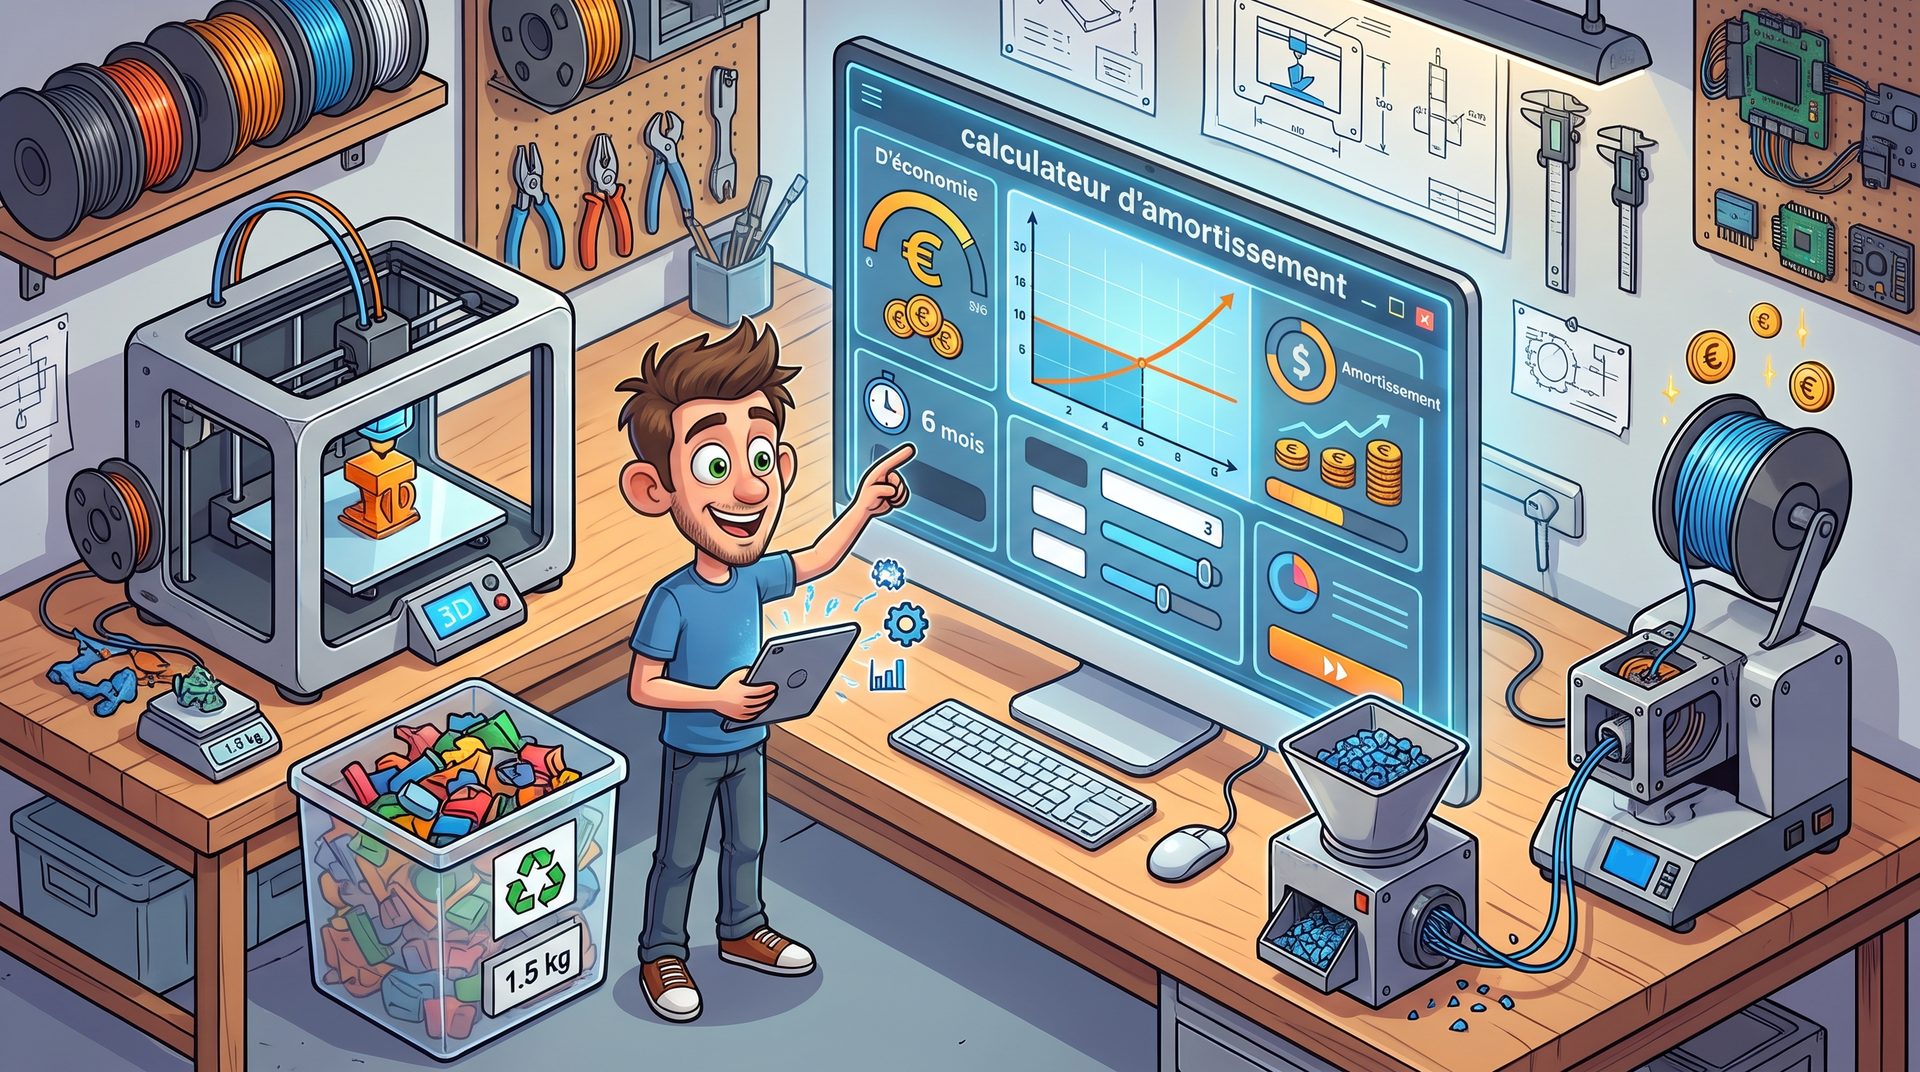
Before investing, do the math: our shredder and extruder ROI calculator will tell you how many years it would take to pay back the machine.
3 realistic ways to turn your scraps into something useful (without a machine costing over $1,000)
Making a perfect new spool is complicated, but turning your scraps into useful objects often takes almost nothing.
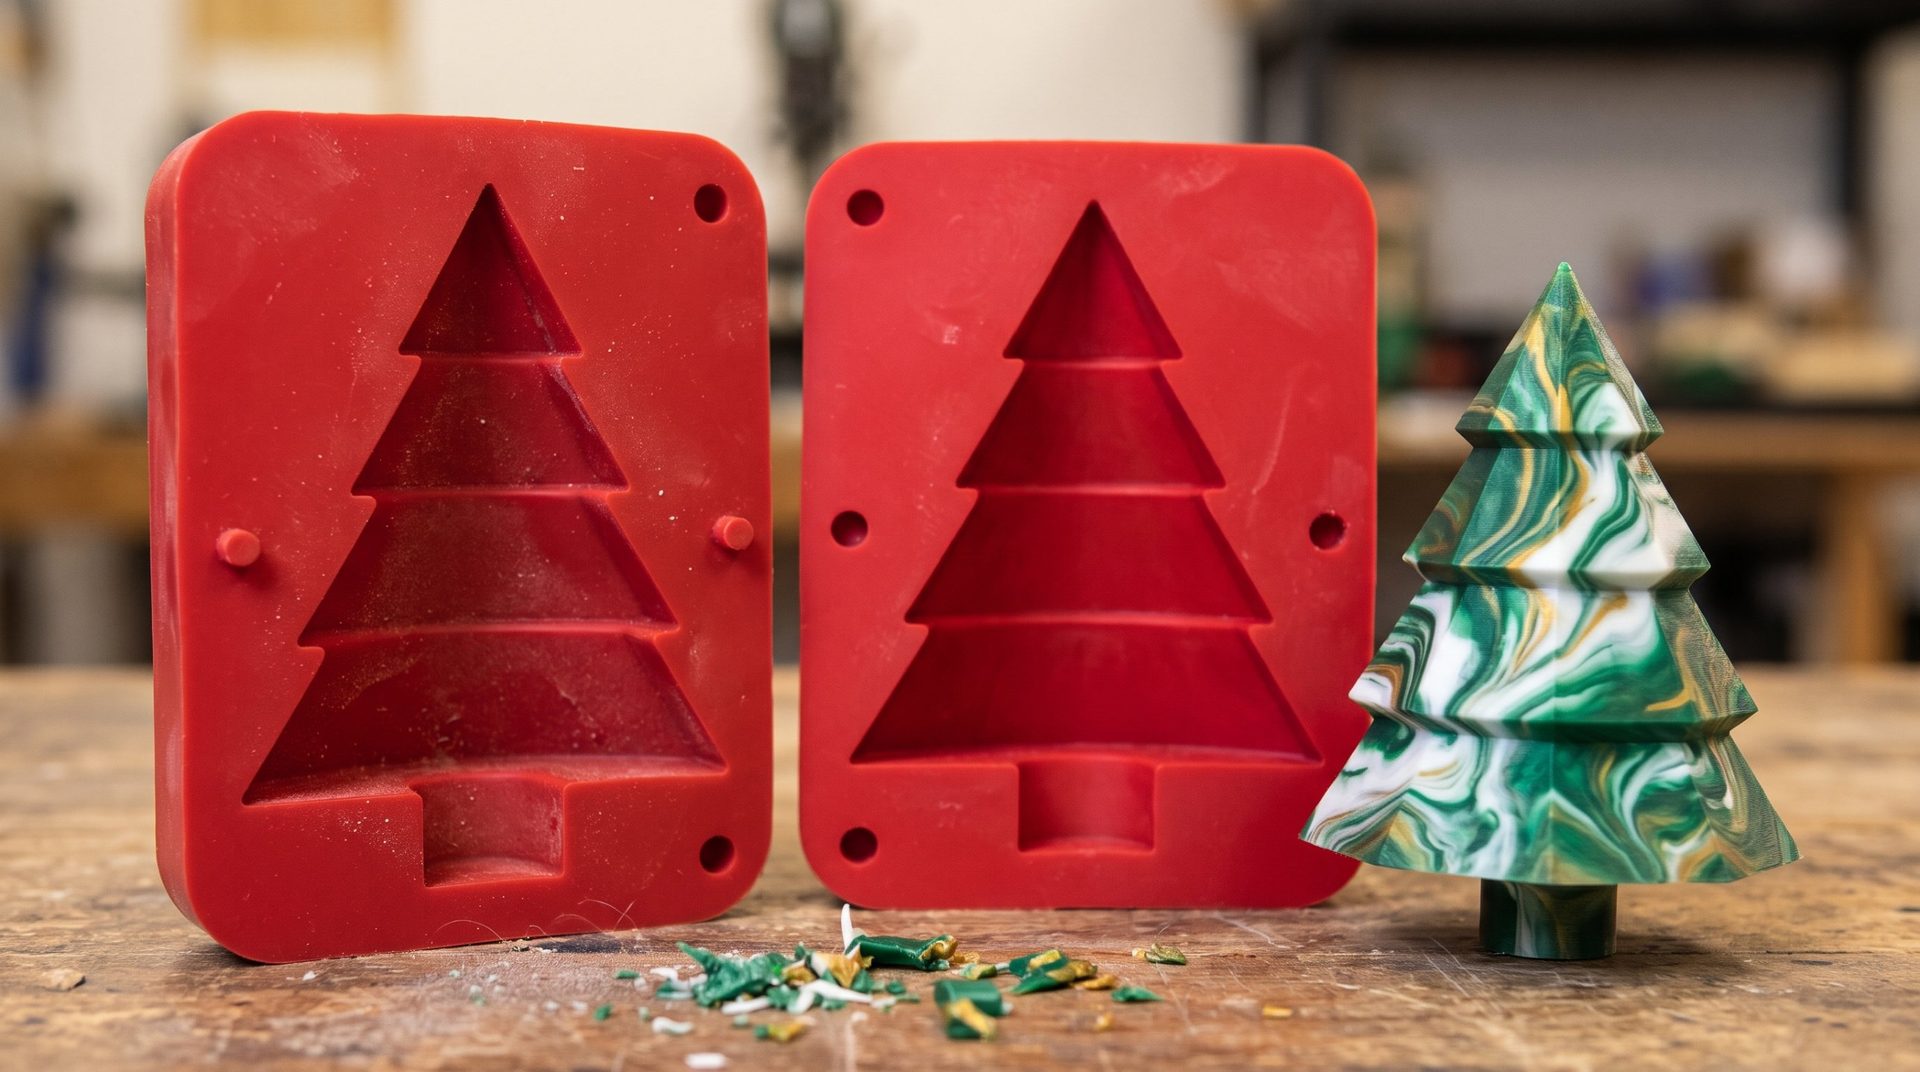
1. Melting in silicone molds (the "workshop marble effect")
Roughly cut your PLA scraps with pruning shears or a small shredder reserved for this purpose. Place them in a heat-resistant silicone mold (or metal mold) and pop the whole thing into a small workshop oven at around 180 to 200 °C.
- Result: spacers, drawer pulls, coasters, or blocks with a unique marbled effect.
- Safety rule: never use your kitchen oven, don't exceed the needed temperature, and ventilate the room well.
👉 All the steps are detailed in our guide on turning your PLA scraps into unique objects.
2. "Putty" and 3D pen welding
Keep end-of-spool filament bits in a jar, sorted by color. Loaded into a cheap 3D pen, or melted with the flat tip of a soldering iron, they become the best way to weld two half-shells together, patch a surface hole, or reinforce a part.
3. Hidden weight ballast
Why print a part with 60% infill when you just need weight? Plan a cavity in your model, add a pause halfway through in your slicer, fill the cavity with tightly packed scraps, then resume printing to seal it shut.
Sorting: where everyone throws in the towel
| Material stored | Workshop reuse | Main risk |
|---|---|---|
| PLA | Easy (low temperature, 180–200 °C) | Becomes brittle if it's absorbed moisture |
| PETG | Moderate (needs more heat, around 230 °C) | Prone to bubbles and stringy strands |
| ABS / ASA | Complex (high temperature, air extraction required) | Irritating fumes (styrene) when remelted |
| The catch-all bin | None | Incompatible melting temperatures: burned or poorly melted plastic guaranteed |
The workshop tribunal: confess your storage level
Every workshop has its tolerance threshold before the great purge:
- What volume of scraps have you built up right now: the shoebox, the 50-liter bin, or the mountain?
- Have you ever reused your failed prints in a real project, or do they just gather dust?
- Do you sort colors and materials, or does everything end up in the same box?
Tell us everything in the comments, and share your most impressive spaghetti bin!