How to Turn Your PLA Scraps Into Unique Objects (Without Throwing Them Away)
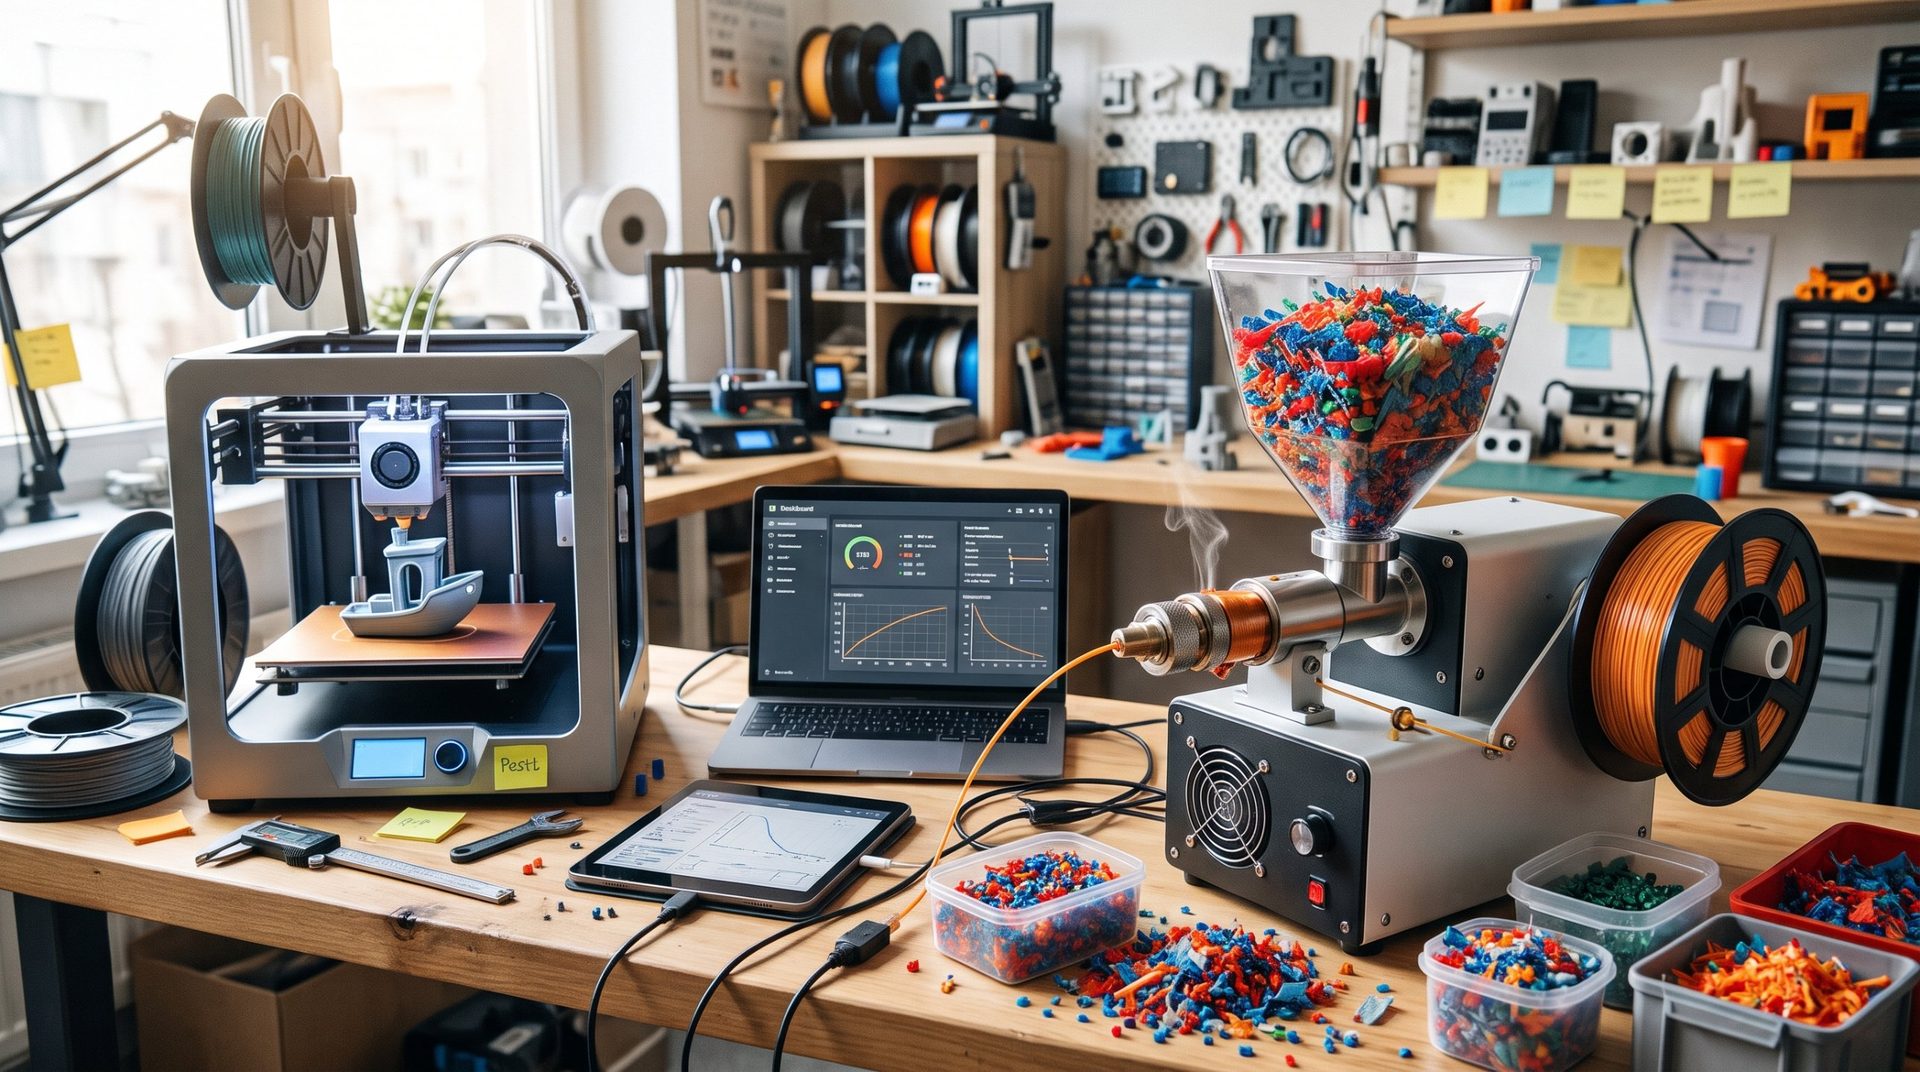
You've probably accumulated quite a stash of failed prints, support material, and spool remnants in a box under your workbench. What if, instead of letting them gather dust, you put them to work?
To give these scraps a genuine second life without diving into the complex and costly adventure of re-extrusion, there's a simple, fun, and highly visual method: melting in a silicone mold, also known as "workshop marbling." It's the first tip from our article your filament scraps deserve a second chance, and here's the complete guide to pull it off at home.
Step 1: Shredding (the maker's "kitchen")
For the material to melt evenly without trapping too many air bubbles, you need to reduce your scraps into small pieces. Keep only PLA: mixing materials produces burnt or poorly melted results.
- The manual method: grab a good pair of pruning shears and cut your supports, skirts, and failed prints into pieces a few millimeters across.
- The quick method: use an old blender or small shredder reserved exclusively for this purpose. Never use it for food again!
Step 2: Choosing Your Mold
The plastic will need to heat up to melt and take on a new shape. Two main options:
- Silicone molds: choose good-quality molds that withstand at least 220 °C (like baking molds). Cooled PLA won't stick and pops right out. Once used for plastic, they should never be used in the kitchen again.
- Metal molds: steel cake pans or tin containers. Tip: lightly grease the mold or line it with parchment paper so the plastic doesn't permanently stick to the metal.
Fill the mold generously with your colored scraps. Layer different colors on top of each other for a more striking marbled effect, and pack it down well: plastic loses a lot of volume as it melts.
Step 3: Baking (the golden safety rule ⚠️)
This is where you need to be rigorous:
- The oven: never use your kitchen oven. Even PLA, despite being bio-based, releases vapors when heated that leave stubborn residues and odors. Use a small electric toaster oven set up in your workshop, garage, or outdoors.
- Temperature: set the oven to 180–200 °C. At this temperature, PLA becomes fluid enough to fuse without burning. Above 210 °C, it risks overheating, blistering, blackening, and releasing harmful fumes.
- Ventilation: work in a very well-ventilated space with windows wide open, or outdoors if possible.
Let it bake for 20 to 45 minutes depending on the thickness and size of the mold, checking regularly. When the plastic looks flat and viscous, gently compress the top with a metal tool (one you won't use for eating again) to drive out the last air bubbles.
Step 4: Cooling and Demolding
Turn off the oven and let the mold cool completely, inside or on a heat-resistant surface. Don't rush: the core of the plastic takes a long time to cool and harden. Once the piece is completely cool to the touch, carefully demold it.
The Result: What Do You Get?
You'll pull from your molds solid, hefty objects with unique marbled patterns—impossible to reproduce twice. Depending on the mold, you can make:
- workbench wedges or blocks of material to drill, sand, or screw into;
- colorful, custom drawer pulls for your workshop;
- unique coasters for your coffee breaks;
- practical objects like paperweights, phone stands, or colored plates to cut or engrave;
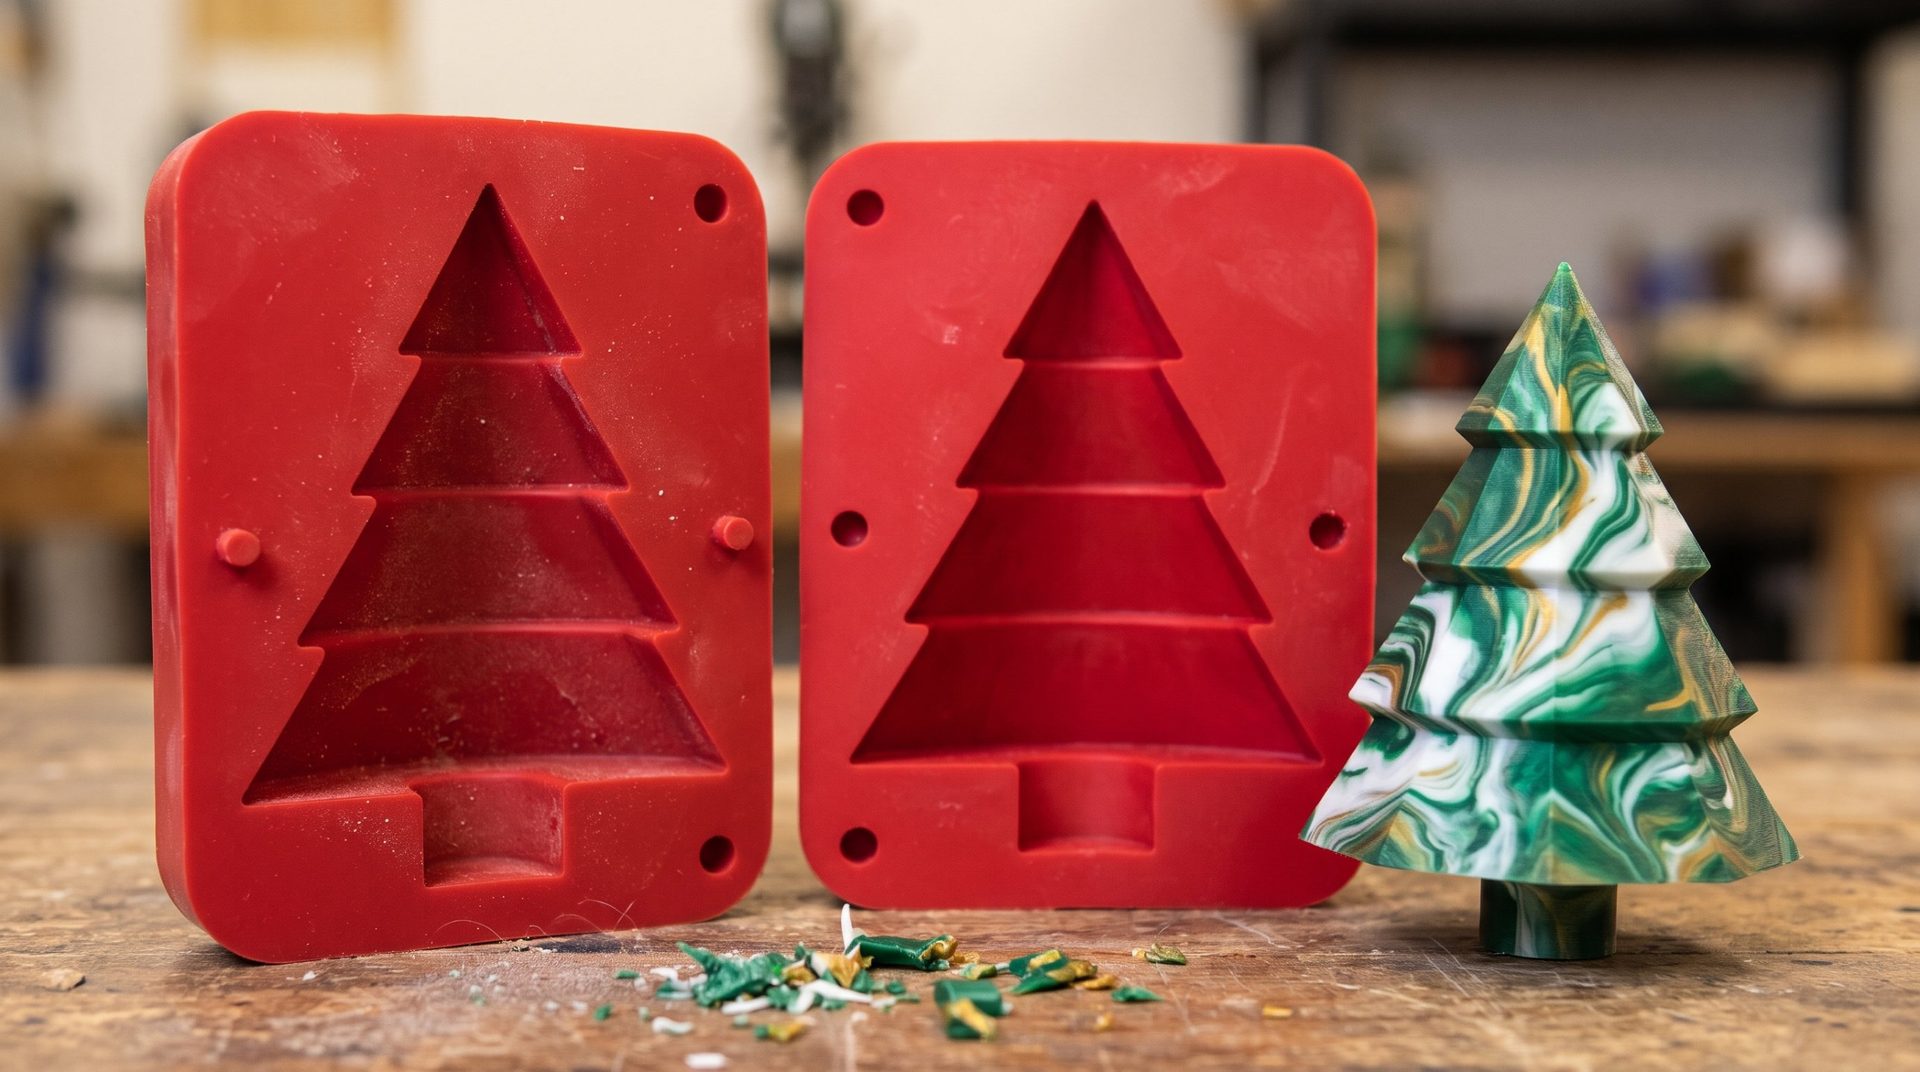
- and for special occasions, little decorations like a marbled Christmas tree.
The Maker Verdict
Workshop marbling is probably the most rewarding and accessible way to practice circular economy in your garage. It's creative, it's useful, and it finally empties that infamous box of failed prints! For other recycling options, check out our guide on how to recycle 3D printing waste.
Have you tried melting your scraps before?
- What have you managed to make with this method?
- What are your best color blends for a successful marbled effect?
Share your creations and baking tips in the comments!