How to Save Equipment by Replacing an Impossible-to-Find Plastic Part
When a plastic mechanical part breaks on professional equipment, a tool, or a household appliance, the scenario is almost always the same: the manufacturer no longer sells the part individually, insists on replacing an entire assembly priced at hundreds of euros, or announces delivery times incompatible with getting the equipment back up and running quickly.
The combination of CAD reverse engineering and functional 3D printing now offers a surgical alternative: rebuild the part identically, or even correct its original weaknesses, in just a few hours of work.
1. From Broken Part to 3D Model: Taking Measurements
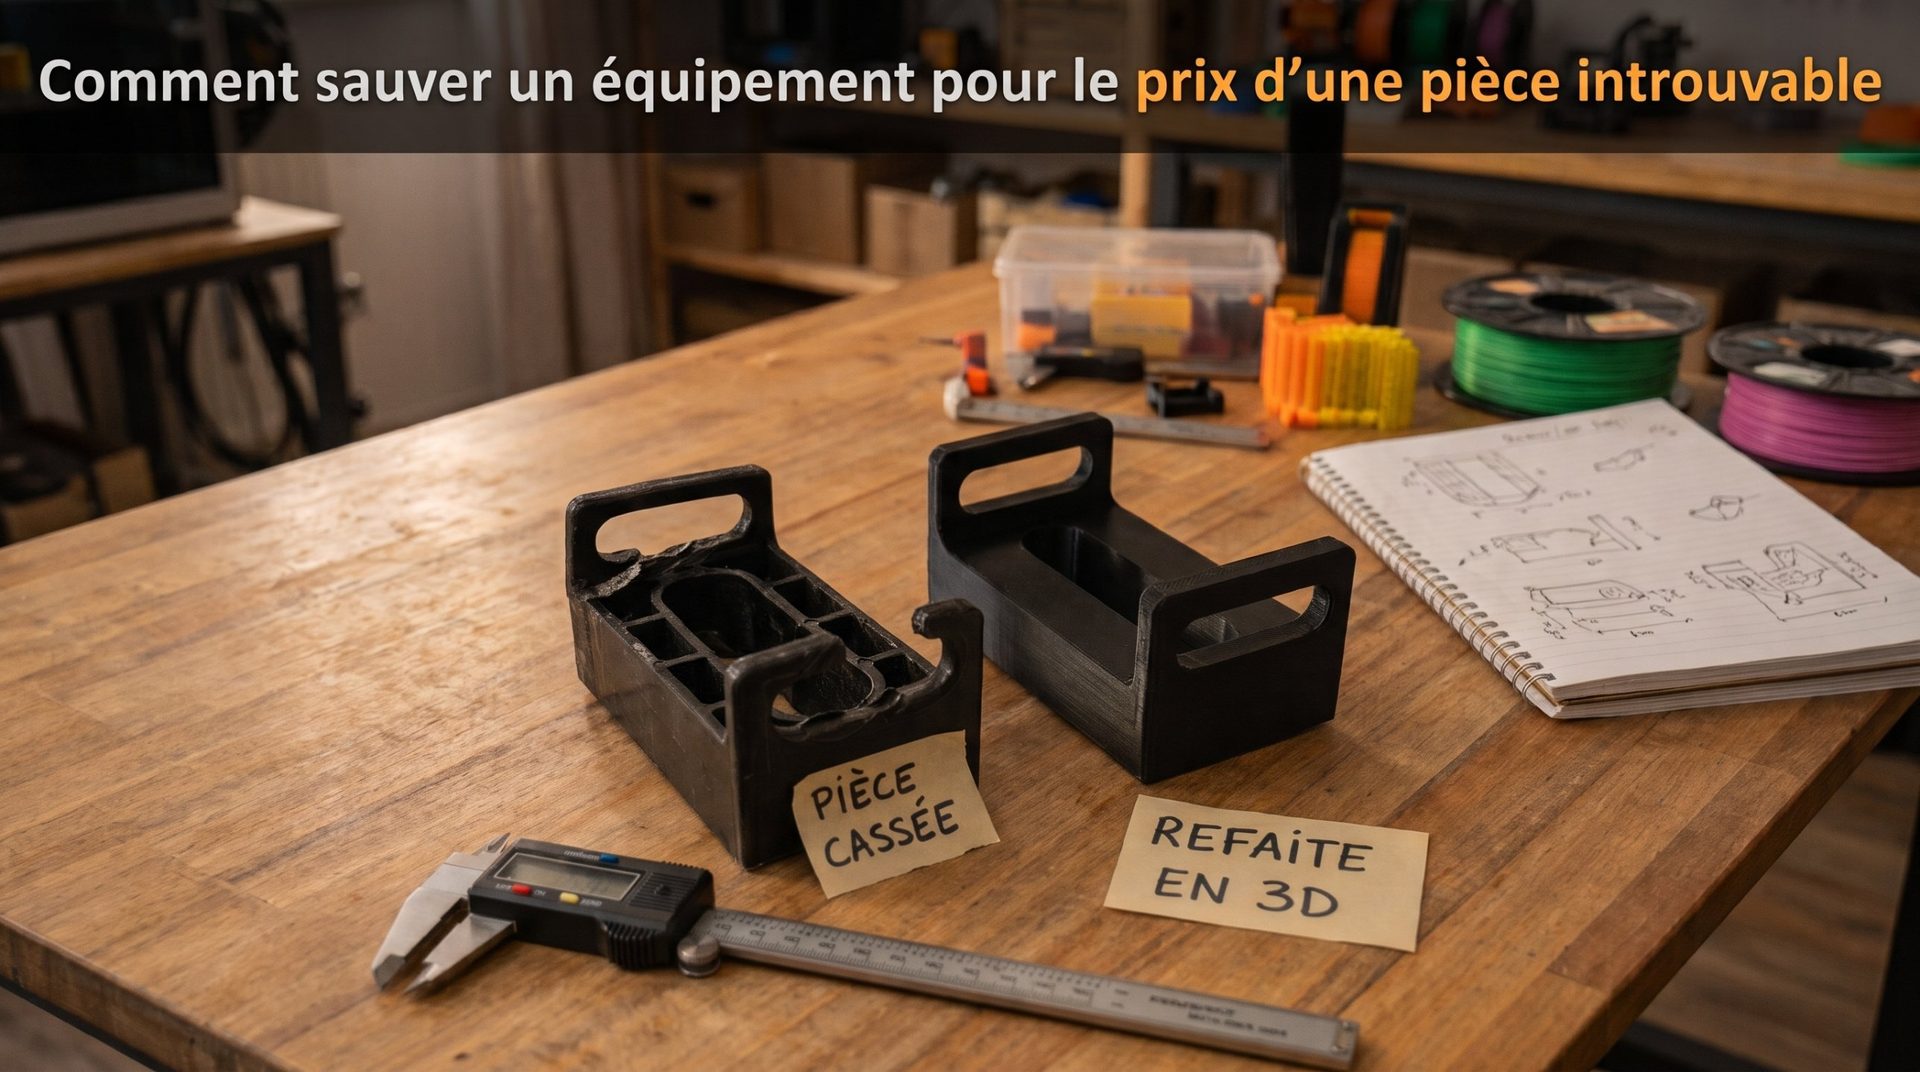
Replacing a functional component tolerates no guesswork. Starting with the damaged part (like the mounting bracket on the left in the photo), the work begins with a rigorous survey using digital calipers and radius gauges:
- Survey of functional zones: mounting center distances, oblong hole dimensions, thickness of load-bearing walls, and fit clearances with neighboring parts.
- Fracture analysis: the broken zone immediately reveals weak points: sharp corners, ribs that are too thin, or molding defects.
- CAD reconstruction: the part is completely redrawn as a solid model (STEP format). Rather than copying the lightening pockets imposed by injection molding (visible on the original part), the 3D-printed part (on the right) is thicker and reinforced where it matters most.
If you're not yet familiar with the approach, our article on custom replacement parts with 3D printing walks you through it step by step.
2. Choosing Material and Settings
A part remade with 3D printing must not only match the shape of the original: it must withstand the same stresses and temperatures over time.
| Criterion | Original Part (Injection Plastic) | Replacement Part (3D Printing) |
|---|---|---|
| Internal Structure | Thin walls with stiffening ribs | Thick walls (many perimeters) and dense infill |
| Weak Points | Sharp corners where cracks start | Rounded corners (fillets) added to distribute stress |
| Material | Standard plastic molded in high volume | PETG, ASA for outdoor use or carbon-filled nylon, depending on application |
| Lead Time | Weeks of waiting, or part unavailable | A few hours of modeling and printing |
The Importance of Build Plate Orientation
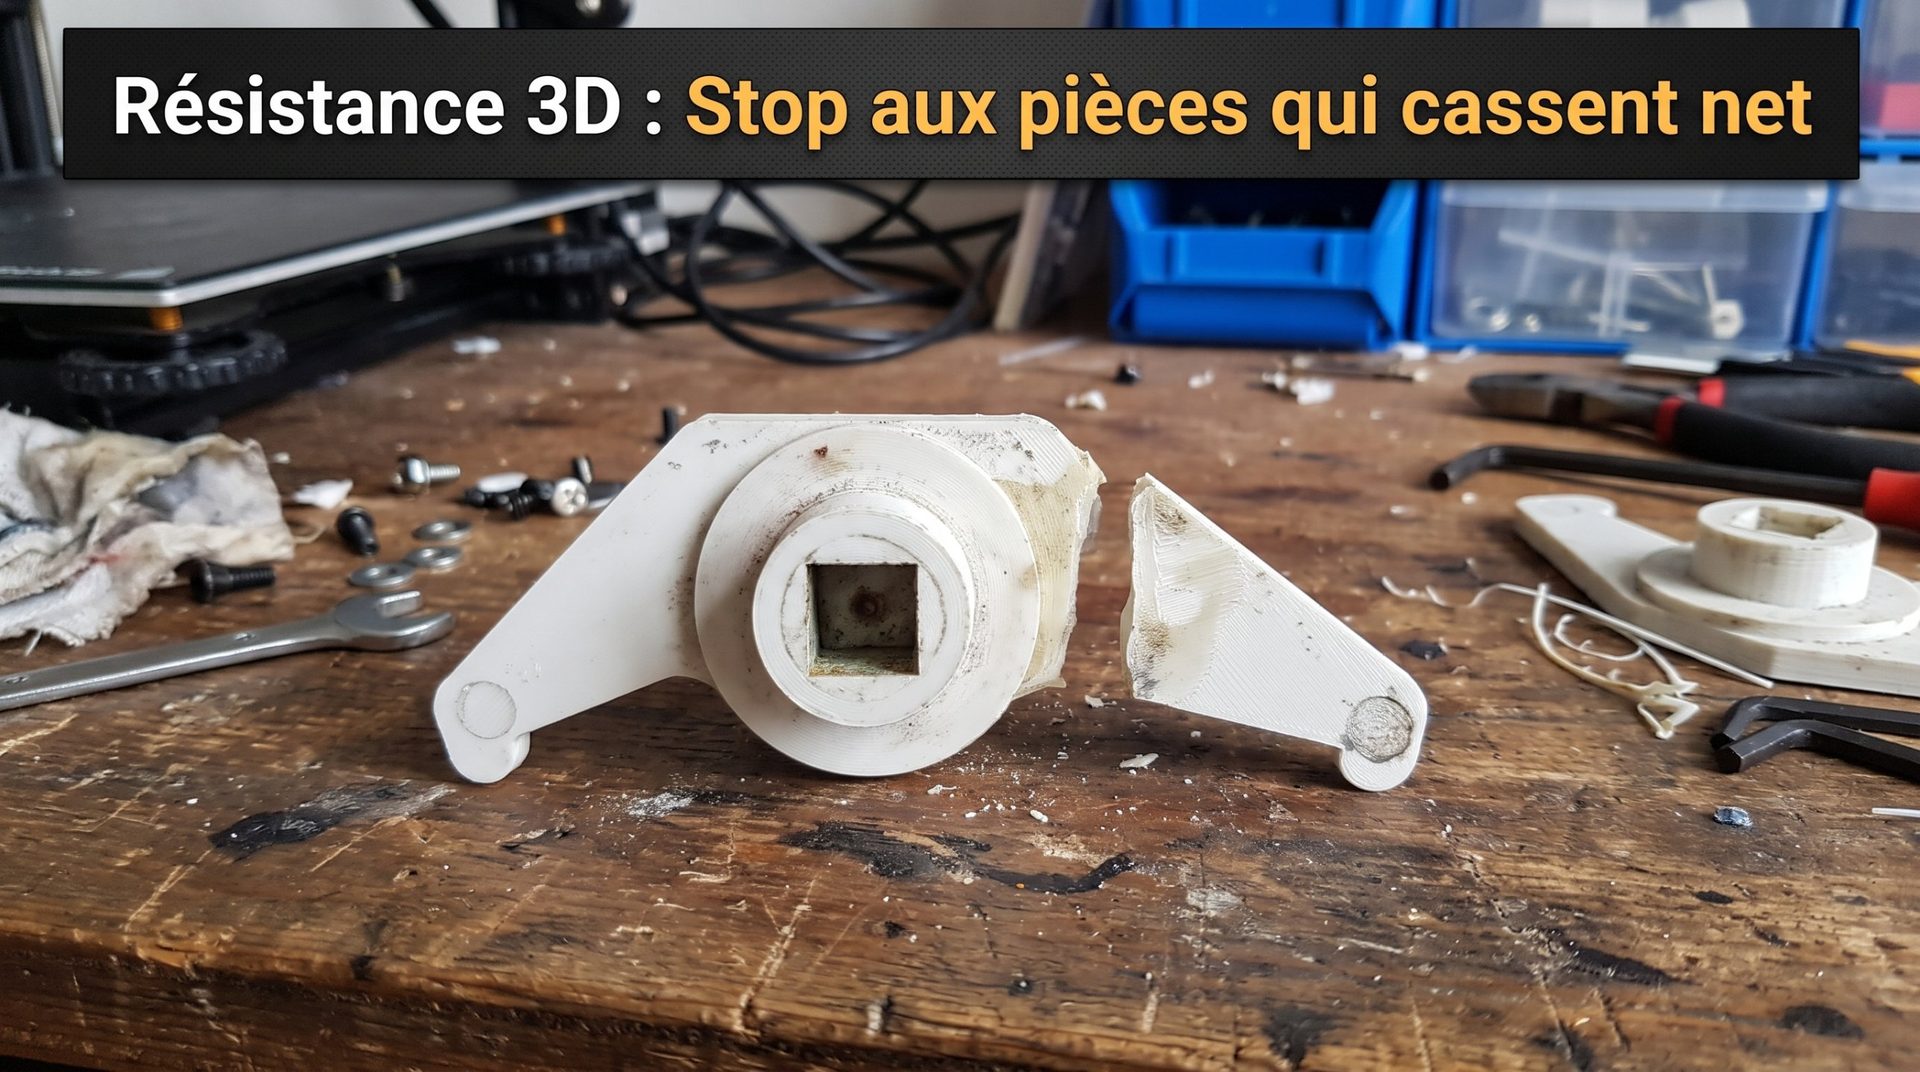
An FDM-printed part is weaker between its layers than along the layer direction. You must therefore choose the orientation before starting the machine: position the part so that the main stresses (tension, peel, bending) work in the plane of the layers, not perpendicular to them. Otherwise, layers risk separating under load. All our tips for solid parts: stop brittle parts from snapping.
3. A Cost-Effective Solution for Hobbyists and Professionals Alike
- No mold to build: 3D printing is cost-effective starting from a single part or small batch.
- Easy improvements: if a dimension needs adjusting by 0.2 mm or if reinforcement is needed after assembly, simply modify the CAD file and reprint.
- Less waste: get equipment back online for the price of a small part, without buying a whole new assembly or sitting idle for weeks.
You have a broken part, unavailable commercially, or priced too high by the manufacturer? Just send us a photo and some measurements: we'll model it, print it in the right material, and ship it to you, anywhere in the world.