3D Printing: The Secret Weapon for Custom Replacement Parts


Updated November 14, 2026
Why 3D Printing for Your Replacement Parts?
A single broken component is often enough to render an entire device unusable. Faced with obsolescence and hard-to-find or overpriced spare parts, 3D printing allows you to manufacture custom replacement parts and give a second life to your objects.
- Extend the life of your objects: instead of throwing away an appliance, toy, or tool for one small broken part, simply replace it. It's economical and means less waste.
- A part that's "always in stock": with a 3D file, the part can be reprinted on demand, anywhere and as many times as needed—even for a device that's no longer sold.
- An opportunity to improve the original: you can reinforce the point that broke, thicken a wall, round off a sharp edge, or adapt the part to your needs.
- Reduced cost: printing a small part often costs far less than an original component from customer service, not to mention replacing the entire device.
- Speed: once the model is ready, the part prints in just a few hours, whereas a spare part might take weeks to arrive.
The Process: From Broken Object to Printed Part
- Check if the model already exists. Sharing platforms like MakerWorld, Printables, Thingiverse, and Cults3D are full of replacement parts: search for your device's reference number followed by "spare part" or "replacement." See our selection of 3D file libraries.
- Otherwise, model it yourself. Measure the original part with a caliper, then redraw it in CAD software: Tinkercad for simple shapes, FreeCAD, Onshape, or Fusion for more technical parts. For complex or organic shapes, a 3D scan of the part can serve as a base.
- Print a test. Before the final part, quickly print the critical area (a mounting hole, clip, or joint) to check dimensions and tolerances: correct the file and try again if needed.
- Choose the right material:
- PLA for lightly stressed parts, away from heat;
- PETG for most functional parts: strong, slightly flexible, water-resistant;
- ASA (or ABS) for heat and outdoor use: ASA is also UV-resistant;
- TPU for seals, non-slip feet, and flexible parts;
- Nylon, optionally carbon-filled, for gears and heavily stressed parts.
- Orient the part correctly. A printed part is weaker between its layers: orient it so forces act along the layer direction, and use multiple perimeters for stressed parts.
- Post-process if needed: light sanding, drilling adjustments, or installing threaded inserts for screws.
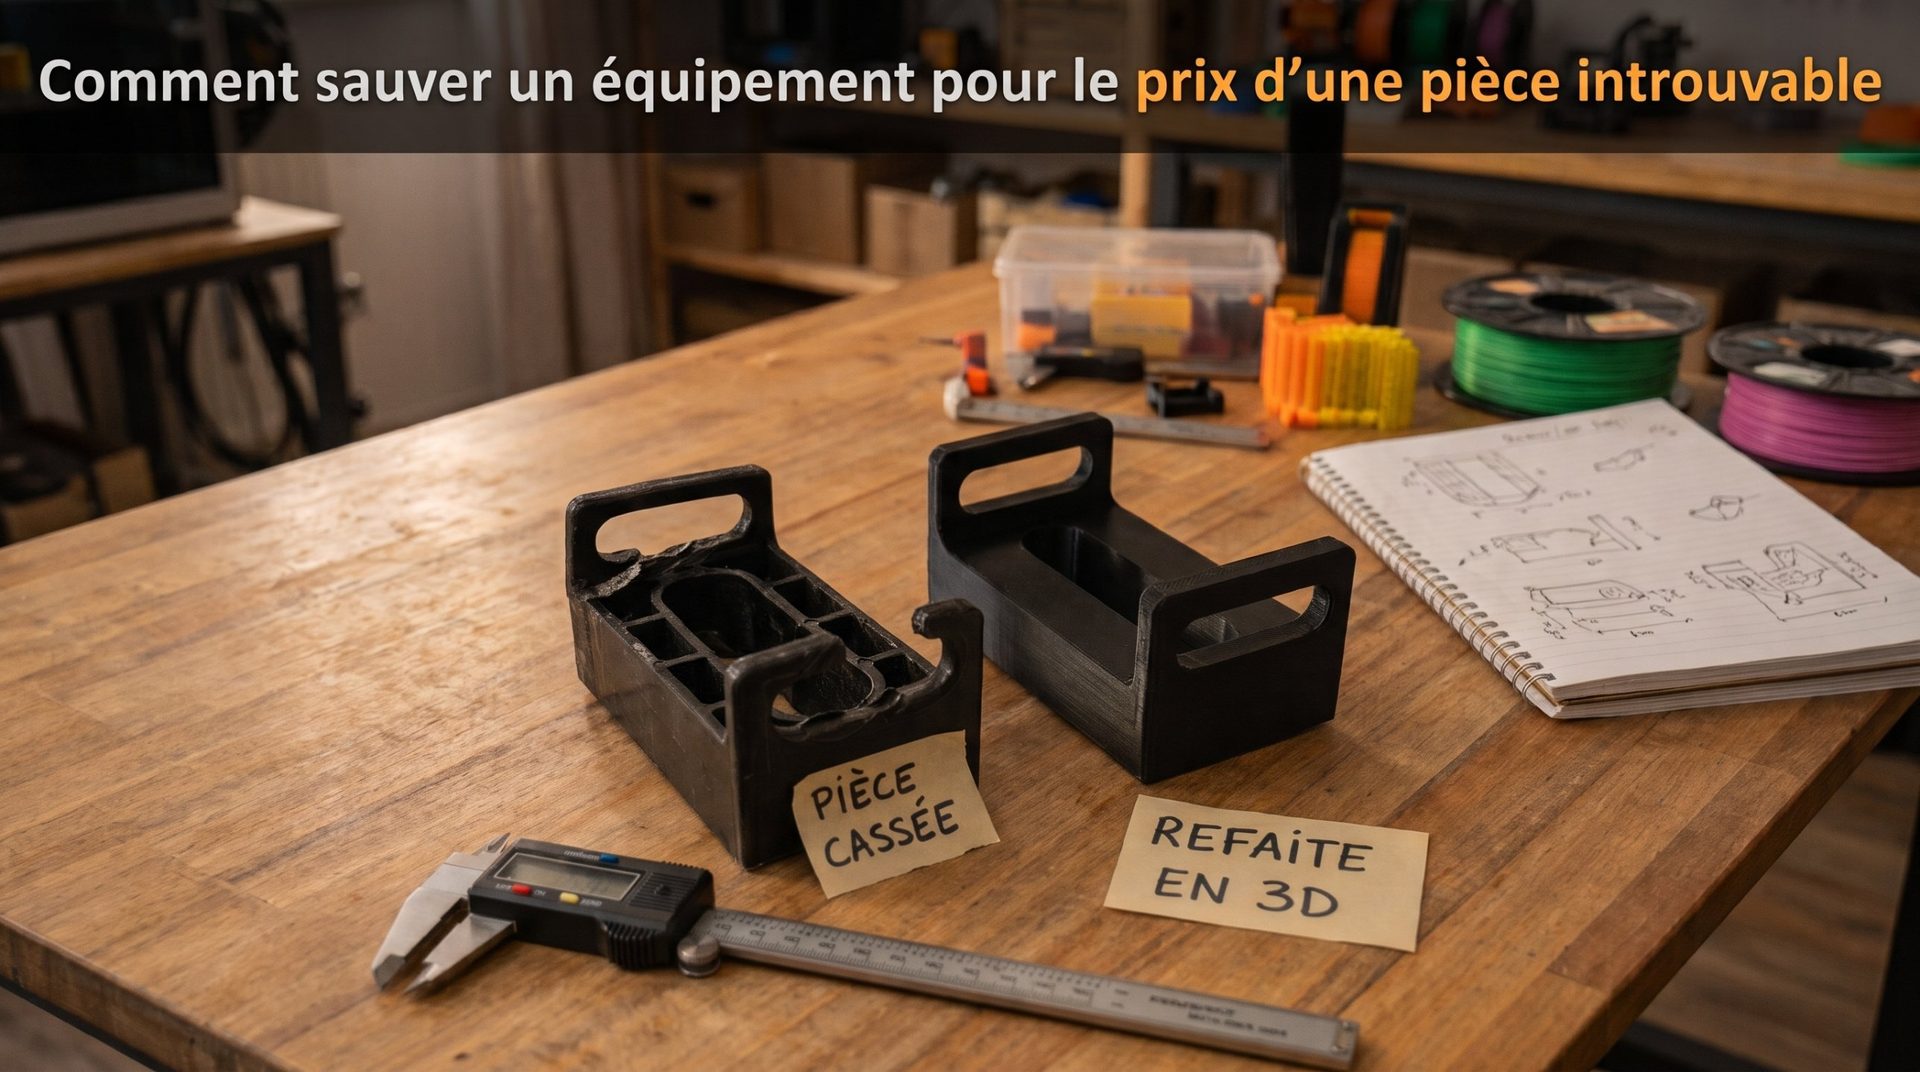
For a technical part (bracket, hinge, fastening), we detail the entire process—from taking measurements to choosing settings—in how to save a device for the price of a hard-to-find part.
A Gesture for the Circular Economy
Repairing instead of replacing reduces waste and resource consumption. Every 3D printer becomes a small repair workshop. So the next time a device breaks down, before you throw it away, ask yourself: could a 3D printed part give it a second life?
No printer or no time to model? Send us a photo and a few measurements of your part: we'll redesign it, print it, and ship it to you anywhere in the world.