Resin 3D Printing: How to Print Your Own Figurines

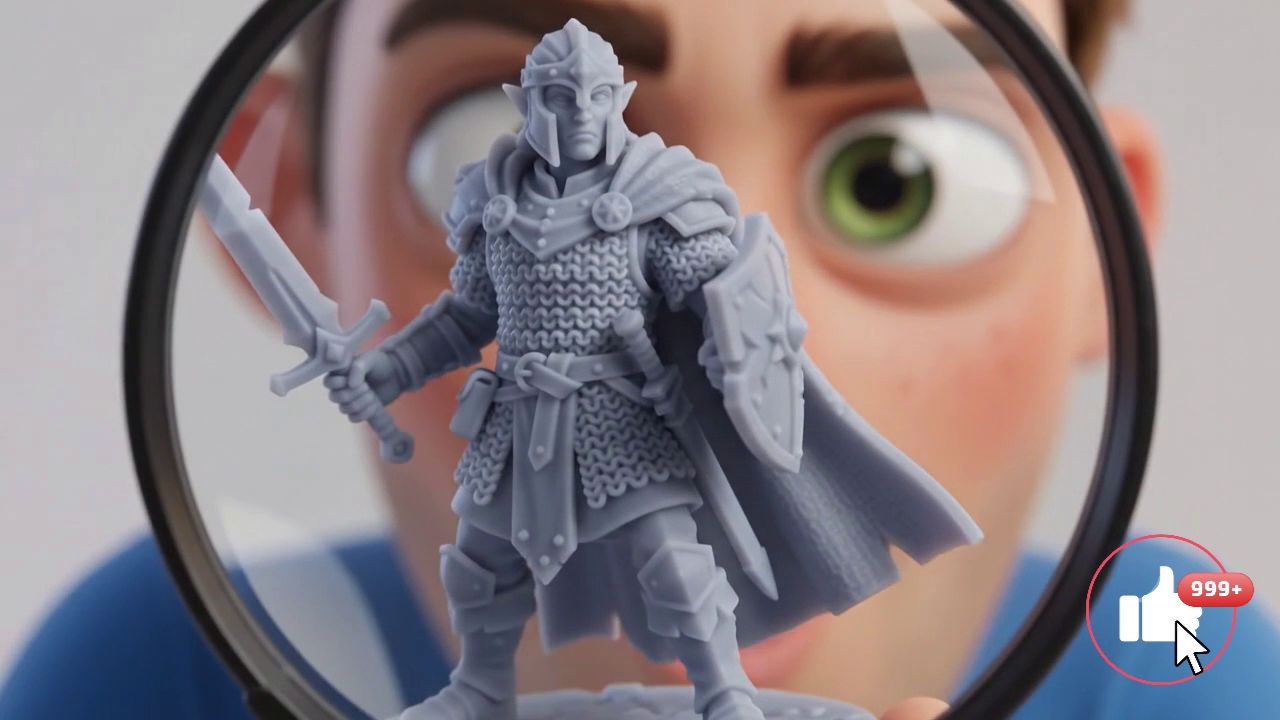
(Image Source and 3D File: Tike Myson via MakerWorld)
3D printing has completely transformed the world of miniature modeling, wargames (like Warhammer) and tabletop RPGs (Dungeons & Dragons). Instead of relying on commercial boxed sets, you can produce a custom army, create complex terrain, or design a hero that matches exactly what you imagine.
But printing a 30-millimeter figurine with ultra-fine details and realistic cloth textures takes know-how. Here's the complete guide to mastering 3D-printed figurines in 2026.
✅ Resin (SLA) or Filament (FDM)? The Verdict
For figurine printing, the debate is settled today: resin is the dominant technology.
Filament deposition printers (FDM), while excellent for building game terrain or massive structures, work by layering molten plastic. Even the best FDM machines leave slight "layer lines" that hide facial details or weapon textures.
Resin printers (SLA, DLP, or MSLA/LCD) use a screen or laser to flash and cure liquid resin with ultraviolet light. They can achieve details down to tens of microns, delivering a perfectly smooth surface ideal for painting.
| Feature | Resin (SLA / LCD) | Filament (FDM) |
| Precision | Exceptional (up to 16K) | Moderate (visible layer lines) |
| Material | Liquid resin (chemical) | Plastic spool (PLA, ABS, PETG) |
| Post-processing | Heavy (washing, UV curing) | Light (support removal) |
| Best for | Figurines, busts, jewelry, bits | Massive scenery, cosplay, storage |
✅ Essential Equipment in 2026
The resin printing market moves at lightning speed. In 2026, the standard is 14K or 16K screens, cameras with AI (that stop printing if a piece detaches), and heated resin tanks for winter printing.
Here are the machines dominating workshops today:
-
Best Value: Elegoo Saturn 4 Ultra 16K (Around €500). The current benchmark. It offers comfortable build volume for multiple figurines at once, stunning 16K resolution, and smart features (failure detection, auto-leveling) that save time and resin.
-
Best Budget Starter: Elegoo Mars 5 (Under €200). Small, incredibly affordable, and with 9K resolution more than sufficient to cut your teeth on your first squads.
-
For Massive Creations: Anycubic Photon Mono M7 Max (Around €800). Its huge 298 × 164 mm build plate lets you print giant dungeon dragons, vehicles, or dozens of figurines in a single print cycle.
✅ The Creation Process (Workflow)
Resin printing is a matter of chemistry and method. The process is not simply "plug and play." You must follow a strict sequence to get a figurine ready for the painting table.
1. File Preparation (Slicing): Software: Lychee Slicer or Chitubox.
You import your 3D model (a .stl or .obj file). The software slices it into thousands of virtual layers. This is where you add supports: small scaffolding structures needed to hold model parts that "hang" in thin air (like an outstretched arm or a cape tip).
2. UV Printing:
The machine lowers its build plate into the liquid resin tank. An LCD screen below the tank flashes UV light to cure the first layer. The plate rises slightly, and the process repeats layer by layer (often over 1000 times for a single figurine).
3. Washing (Wash): A messy step — Gloves required.
Fresh from the printer, the figurine is covered in sticky, toxic liquid resin. You must soak and agitate it in a tank of isopropyl alcohol (IPA) 99% to dissolve excess resin (using an automated Wash & Cure station is highly recommended).
4. Support Removal: Before final curing.
Once clean but while still slightly flexible, gently remove support pillars with a small cutter. A trick: soak it in very hot water for a few seconds and supports peel off like velcro without marking the figurine.
5. Final Polymerization (Cure):
The resin in your washed figurine isn't fully cross-linked yet. Expose it 2 to 3 minutes under a powerful UV lamp so it reaches final hardness, becomes inert, and is ready for painting.
✅ Safety and Precautions: Never Skip These
Resin printing delivers magical results, but liquid resin is an irritating chemical harmful to the environment.
-
Personal Protective Equipment (PPE): Always wear nitrile gloves (latex lets certain solvents through) and safety glasses when handling the bottle, tank, or uncured prints.
-
Ventilation: Resins release volatile organic compounds (VOCs). Print in a garage, well-ventilated workshop, or use an enclosed cabinet with an air extractor ducted to a window. Never place a resin printer in a bedroom or living space.
-
Waste Management: Rinse water or alcohol saturated with resin must never go down the sink. Let the liquid evaporate in sunlight to harden residue at the tank bottom, then dispose of hardened residue (now harmless) in the trash.