Print a 3D Map: Transform a Topographic Map Into Wall Art
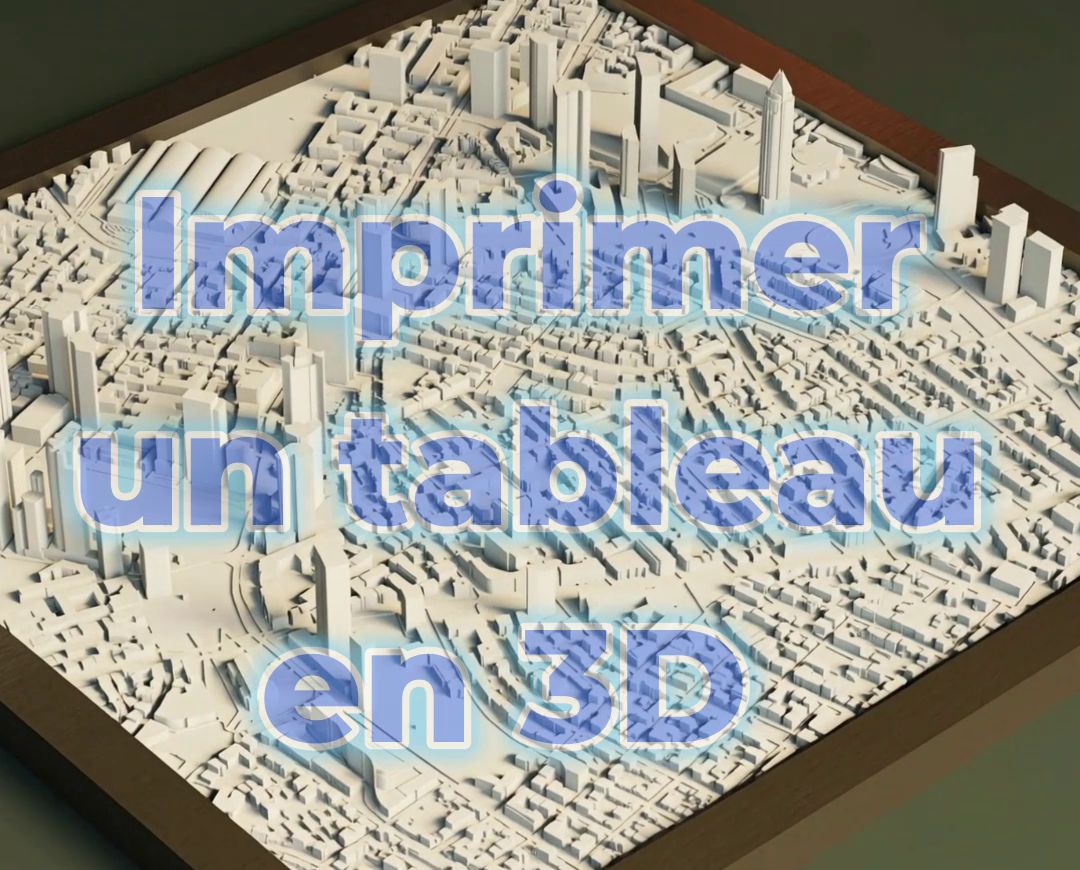
Are you passionate about travel, hiking, or geography? 3D printing lets you transform a simple map into a tangible and personalized work of art. Printing the relief of a mountain range, a city, or a place dear to your heart is a project that's both fascinating and accessible, requiring just a few simple steps.

The Tools You'll Need
Before you start, you'll need three things:
- An online 3D file generator: Specialized websites like Terrain2STL convert elevation data from a geographic area into a 3D file (.STL format).
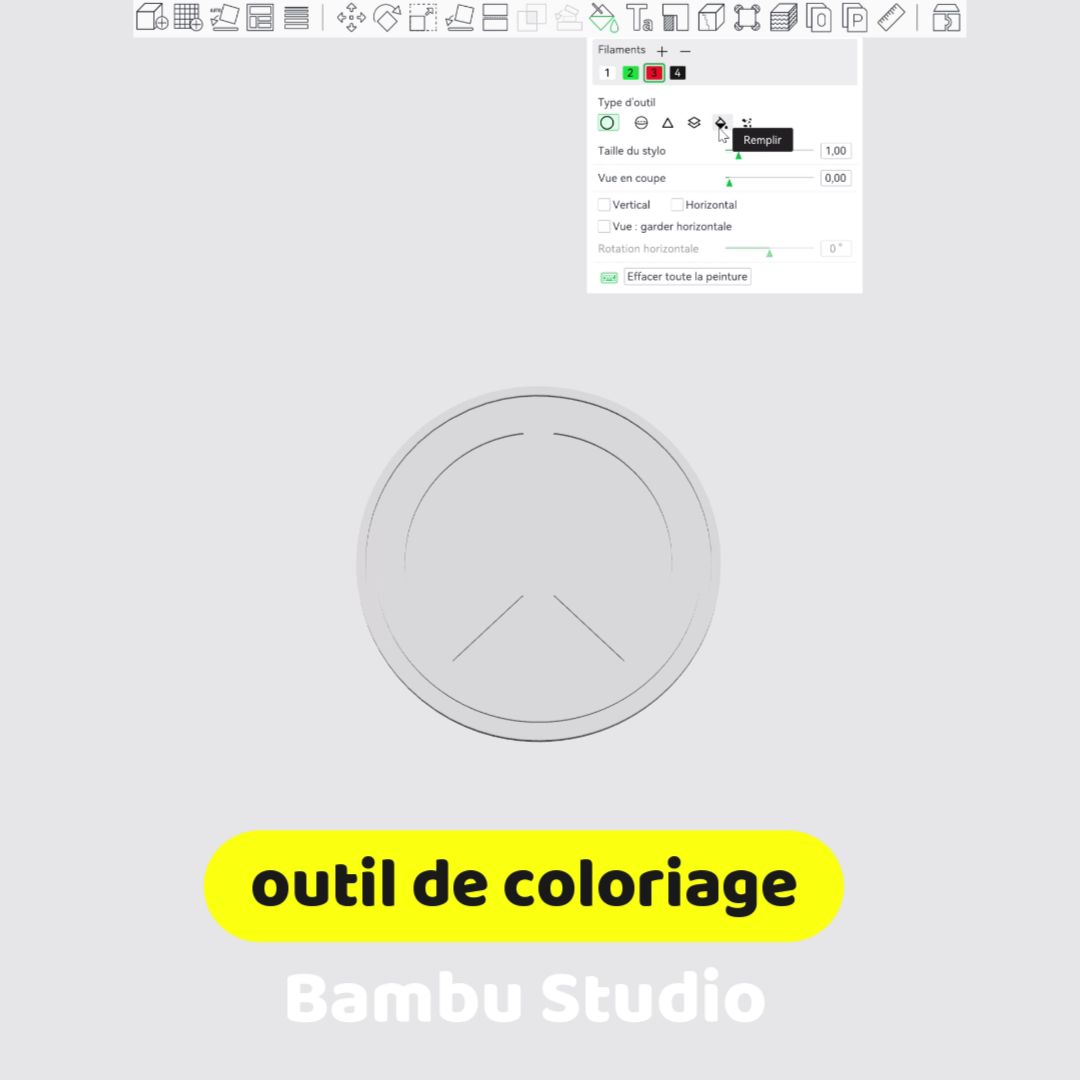
- A slicer: Your printer's slicing software (such as Cura, PrusaSlicer, or Bambu Studio) to prepare the file.
- A 3D printer: The machine to bring your map to life.
Step by Step: From Web to 3D Print
The digital conversion process is surprisingly fast and intuitive.
Step 1: Choose Your Area Go to your chosen conversion website. Use the map to navigate and select the geographic area you want to print. You can define the size and shape of the area using the selection tools.
Step 2: Adjust the Settings Once you've selected your area, you can tweak the settings for optimal results:
- Base height: This is the thickness of the plate under the topography. A thicker base makes the map sturdier and easier to handle.
- Vertical scale: This is the most important parameter. It exaggerates the relief to make mountains and valleys stand out, creating a more impressive result. A scale of 2x or 3x is often a good compromise.
Step 3: Download the File Generate the .STL file and download it to your computer. You're now ready to prepare it for printing.
Print Settings: Bringing Your Map to Life
Open the .STL file in your slicer and follow these tips for a successful print:
- Filament: PLA is the ideal choice. It prints easily, delivers excellent surface quality, and showcases the relief details beautifully.
- Layer height: Set the layer height to a low value (between 0.12 and 0.16 mm). This captures the finest details of the topography.
- Infill and supports: Low infill (10–15%) is enough. Generally, map models don't need supports unless the area's geography is particularly complex (like cliffs).
- Color: A solid, light color like white, gray, or beige works perfectly. Light and shadow will naturally enhance the relief. You can also paint your map afterward.
The Final Touch: Display and Post-Processing
Once printing is done, add a personal touch to make it a true work of art:
- Cleanup: Gently remove any stray plastic strings (stringing). You can lightly sand the edges for a cleaner finish.
- Painting: Paint the map by hand or with an airbrush.
- Display: Glue the map to a wooden board, frame it, or simply mount it on the wall.
In conclusion, 3D printing maps is a fantastic project that blends technology with creativity. Transform any location into a unique decorative object and a personal keepsake.