
The Color Painting Tool in Bambu Studio
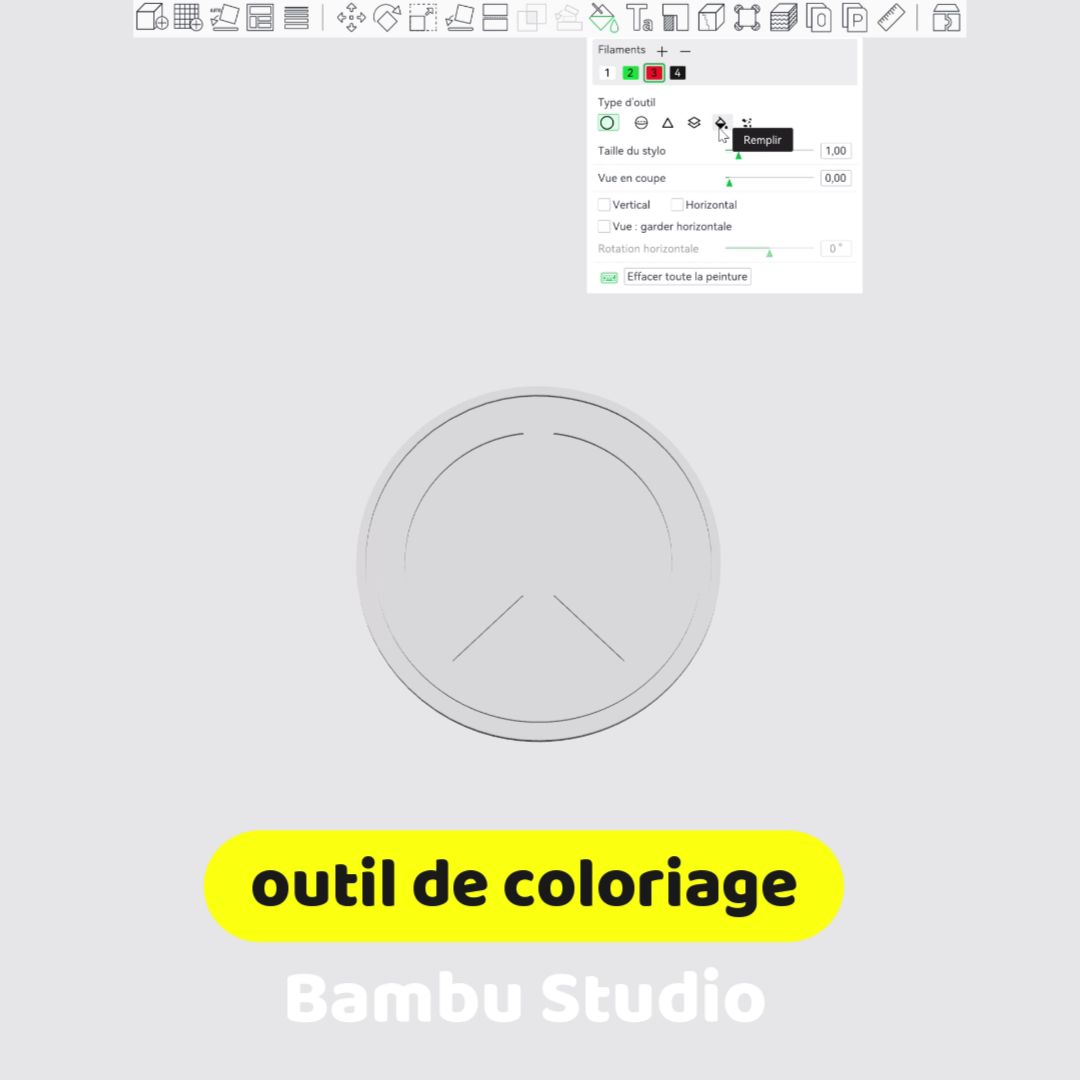
Bambu Studio has revolutionized multicolor 3D printing by making the process of "painting" on 3D models intuitive, even if you have no CAD (Computer-Aided Design) skills.
Here's a complete guide to mastering the Color Painting tool and getting the most out of your AMS system.

✅ Prerequisites and tool access
Before you start, make sure you've configured your filaments in the Prepare tab.
-
Select your object on the build plate.
-
Click the paint bucket icon in the top toolbar (or press the N key).
-
A floating window appears with different painting modes.
✅ The different painting modes
Each mode has a specific purpose depending on the geometry of your part:
| Mode | Ideal use |
| Circle / Sphere | To draw freely with freehand shapes or details. |
| Fill | To color an entire face or a zone delimited by sharp edges. |
| Paint bucket (Gap Fill) | To fill small holes or forgotten areas. |
| Layer | To color an entire horizontal slice (useful for flat logos). |
| Height angle | To automatically detect relief changes (useful for embossed text). |
✅ Tips for professional results
Mastering the detection angle
In Fill mode, you'll find a slider called Smart Fill Angle.
-
Low (e.g., 30°): Color will stop at sharp angles.
-
High (e.g., 90°): Color will spread more easily over curved surfaces.
Managing supports
Painting an area can sometimes modify your support structure. If you paint an area "in mid-air," Bambu Studio will use the chosen filament for the support interface if you're not careful.
Tip: Always use the cheapest filament for supports and save your expensive colors for the model's "skin."
Cleaning up mistakes
If you go overboard, don't panic:
-
Use Ctrl + Z to undo.
-
Use the Eraser tool (often shown as the model's base color) to "erase" unwanted paint.
✅ Time and waste optimization (Purge)
Multicolor printing generates "purge towers" and waste (poop). To reduce this:
-
Paint smartly: The fewer color changes per layer, the faster the print.
-
Flush into objects: If you're printing multiple objects, check the option to purge into the infill of another object.
-
Reduce purge ratios: Click Editing Flushing Amounts to adjust the amount of filament purged (be careful when switching from black to white).
✅ Ready to print
Once painting is complete, click Slice.
Carefully review the layer preview. You'll see that Bambu Studio only applies color to the outer walls (roughly 2 or 3 wall lines) to save on colored filament, while keeping the interior with the main filament.
Technical note: The thickness of the digital "paint" is defined by the number of walls configured. If you have transparency issues (you can see the internal color through the external color), increase the number of walls to 3 or 4.


