Lithophane 3D Printing: Transform a Photo Into Glowing Relief Art
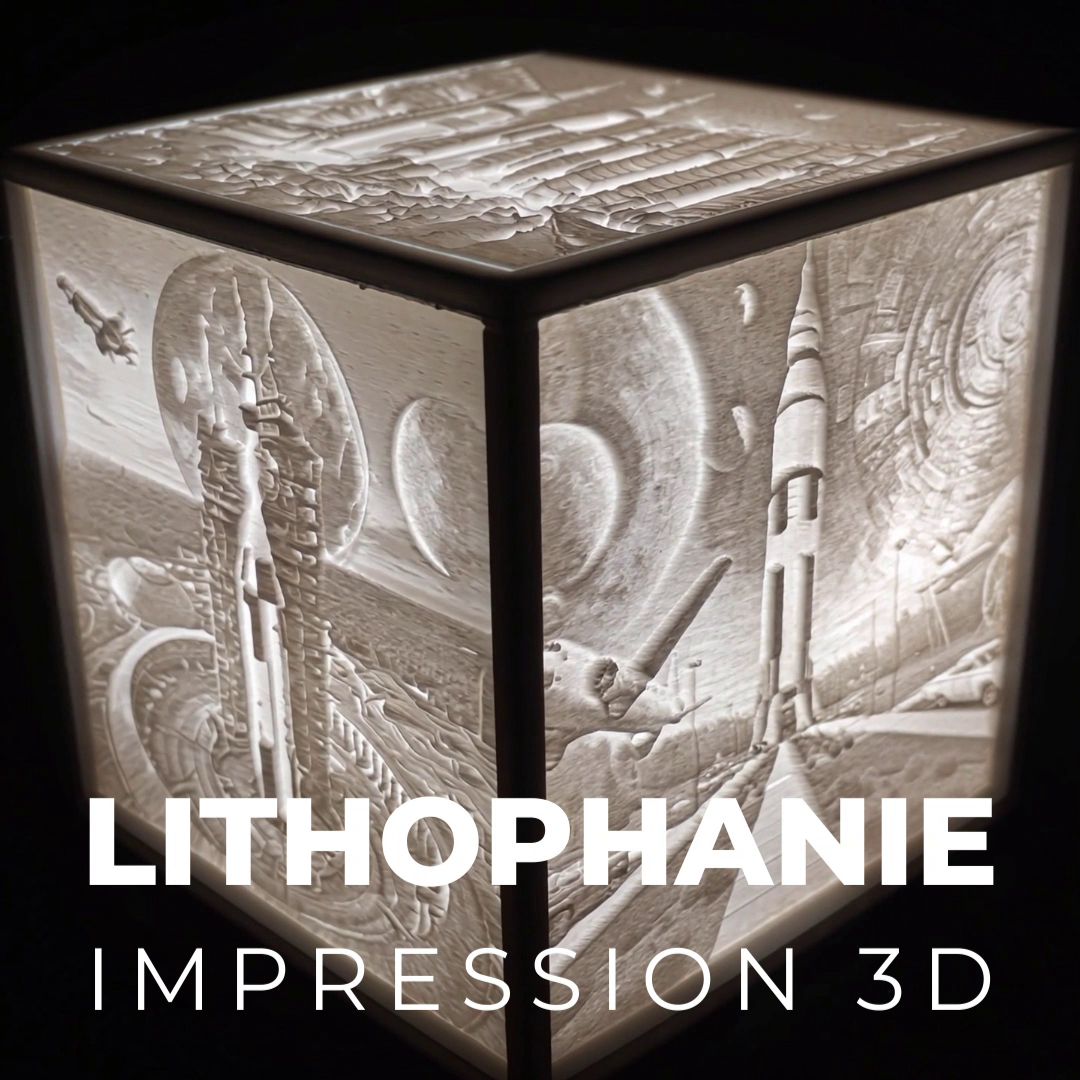
A lithophane is one of the most magical and rewarding applications of 3D printing. This technique, which has existed since the 19th century, involves transforming a photo into a relief plate whose variations in thickness reveal a black and white image when backlit. It's the perfect project to create a unique gift or a personal and memorable decorative object.

What is a Lithophane? The Principle
How a lithophane works is simple and ingenious:
- The bright areas of the photo correspond to the thinnest parts of the 3D print. They let more light through.
- The dark areas of the photo correspond to the thickest parts of the 3D print. They block the light.
It's this variation in transparency, created by the variation in material thickness, that makes the image appear with incredible fineness and subtle contrast.
Step by Step: Create Your Lithophane
The creation process is much simpler than it seems, thanks to online tools that do all the conversion work for you.
1. Choose the right photo The quality of the result depends first and foremost on the starting photo. Go for an image with high contrast and good lighting. Avoid blurry or overly dark photos. Portrait or landscape photos with marked shadows work very well.
2. Convert the photo to 3D There are specialized websites that handle the conversion. The most popular is Itslitho.com or similar tools built into some slicing software.
- Import your photo.
- Adjust the parameters: you can choose the shape of your lithophane (flat, cylinder for a candle, or a sphere).
- Download the generated .STL file.
3. Prepare the print Open the .STL file in your slicer (Cura, PrusaSlicer, Bambu Studio) and apply these essential settings:
- Orientation: This is the most important point. Print the lithophane in a vertical position. This ensures the best resolution and makes layer lines nearly invisible.
- Material: Use white PLA for optimal results. It's the filament that lets light pass through best.
- Infill: Set infill to 100%. It's essential that the part is completely solid for the thickness variation to be effective.
- Layer height: Use a low layer height (0.12 mm is ideal) to capture the finest details of the photo.
Tips for Perfect Printing
- Think about lighting: A lithophane's effect only shows when backlit. Create a stand or use a base with an LED light, a window, or even a simple LED candle to show it off.
- Quality first: Good quality filament guarantees a cleaner, smoother result without imperfections.
In conclusion, lithophane printing is a project that is both simple and incredibly rewarding, combining photography and digital manufacturing. It's an elegant and touching way to transform a photo into a lasting work of art.
From Modeling to 3D Printing: The Complete Cycle
AI-assisted modeling and 3D printing form a formidable duo. Models generated or optimized by artificial intelligence, once finalized, are the ideal starting point for physical manufacturing. They can be exported in a standard format (such as .STL or .OBJ) and prepared for printing in slicing software. This complete workflow, from abstract idea to tangible object, is the promise of this new era of creation. It lets you materialize a vision born from your imagination and assisted by AI, transforming a virtual concept into tangible reality in just a few hours.