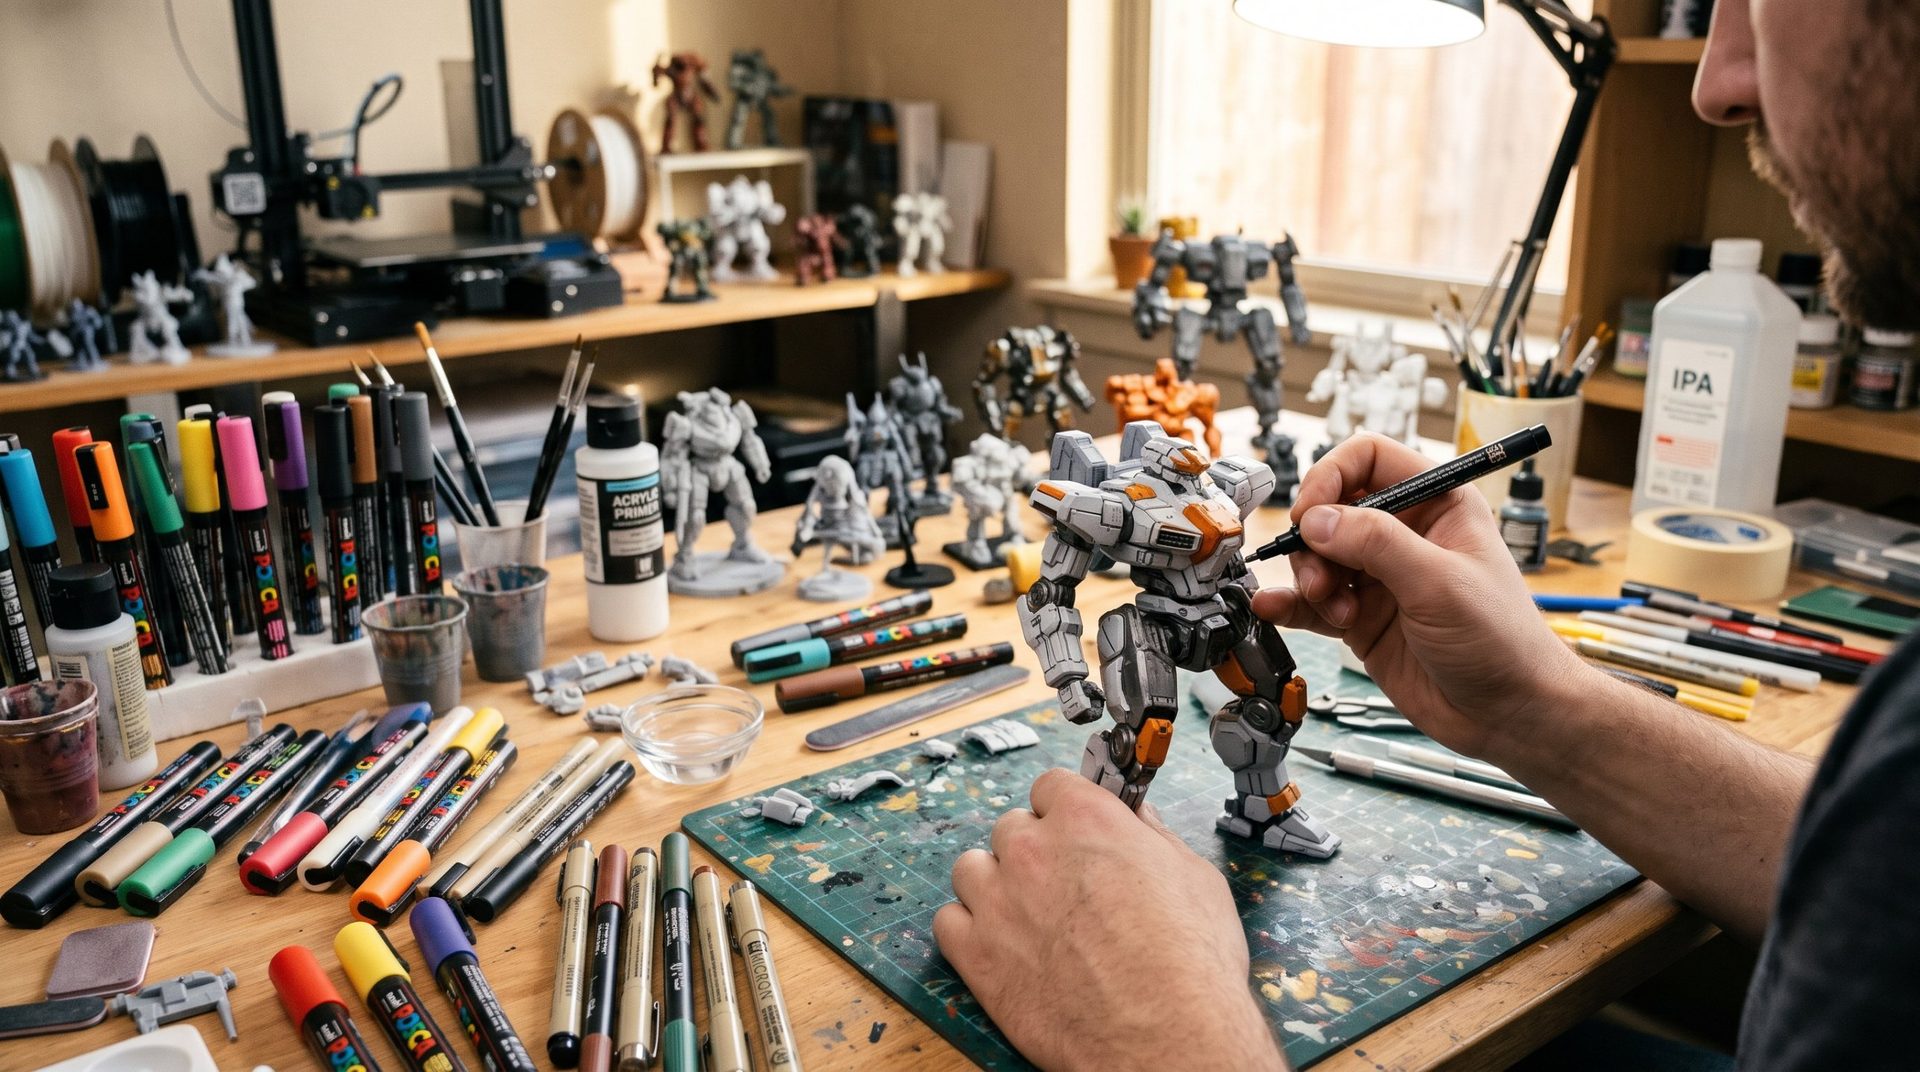
Painting 3D Printed Figurines: The Art of Bringing Your Creations to Life

3D printing is an incredible tool that lets you materialize any digital form. However, a figurine fresh from the printer—whether monochrome resin or raw plastic—often reveals only part of its potential. That's where the art of painting comes in, transforming a simple object into a vibrant character rich in detail and personality. Painting isn't just a finishing touch; it's the crucial step that breathes soul into your 3D figurine.
Key Steps to Painting 3D Figurines:

-
Preparing the Figurine: The Foundation for Success
- Cleaning: Thoroughly wash the figurine with warm soapy water to remove dust, oils, and print residue. Let it dry completely.
- Support Removal and Smoothing: Carefully cut away all print supports. For resin prints, isopropyl alcohol cleaning followed by a final UV cure is essential.
- Sanding: Use sandpaper (start with medium grit, then progress to very fine) to eliminate visible layer lines and rough spots. For fine details, use hobby files.
- Filler Application (if needed): If the figurine has divots, deep marks, or was assembled from multiple pieces, apply fine filler, let it dry, then sand again.
-
Primer Application (Undercoat): The Essential Bond
- Apply a thin, even coat of primer. Primer ensures better paint adhesion, reveals any remaining minor flaws, and provides a neutral, uniform color base. Choose white primer for vibrant colors, black for dark dramatic tones, or gray for versatile coverage.
-
Basecoating: Building the Foundation
- Apply the main colors to each area of the figurine. The trick is using multiple thin, well-thinned coats rather than one thick one. This preserves detail and avoids a "muddy" effect. Let each coat dry before applying the next.
-
Shading and Washing: Depth Revealed
- This step adds depth. Use heavily thinned paints (called "washes" or "inks") or specific shades that, through capillary action, pool in recesses and crevices, creating natural shadow effects and emphasizing detail.
-
Highlighting and Drybrushing: Light Captured
- Apply slightly lighter colors than the base color to areas most exposed to light (edges, raised areas, muscle tops). "Drybrushing" (using an almost-dry brush) is an effective technique here. This simulates light effects and makes volumes pop.
-
Fine Details and Final Touches: The Character's Soul
- With very fine brushes, add small details: eyes, mouths, clothing patterns, metallic reflections, scars, and more. This is when the figurine truly comes alive.
-
Varnishing (Final Protection): Your Masterpiece's Shield
- Once all paint layers are fully dry, apply one or two coats of protective varnish. Choose matte varnish for a realistic look, satin for subtle shine, or gloss for a wet or pronounced metallic effect. Varnish protects your paint and unifies the whole piece.
Tips for Painting Success:
- Patience is the Mother of Precision: Don't rush. Let each coat dry properly.
- Thinning: This is the secret! Paint that's too thick will obscure detail.
- Good Lighting: Paint under neutral, adequate light so you can see colors and shadows clearly.
- Reference Images: Don't hesitate to use reference images of the character or similar objects to guide you.
- Practice: Painting is a skill that improves with practice. Don't get discouraged if your first attempts aren't perfect.