Paint Your 3D Figures with Marker Pens: Fast Method for Ultra-Precise Details
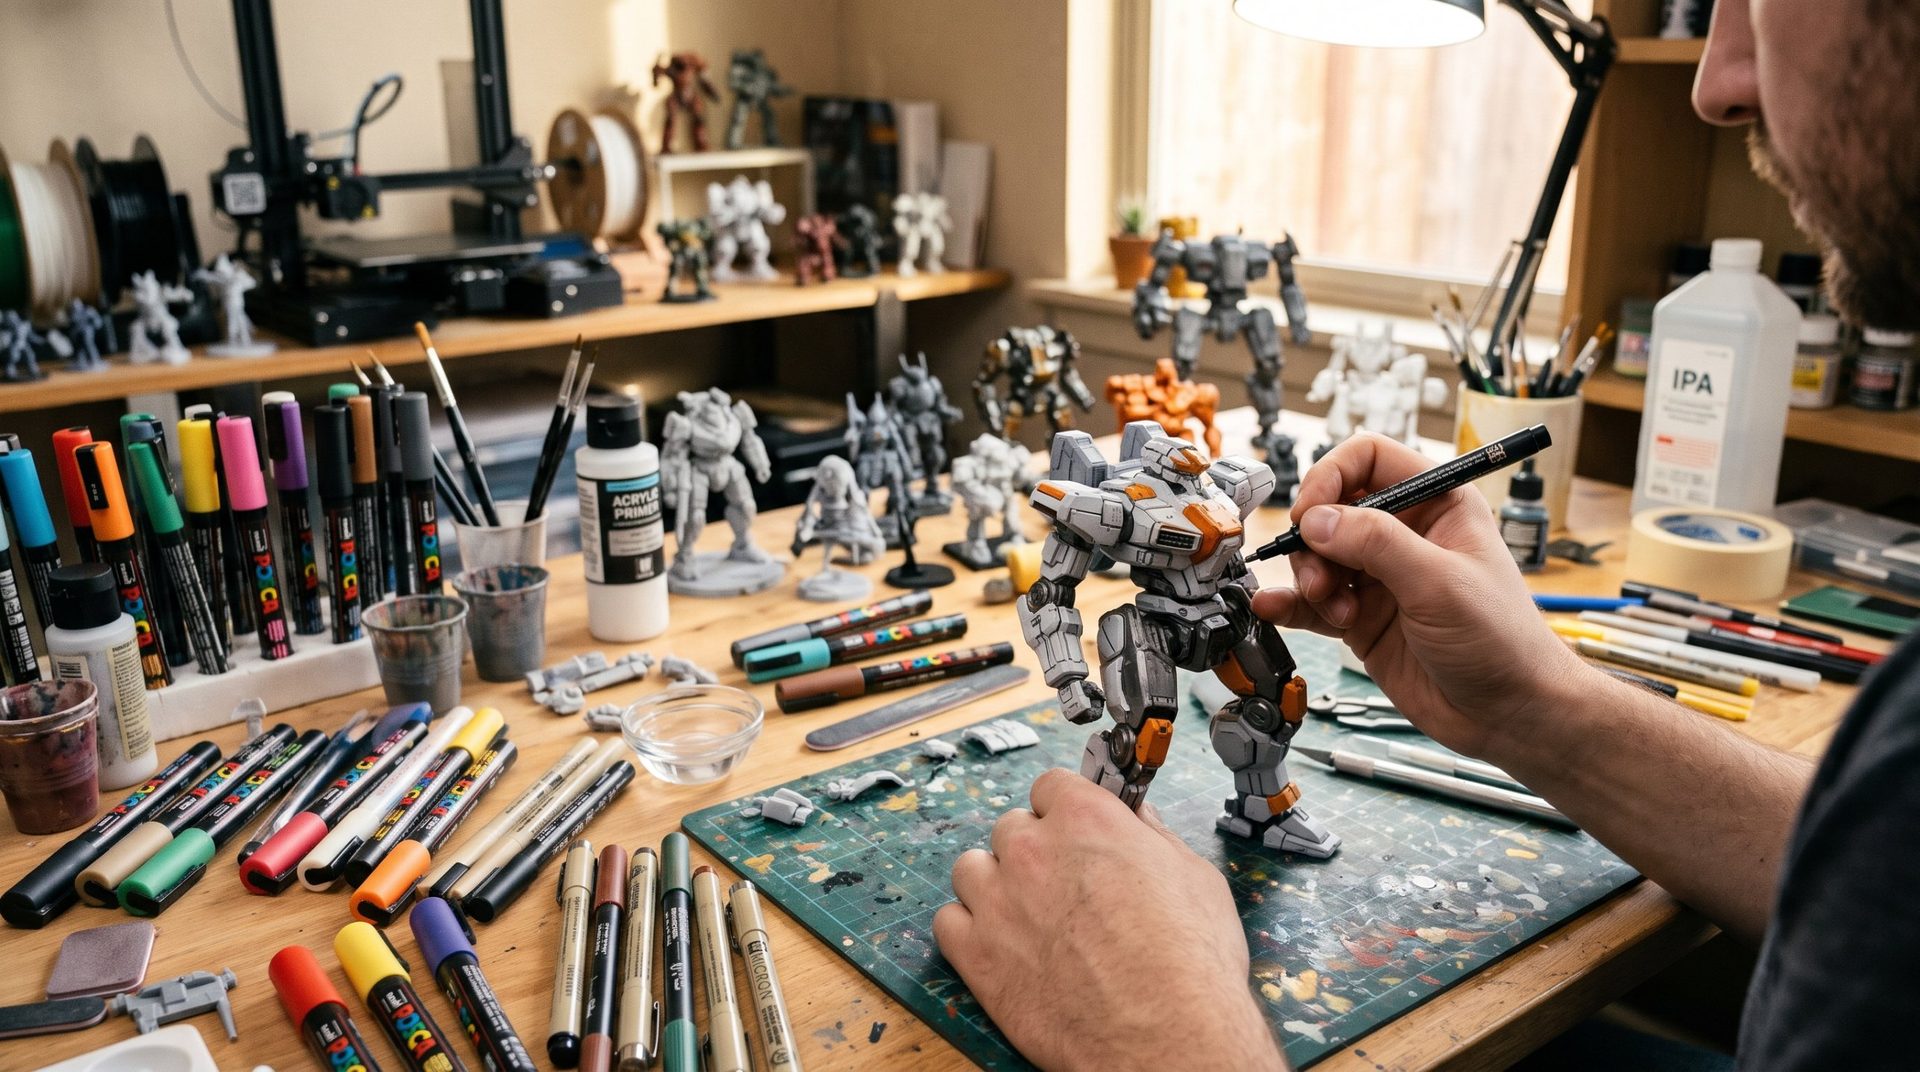
To paint a figure fresh from an FDM or resin printer, an airbrush and paintbrush remain the standard tools. But for crisp outlines, tiny lettering, perfect pupils, or highlighting the recesses of mechanical armor, the brush demands considerable dexterity and paint diluted to the millimeter.
Technical pens and modeling markers have become a formidable weapon in the maker's workshop. Immediate handling, steady flow, quick drying: used correctly, they deliver sharp, contrasty results in a fraction of the usual time.
1. Which marker type for printed plastic?
Not all markers react the same way on PLA, PETG, or resin. Four main families dominate the workbench:
| Marker Type | Reference Brands | Finish and Advantages | Limitations and Precautions |
|---|---|---|---|
| Acrylic pump pen | Posca (extra-fine tips PC-1MR or PC-1M), Molotow One4All | Highly opaque pigment, matte or satin finish, covers in one coat. | Tip can dry if not primed properly; fragile to rubbing before varnish. |
| Modeling markers (Gundam Markers) | Mr. Hobby / GSI Creos | Formulated specifically for plastic, with brush, fine, or angled tips. | Color range sometimes limited outside mecha and manga themes. |
| Panel lining pens | Gundam Marker GM01 / GM02, Sakura Pigma Micron | Gundam Markers with fluid ink flow naturally into recesses; Pigma Micron's ultra-fine tip traces precise lines. | Reserve for recesses and seam lines: on flat surfaces, fluid ink spreads and smudges. |
| Alcohol-based markers | Promarker, Copic | Subtle blends, nearly instant drying. | Low opacity on dark plastic; they diffuse between layers. |
Amazon partner links: they don't change the price for you and help keep the site running.
2. The essential step: primer
Applying a marker directly to bare PLA or resin almost always fails:
- On PLA (FDM): ink seeps into the grooves between layers like blotting paper, and the line bleeds.
- On resin: the surface is very smooth and non-porous, ink slides, pools, and flakes at the slightest touch.
Proper preparation:
- Deburring and sanding: remove supports and lightly sand with fine paper (600–1000 grit).
- Degreasing: clean the piece with soapy water or isopropyl alcohol to remove fingerprints and grease.
- Spray or airbrush primer: apply a thin matte acrylic primer (white, gray, or black). Its slightly rough surface grips the marker tip and prevents ink from diffusing between layers. To choose the right spray, read our article on the best spray for your 3D prints.
3. Application techniques and workshop tips
Eyes and micro-details without shaking
For faces or helmet optics, an extra-fine acrylic marker (0.7 mm) outperforms a size 000 brush:
- Always prime the marker on scrap paper to release excess paint.
- Rest your hand flat on the bench to stabilize your stroke.
- Touch the piece with a quick, decisive gesture without pressing the tip, to avoid drowning the detail.
Panel lining to reveal volume
On robots, vehicles, or space armor, highlighting panel lines instantly gives the model an industrial look:
- Place the tip of a fluid ink marker at the intersection of two surfaces.
- The ink follows the groove on its own.
- If the line bleeds, a cotton swab lightly dampened with alcohol or water (depending on marker type) erases the excess without touching the paint around it.
4. Seal and protect: varnish
Marker paint remains fragile until sealed, especially on handled figures (board games, wargames, toys):
- Let it dry thoroughly: wait at least 2 to 4 hours for pigments to stabilize.
- Choose the right varnish: an acrylic spray or airbrush varnish, matte for a realistic finish, or satin.
- Apply in thin coats: spray in light, cross-pattern passes, about 20–25 cm away. Never brush varnish directly over marker lines: it will thin and spread the pigments.
Markers and brush: the winning duo
Markers don't completely replace the brush, but they complement it beautifully: flat colors and volume with brush or airbrush, details, lettering, and panel lines with marker. For the major steps in figure painting, follow our tutorial on painting a 3D figure step by step, and for color selection, our paint guide for your 3D prints.