Multicolor 3D Print Test Guide
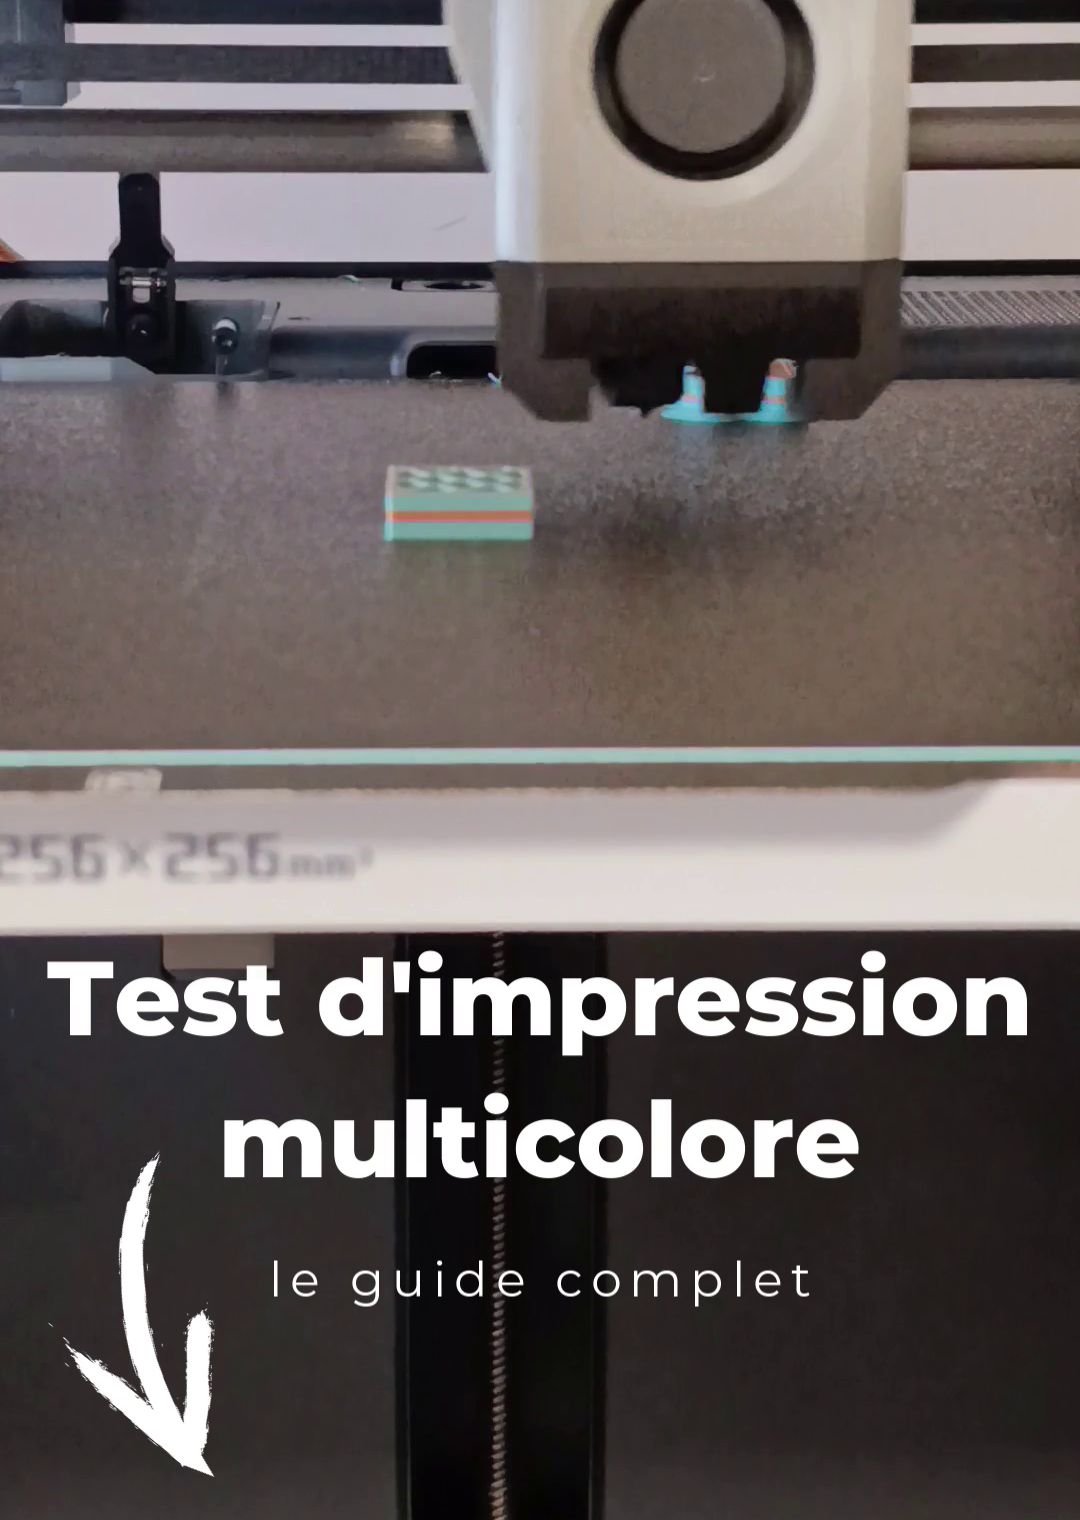
Multicolor 3D printing is a technical achievement that opens the door to richer and more expressive creations. However, it comes with unique challenges: managing filament changes, the risk of color bleeding, and ensuring perfect extrusion at every transition. To master this process, one step is essential: the print test. This guide will explain how to evaluate your system's performance and achieve flawless results.

Why Run a Print Test?
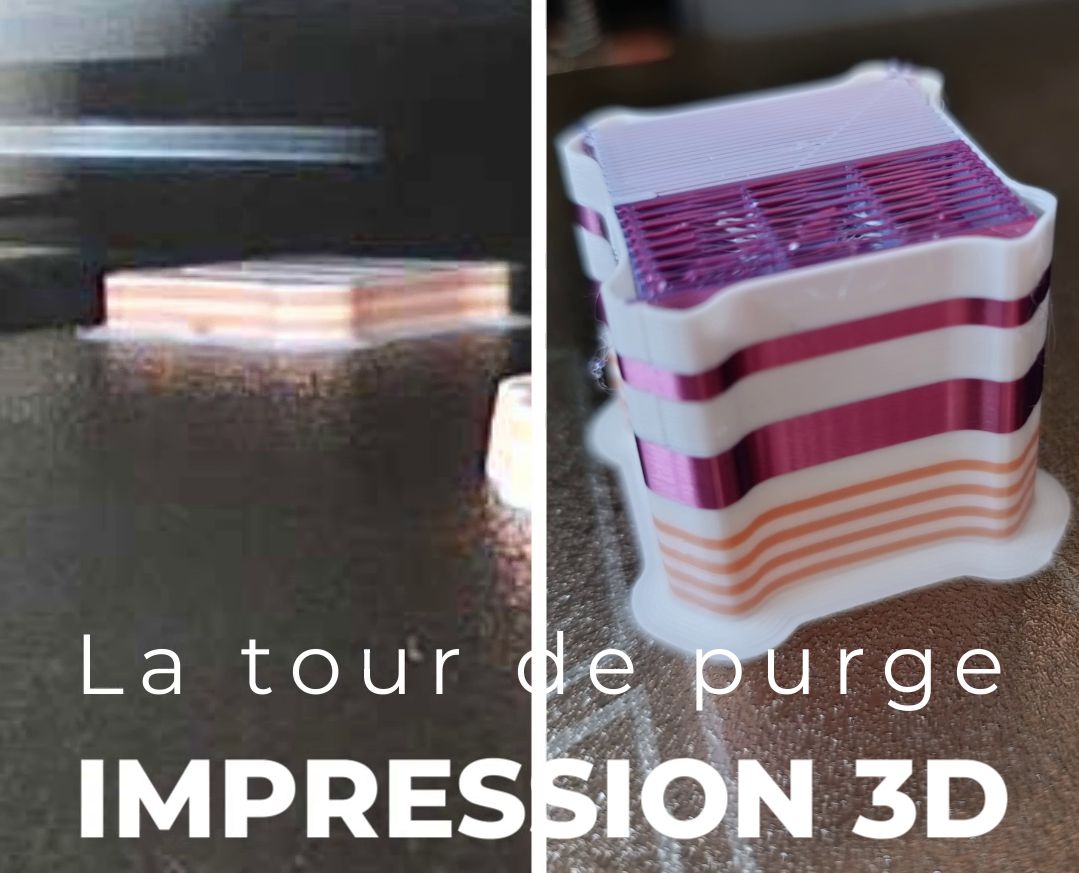
An effective test doesn't require a complex object. A simple purge cube is ideal. This minimalist object is designed to highlight potential problems and is essential for any multicolor test. It's characterized by:
- Small size: To save time and filament.
- Color changes at every layer: To maximize transitions and evaluate purging repeatedly.
- Simple structure: No overhangs or fine details that could mask other defects.
The Test Object: The Multicolor Cube
An effective test doesn't require a complex object. A simple multicolor cube is ideal. This minimalist object is designed to highlight potential problems and is essential for any multicolor test.
1. Model and Filament Preparation
Start by preparing your purge cube model in your 3D modeling software or download our model here: Multicolor 3D Cube, then load the different colored filaments into your machine, making sure they are properly loaded and ready for printing.
2. Slicer Configuration
This is the most critical step. In your slicing software, pay close attention to the following parameters:
- Purge volume: This is the most important parameter. Insufficient purge volume will result in color mixing (bleeding), while excessive volume wastes filament. Start with the volume recommended by the manufacturer, then adjust as needed.
- Purge Tower: Enable the purge tower. This small tower is printed next to your object and serves as an area to purge the nozzle at each color change, ensuring that the new color is pure when object printing begins.
- Retraction: Make sure retraction settings are properly configured to prevent leaks and stringing during print head movements.
3. Launch and Print Analysis
Start the test and carefully observe the process. Once printing is complete, examine your purge cube in detail:
- Distinct colors: Are the transitions between colors sharp? Are there traces of the previous color? This indicates whether the purge volume is correct or needs to be increased.
- Uniform surface: Are the layers of each color perfectly homogeneous? Are there any under-extruded or over-extruded sections after a filament change?
- Absence of defects: Is the cube free from stringing or bubbles? This indicates that retraction and temperature settings are adequate.
By carefully analyzing your test results, you'll be able to calibrate your system and ensure that your future multicolor projects are a success, without defects or waste.
Your Test Steps
1. Model and Filament Preparation
Start by preparing your purge cube model in your 3D modeling software, then load the different colored filaments into your machine, making sure they are properly loaded and ready for printing.
2. Slicer Configuration
This is the most critical step. In your slicing software, pay close attention to the following parameters:
- Purge volume: This is the most important parameter. Insufficient purge volume will result in color mixing (bleeding), while excessive volume wastes filament. Start with the volume recommended by the manufacturer, then adjust as needed.
- Purge Tower: Enable the purge tower. This small tower is printed next to your object and serves as an area to purge the nozzle at each color change, ensuring that the new color is pure when object printing begins.
- Retraction: Make sure retraction settings are properly configured to prevent leaks and stringing during print head movements.
3. Launch and Print Analysis
Start the test and carefully observe the process. Once printing is complete, examine your purge cube in detail:
- Distinct colors: Are the transitions between colors sharp? Are there traces of the previous color? This indicates whether the purge volume is correct or needs to be increased.
- Uniform surface: Are the layers of each color perfectly homogeneous? Are there any under-extruded or over-extruded sections after a filament change?
- Absence of defects: Is the cube free from stringing or bubbles? This indicates that retraction and temperature settings are adequate.
By carefully analyzing your test results, you'll be able to calibrate your system and ensure that your future multicolor projects are a success, without defects or waste.