❓The Beginner's Guide to 3D Printing
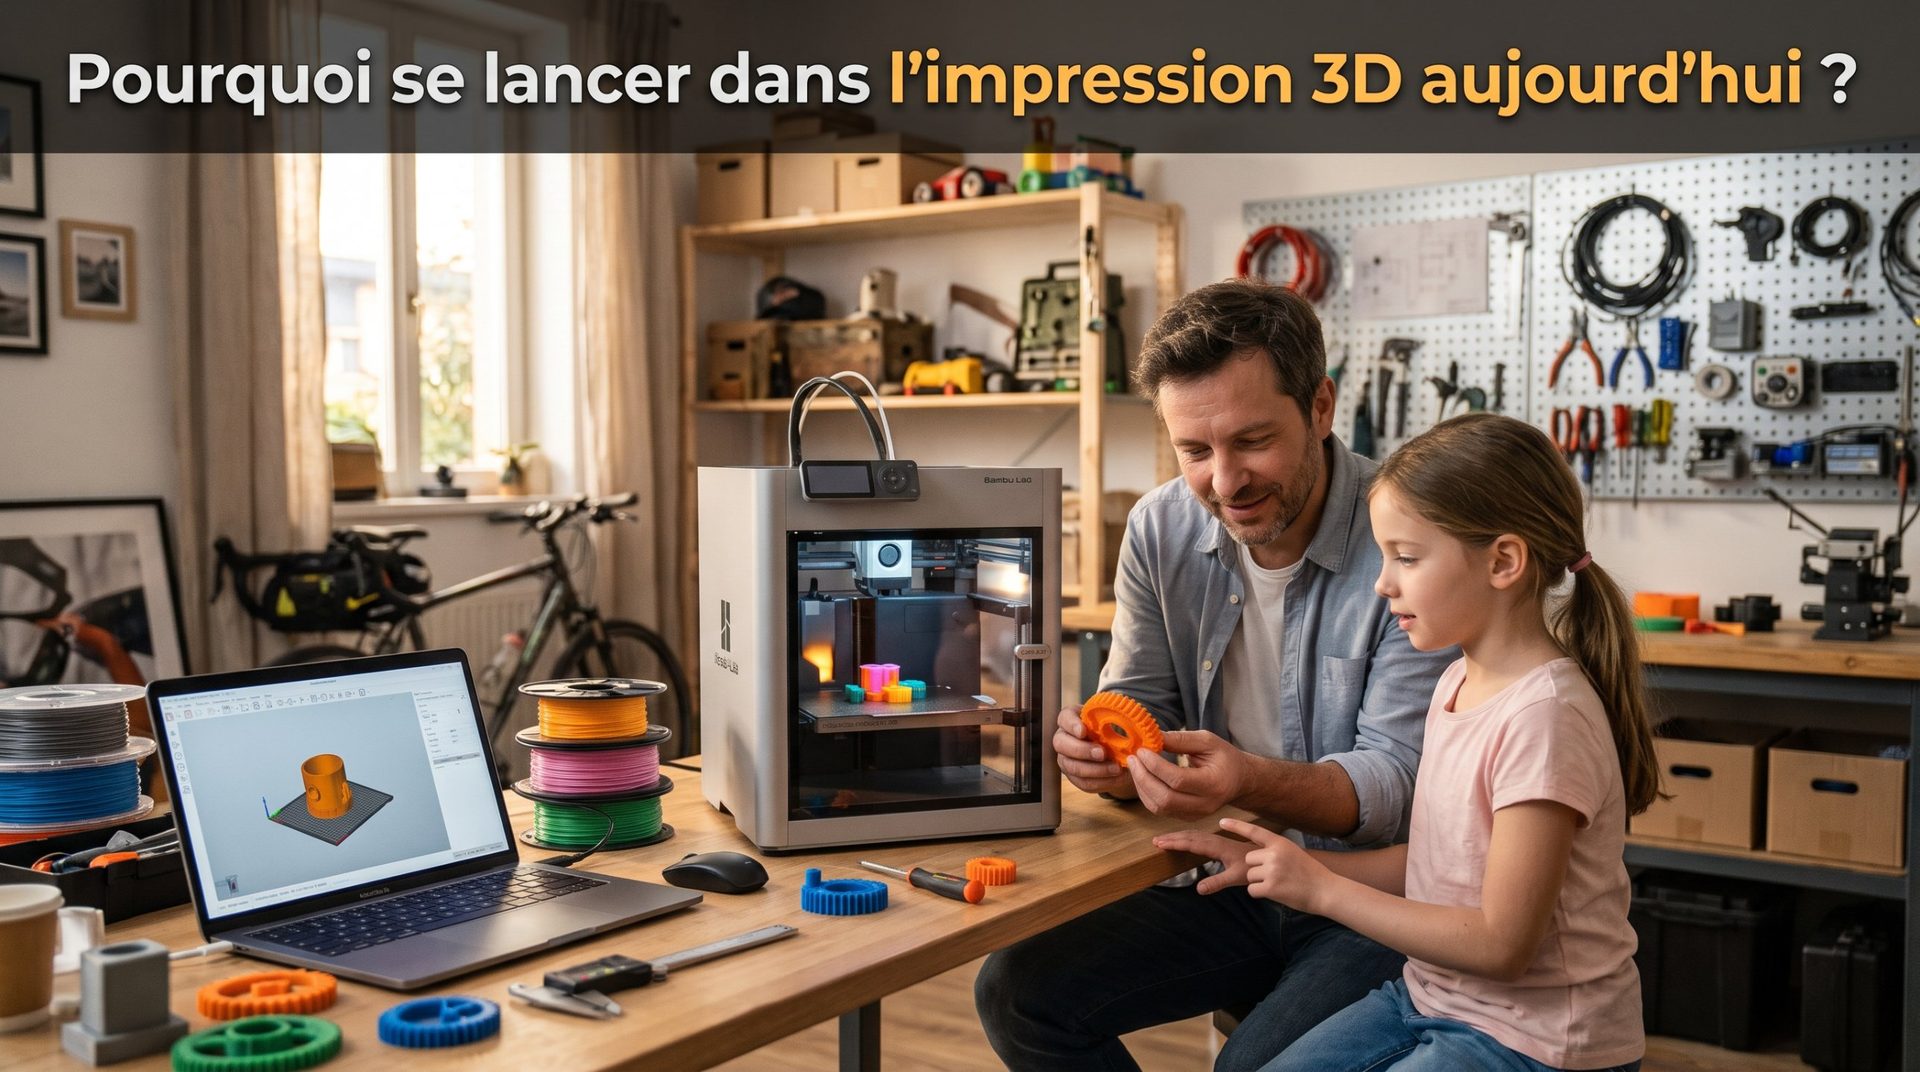
3D printing is no longer science fiction or a technology reserved for industrial labs. Today, it's finding its way into our homes and garages. This is what we call additive manufacturing: a revolution that transforms a simple computer file into a tangible object, layer by layer.
Whether you're a tinkerer looking to repair a household appliance, an artist creating unique jewelry, or simply curious, this guide reveals the secrets of this fascinating technology.

✅ Understanding the Additive Revolution
Unlike traditional "subtractive" methods (like sculpting or machining where you remove material from a block), 3D printing layers material on top of itself.
-
Ecological advantage: You only use what's necessary, dramatically reducing waste.
-
Design freedom: It enables you to create complex internal structures or geometries impossible to achieve any other way.
✅ The King of 3D Printing Technology: FDM
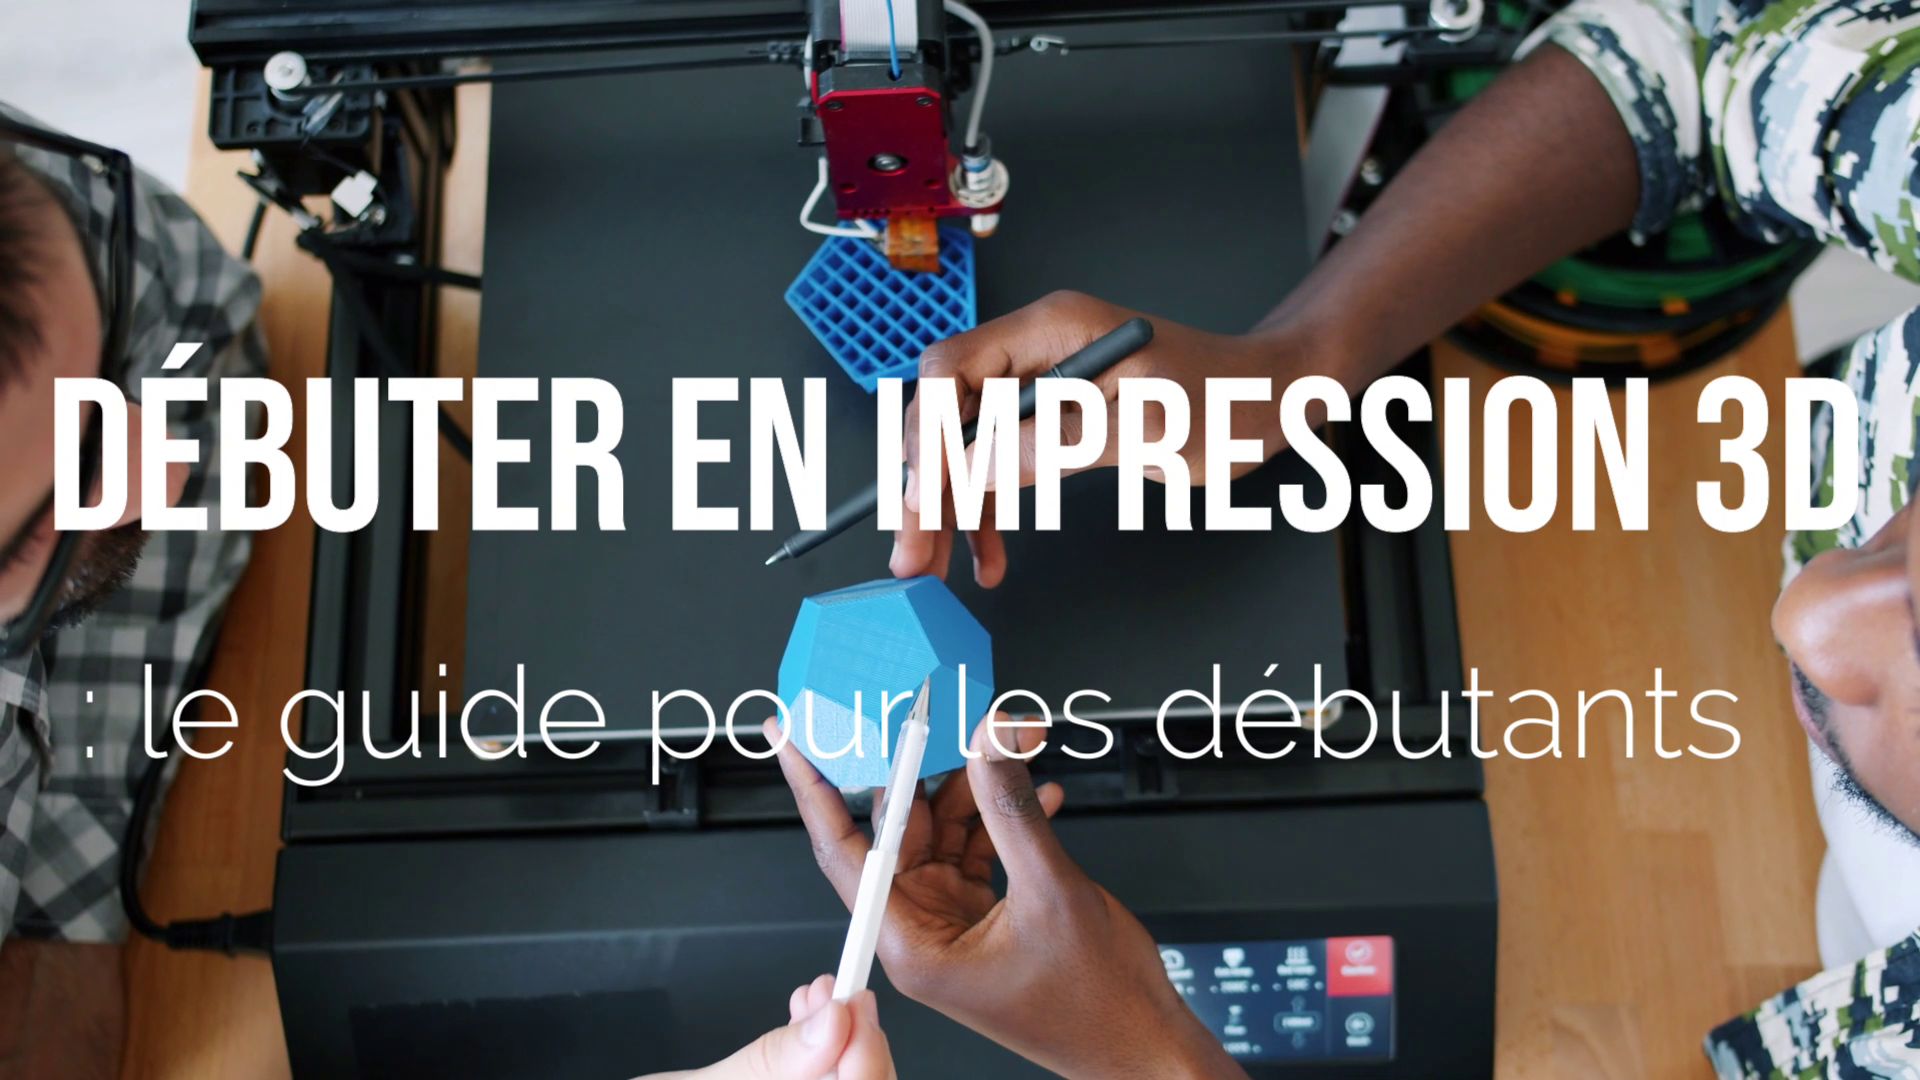
If you're starting out, you'll mainly encounter FDM (Fused Deposition Modeling) technology. It's the most affordable and easiest to maintain.
-
How it works: Imagine an ultra-precise hot glue gun controlled by a computer. The printer heats a wire (the filament), melts it through a nozzle, then deposits it onto a build plate.
-
Essential materials:
-
PLA (Polylactic Acid): The beginner's favorite. Biodegradable (made from corn starch), it emits no toxic fumes and doesn't require a powerful heated bed.
-
PETG: The sweet spot. It offers the strength of industrial plastics with printing ease close to PLA. Ideal for objects that need to withstand outdoor conditions or heat.
-
TPU: For flexible objects (phone cases, gaskets).
-
✅ The Steps to Print an Object
3D printing isn't just about hitting "Play". It's a process with three key stages:
A. Design (The 3D Model)
Everything starts with a digital file.
-
The "Ready-to-use" option: Platforms like Printables or Thingiverse are global libraries where you can download free files in STL format.
-
The "Creator" option: You can design your own parts. Try Tinkercad (based on simple shapes) for your first attempts, or Fusion for precise mechanical parts.
B. Preparation (Slicing)
This is the crucial step. Your printer doesn't "understand" a 3D image—it needs a roadmap. You use software called a Slicer (like Cura or PrusaSlicer) to:
-
Slice the object into horizontal layers.
-
Set the infill (is the object solid or hollow with a honeycomb structure?).
-
Generate the G-Code, the computer language that dictates the machine's movements.
C. Printing and Finishing
Once the G-Code is sent to your printer (via Wi-Fi or SD card), the magic happens.
-
Key tip: The first layer is the most important. If it doesn't adhere perfectly to the bed, the print will likely fail.
-
Post-processing: Depending on the object, you'll need to remove support structures (plastic scaffolding for overhanging parts), sand lightly, or even paint your creation.
3D printing opens an infinite field of possibilities, from practical to purely artistic. We'd love to know what inspires you about this technology:
If you had a 3D printer right in front of you right now, what would be the very first object you'd print and why?
-
Is it a solution to a practical problem (a broken hook, a custom phone stand)?
-
Or a purely creative project (a figurine, a geometric vase)?
Share your ideas in the comments—the most original ones could become our next tutorial!