Forget 100% Infill: How Lattice Structures Are Revolutionising Strength in 3D Printing
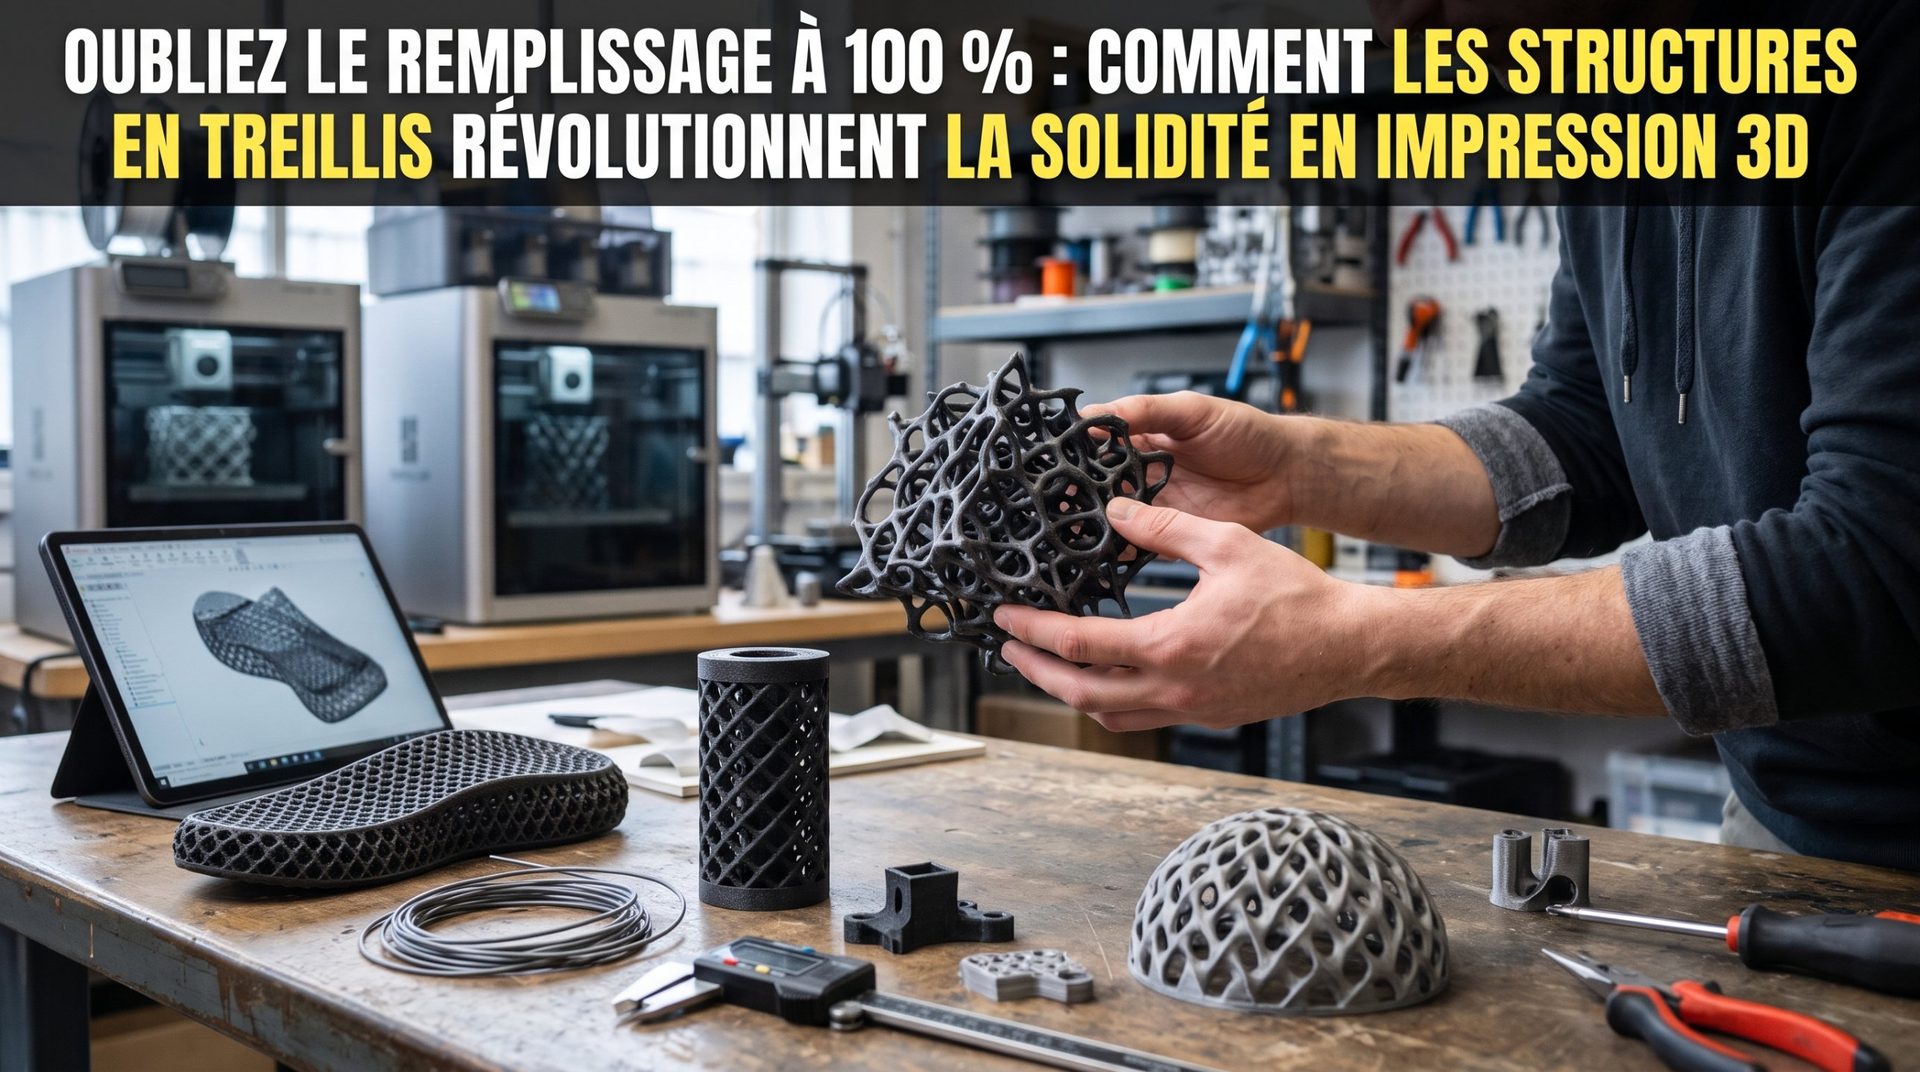
When you start out in 3D printing, the reflex is almost always the same: to make a part strong, you crank the infill up to 50%, 80% or even 100%. Yet the aerospace, medical and sports equipment industries have been doing exactly the opposite for years.
Taking inspiration from the inner structure of bone or the cells of a beehive, engineers use lattice structures, including the well-known TPMS (Triply Periodic Minimal Surfaces). The result: much lighter parts that can absorb impacts or dissipate heat, while using a fraction of the usual filament.
1. What exactly is a lattice structure?
Standard infill (grid, honeycomb or gyroid) stays locked inside a solid shell. A lattice, on the other hand, replaces the volume of the part with an open 3D network that you can see and look through. For a refresher on the basic patterns and how they affect strength, read our guide to 3D printing infill patterns.
- Strut-based lattices: thousands of tiny beams connected in a precise pattern (cubic, octahedral, diamond). This is how 3D-printed sneaker midsoles, some high-end bike saddles and American football helmet liners are made.
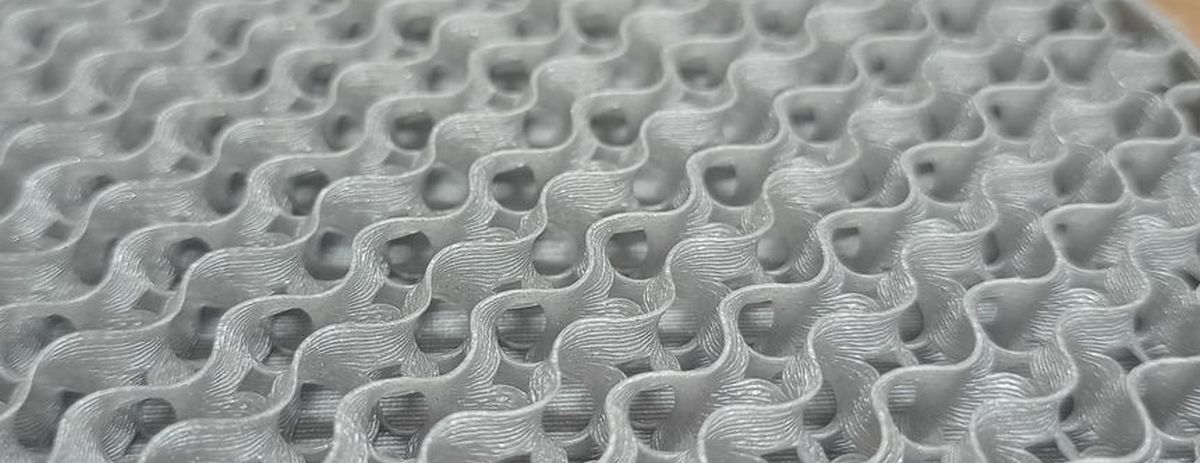
- Minimal surfaces (gyroid, Schwarz, Lidinoid): continuous curved walls with no sharp corners that spread stress evenly in every direction, with no preferred breaking point. The gyroid infill in your slicer is actually a simplified version of one.
2. Why it’s a real game changer in the workshop
These open geometries aren’t just for looking good on a shelf: they solve several limits of traditional 3D printing.
- Tailored cushioning: print a lattice in TPU and simply vary the thickness of the struts or walls by a few tenths of a millimetre to get a very soft zone on one side and an almost rigid one on the other. Ideal for ergonomic grips, drone bumpers or anti-vibration pads. If you’ve never printed a flexible material, start with how to print flexible filament like TPU.
- Radical weight savings: on parts that have to fly or move (RC models, robotics, camera accessories), swapping a solid block for a lattice can cut more than half the mass, depending on the density, while keeping solid material around the mounting points.
- Airflow and heat exchange: an electronics enclosure with a lattice wall lets air flow across its whole surface, without fragile vent grilles.
3. How to try it at home without pricey industrial software
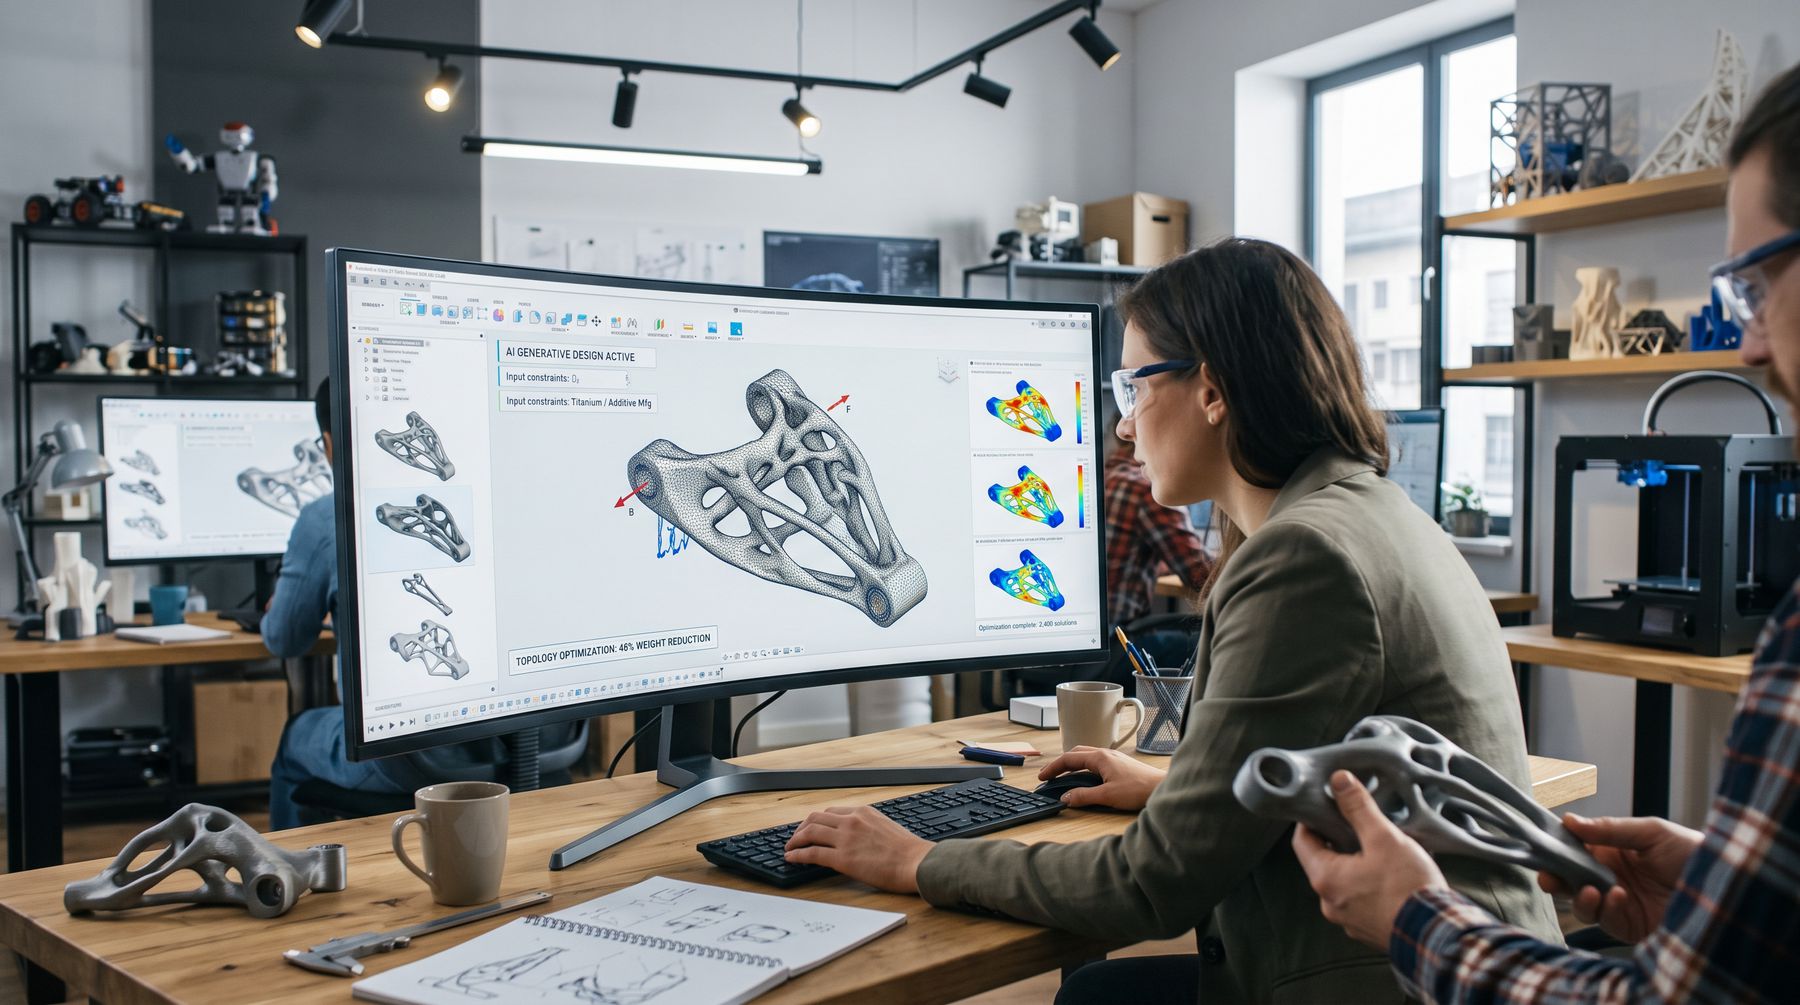
Long reserved for professional software such as nTop (formerly nTopology), these structures are now within reach of any maker with free tools.
- The quick slicer trick: in Bambu Studio or OrcaSlicer (see our Bambu Studio vs OrcaSlicer comparison), set the top and bottom layers to 0, pick gyroid or 3D honeycomb infill at 15–25%, and keep 2 or 3 walls on the sides. In two clicks you get an openwork part that shows off its internal lattice. It’s perfect for a decorative effect, a pot or a vent grille, but it isn’t a true optimised lattice: for a mechanical part, keep solid top and bottom faces.
- Free generators: MSLattice, free software that came out of academic research, generates uniform or graded TPMS lattices. IntraLattice, a free Grasshopper plugin, does require Rhino. For a fully free route, Blender can turn a mesh into a strut lattice with the Wireframe modifier or Geometry Nodes, before you export the STL to your slicer.
Less material, more intelligence
A part’s strength isn’t just about its infill percentage: the internal shape matters as much as the amount of plastic. Start with the slicer trick on a small part, then try a lattice generator on a TPU pad: you’ll see the difference in weight and behaviour straight away.
Got a lightweight or shock-absorbing part in mind? We can print it for you.