Tolerance Testing in 3D Printing: Measuring Your Printer's Accuracy

Dimensional precision is a major concern in 3D printing, especially when you want to assemble parts together. A tolerance test is an essential tool to evaluate your printer's capabilities and your settings. This test helps you understand your machine's limits and ensures that your creations fit together perfectly.
Understanding the Test and Its Principle
Many online platforms are packed with free tolerance tests ready to download and print. Check out our article: "Where to Find Free 3D STL Files for 3D Printing? The Best Platforms".

(Image Source and 3D File: Marcopiazzo95 via MakerWorld)
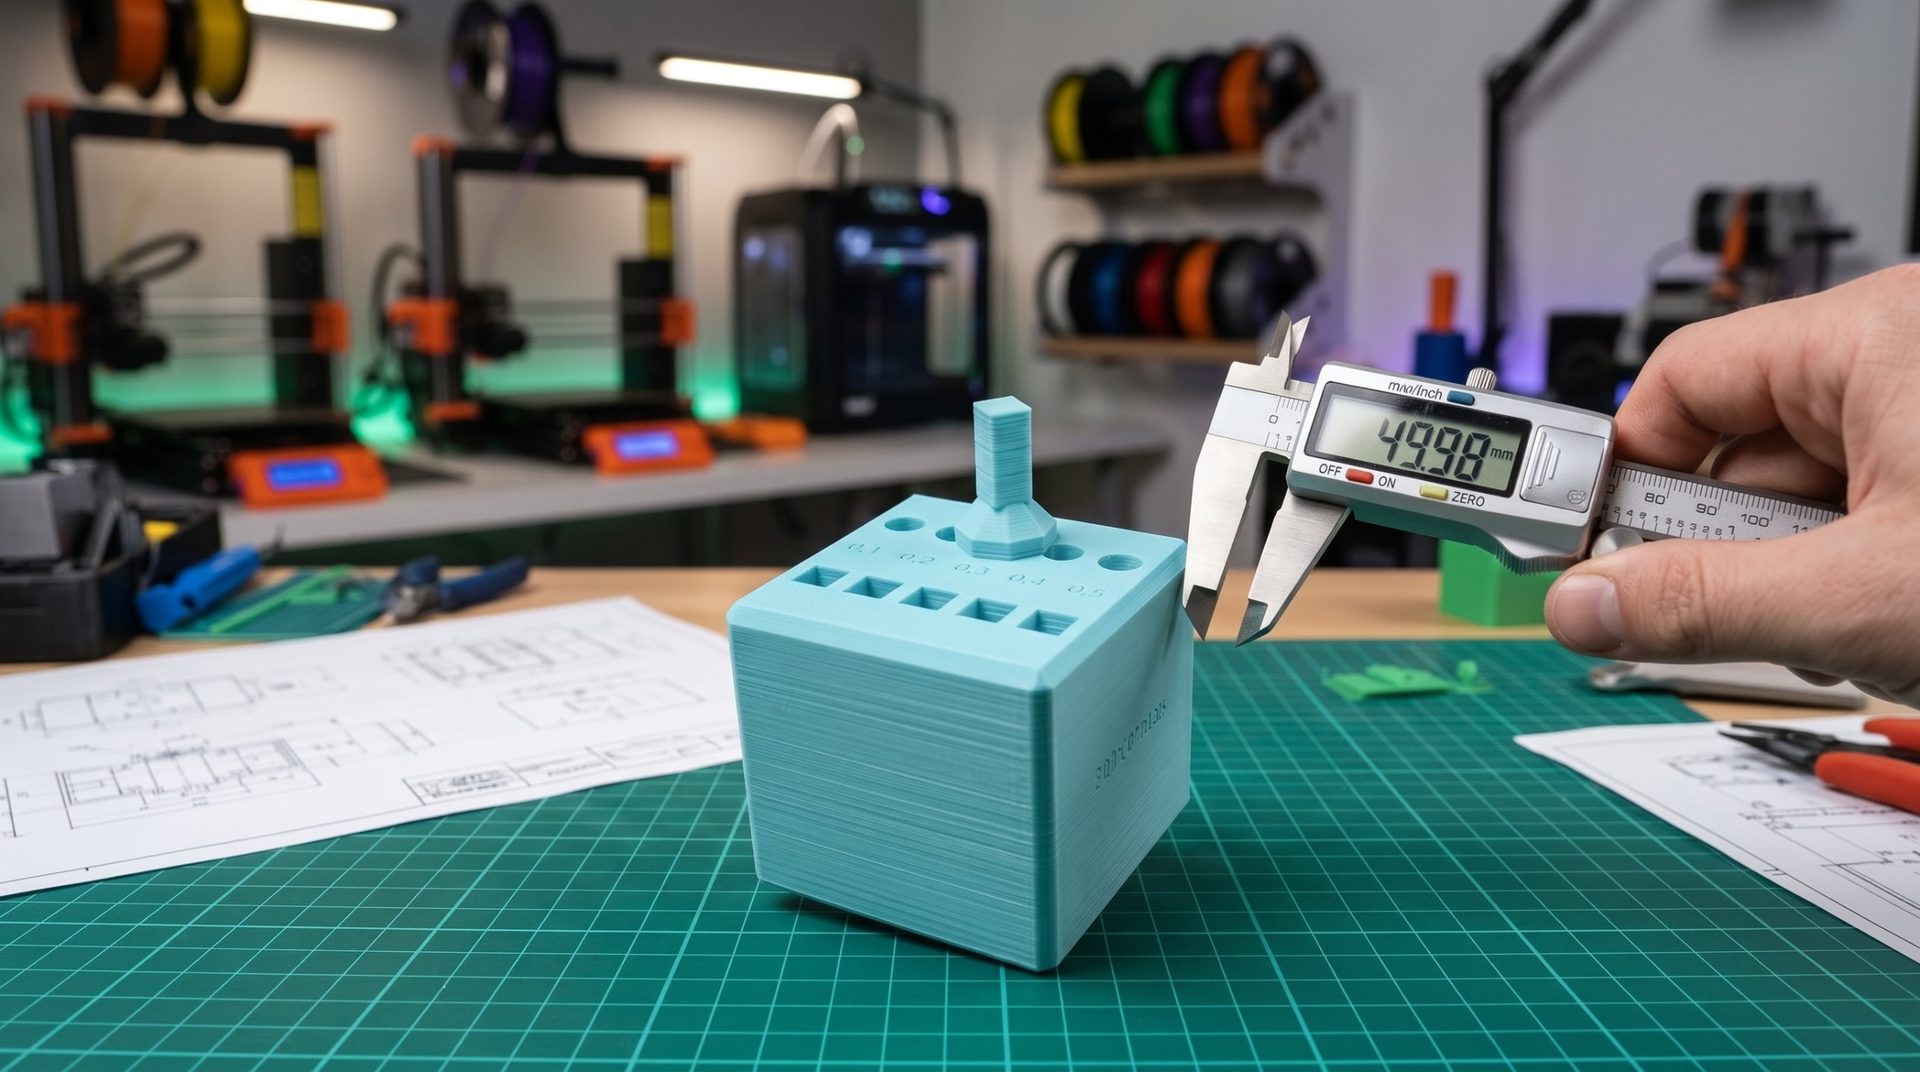
A tolerance test typically consists of a block with several grooves or holes of different sizes, numbered in millimeters (e.g., 0.1, 0.2, 0.3, etc.).
The number shown on the test represents the clearance (the gap) between the outer wall and the inner wall. For example, if you print a tolerance test and there's a 0.2 mm hole, this means the male part that must fit into it is 0.2 mm smaller on each side.
The total diameter difference is therefore double. If the clearance is 0.2 mm, the total diameter difference is 0.4 mm. This is the number that determines whether the part will fit or not. A good tolerance test will help you identify the minimum value to respect for a perfect fit on your machine.
Why Run a Tolerance Test?
- Validate assemblies: It allows you to know precisely what clearance (tolerance) you need to leave between two parts so they fit together without effort, with moderate pressure, or with a tight fit.
- Diagnose your printer: It's an excellent tool to assess your machine's condition. If you encounter fitting problems, this test will help you identify whether the issue is a design problem or a printer calibration issue.
- Fine-tune your settings: Based on the results, you can adjust parameters in your slicer such as flow rate, temperature, or retraction to improve the precision of your prints.
How to Interpret the Results?
When printing a tolerance test, the goal is to find the clearance that gives you the perfect fit.
- Parts too tight: If parts don't fit into holes that should be wider, your printer may be over-extruding.
- Parts too loose: If parts easily fit into holes that should be tight, this may indicate under-extrusion or a precision problem.
- The ideal setting: The value on the test where your parts fit together with just the right amount of force is the minimum tolerance your printer can reliably achieve for a given filament and speed profile.
Factors That Influence Tolerance
The tolerance of a print depends on several factors you can control:
- Flow rate: Over-extrusion will make your parts thicker, reducing hole clearance and preventing assemblies.
- Print speed: Too high a speed can compromise dimensional accuracy.
- Cooling: Poor cooling can cause plastic deformation or expansion, altering dimensions.
- Filament type: Each filament has unique properties (retraction, expansion), which influence precision.
In conclusion, a tolerance test is not just a simple print; it's an essential diagnostic tool for any 3D printer user looking to move from creating decorative objects to manufacturing functional parts.