Temperature Tower: Essential Tool for Perfect 3D Prints
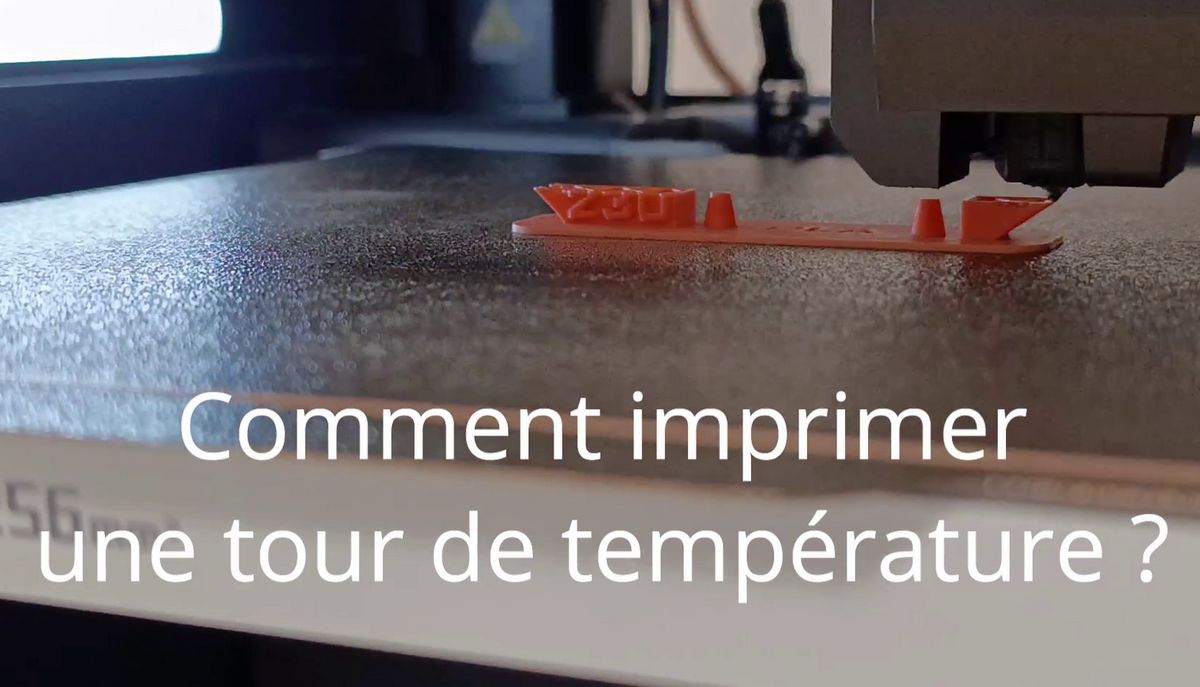
One of the major challenges in 3D printing is finding the ideal temperature for each type of filament. Too high a temperature can cause stringing (unwanted threads), while too low a temperature can result in poor layer adhesion and weak part strength. Fortunately, there's a simple and effective tool to solve this problem: the temperature tower.

What is a temperature tower?
A temperature tower is a small 3D model designed specifically to test the impact of different temperatures on your print quality. The model is typically a tower made up of several sections, with each section printed at a different temperature.
The goal is to find the optimal temperature that offers the best balance between surface quality, layer strength, and freedom from defects.
Why is it so important?
- Every filament is unique: Even two PLA filaments from different brands won't have the same properties. The exact composition, dyes, and additives all influence the ideal printing temperature.
- Solve problems: It's the best way to resolve common issues like stringing, poor layer adhesion, or oozing.
- Optimize quality: A temperature tower lets you determine the sweet spot for achieving the smoothest surface and best detail.
How to print a temperature tower?
- Find the right file: Many online platforms are packed with free temperature towers ready to download and print.
- Prepare the file: The principle is to change the printing temperature at a certain height of the object. To do this, you'll need to insert G-code commands in your slicing software.
- In Bambu Studio or Prusa Slicer: After slicing your model, drag the preview slider up to the desired layer. Right-click on the plus (+) symbol and choose "Add Custom G-Code". You can then enter the new temperature: M104 SXXX (where XXX is the desired temperature, for example 230 for 230°).
- Start printing: The printer will automatically change the temperature at the correct height for each section.
- Observe the result: Once printing is complete, you'll have a tower showing how the filament looks at different temperatures.
What should you look for on the tower?
Analyzing the temperature tower is the most crucial step. Here's what to look for:
- Stringing: If a temperature is too high, you'll see fine plastic threads between the different parts of the tower.
- Layer adhesion: Press on each section. If a section breaks easily, the temperature isn't high enough and the layers aren't fusing properly.
- Surface quality: Look carefully at the details and bridges (overhanging parts) of each section. The best temperature is the one that provides the sharpest bridges and most precise details.
The temperature tower is a simple yet powerful tool for any 3D printing enthusiast. By taking the time to use it, you'll save time and filament in the long run, avoiding print failures and ensuring the best possible quality for your creations. It's an essential step to fully master your printer.