3D Printed Gears: Design, Precision and Durability
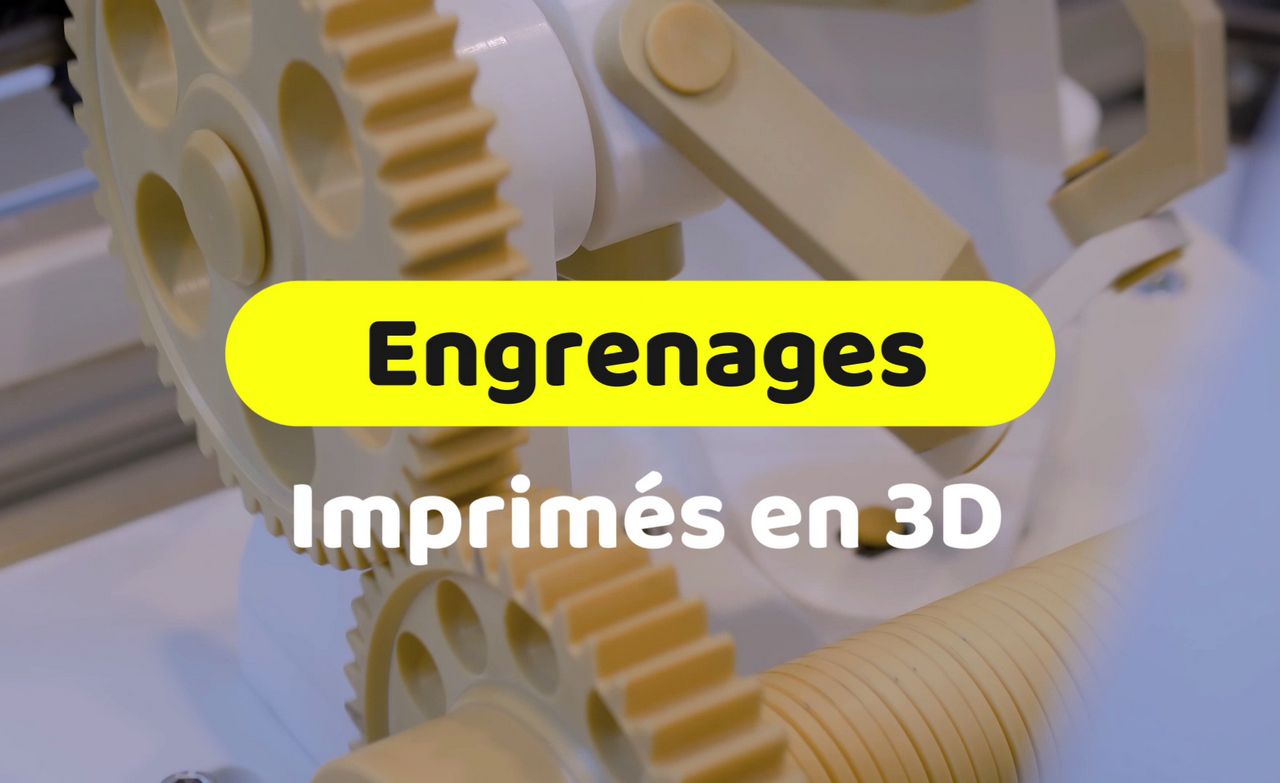
3D printing gears is one of the most powerful and rewarding applications of additive manufacturing. Whether you're repairing a broken toy, replacing an obsolete machine part, or prototyping a complex speed reducer, 3D printing offers speed and customization. However, for a gear to work without jamming or premature wear, careful attention to precision is absolutely essential.

1. Benefits and Uses of 3D Printed Gears
3D printing outperforms conventional machining for certain gear applications:
- Express Replacement: The ability to quickly scan or model a broken gear and print it in just hours enables instant, cost-effective repairs.
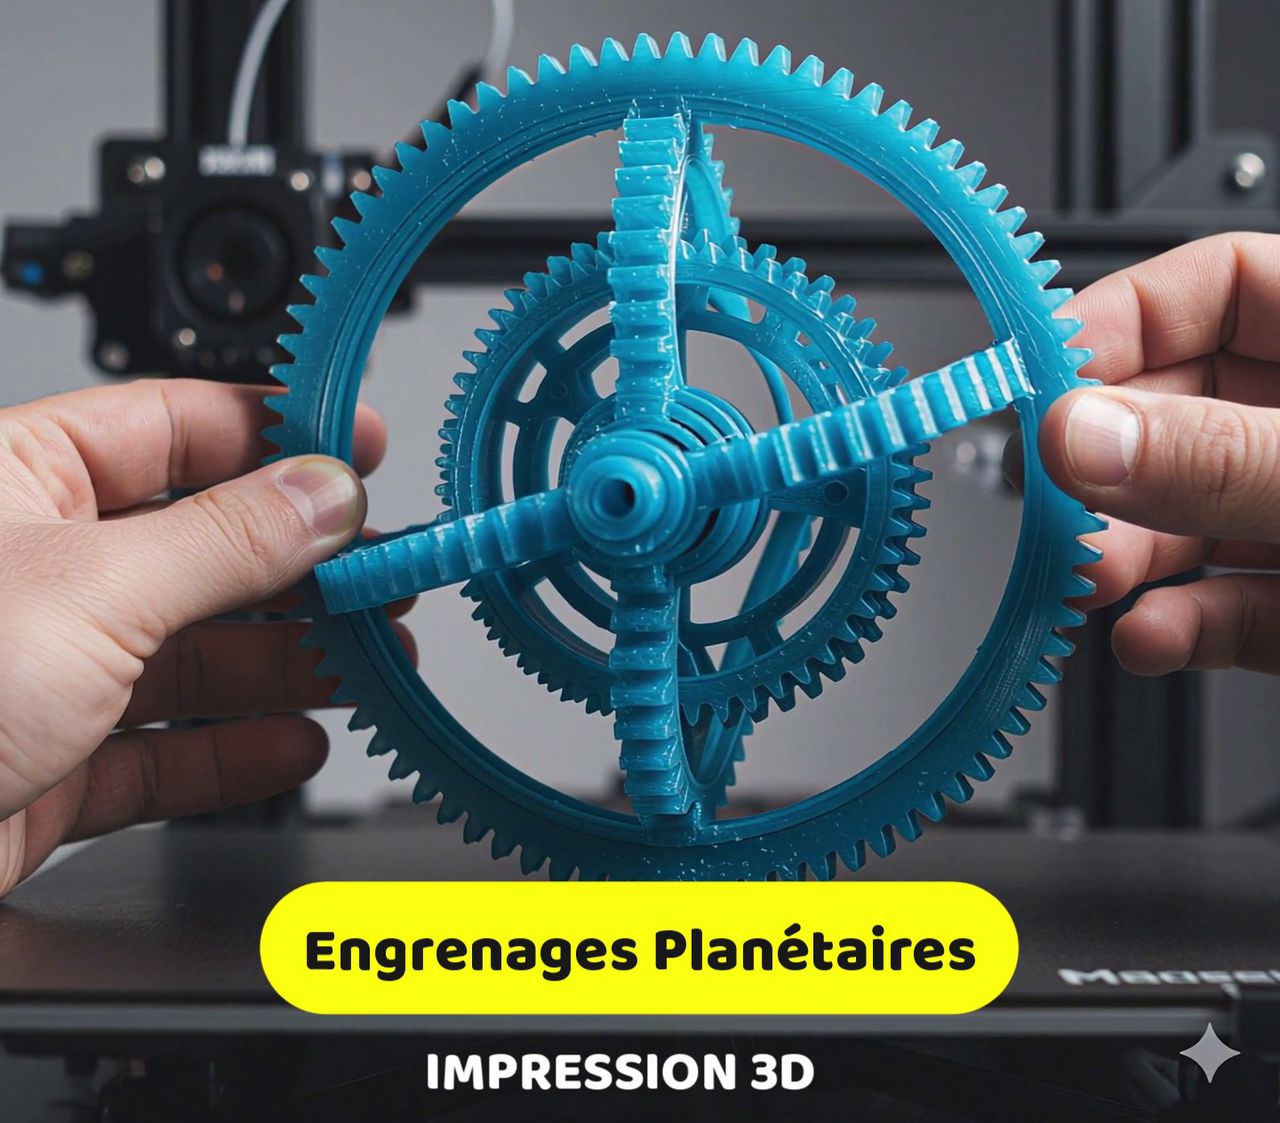
- Custom Design: Create specific transmission ratios, non-standard gear shapes (helical, conical) or planetary mechanisms that are too complex or expensive to machine.
- Functional Prototyping: Test complete drive mechanisms before investing in molds or costly machining.
2. The Precision Challenge: Tolerances and Orientation
The difference between a working gear and a jammed gear comes down to a fraction of a millimeter.
Backlash (Tolerance)
Gear teeth must not touch perfectly; there must be a minimum clearance, called backlash, to allow smooth rotation and prevent overheating.
- Golden Rule: In your modeling software, plan for a clearance of to between the meshing tooth surfaces. This clearance compensates for slight printer inaccuracies.
Print Orientation
The orientation of the part on the build plate determines its strength.
- Recommended Position: For straight spur gears, print them flat (on the plate). This way, layer lines are perpendicular to the meshing force. The teeth are then pulled and pushed along the layer lines, maximizing their strength.
- Position to Avoid: Avoid printing gears vertically (on their side), as teeth would easily break along layer lines under even modest stress.
3. Materials and Durability

4. Post-Processing for Optimal Performance
Even the best printed gear needs some finishing touches to run perfectly:
- Cleaning: Use a small modeling knife or fine sandpaper to remove imperfections (blobs, skirt remnants) and any elephant's feet on the first layer, which could jam the meshing.
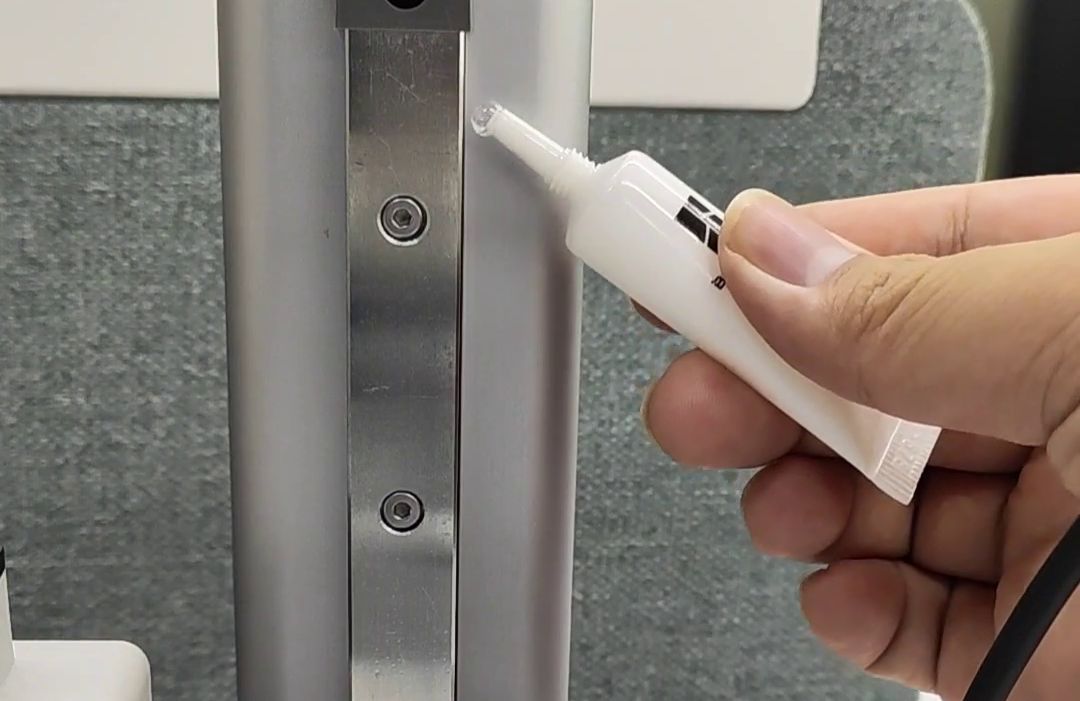
- Lubrication: Essential for longevity and smooth operation. Use silicone grease or a dry lubricant based on PTFE (Teflon). Avoid vegetable oils or greases that could react with the plastic.
3D printing gears is an advanced skill that enables you to repair and invent complex mechanisms, proving your printer is a true mechanical engineering tool.