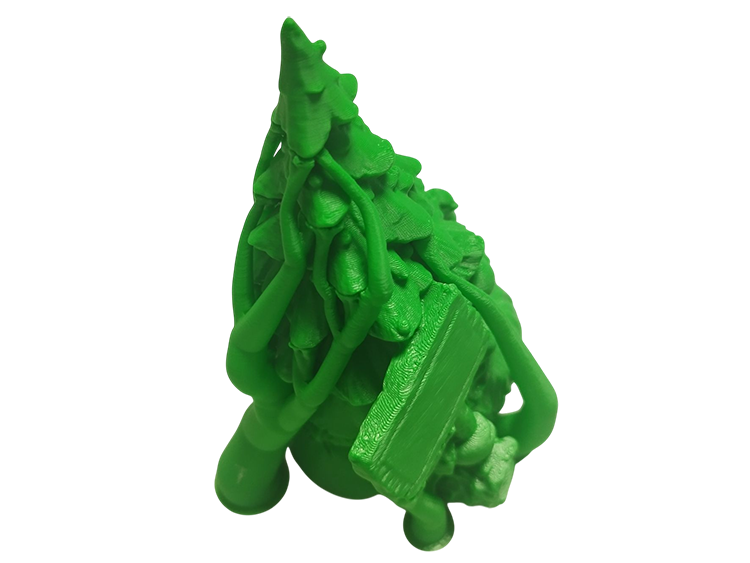
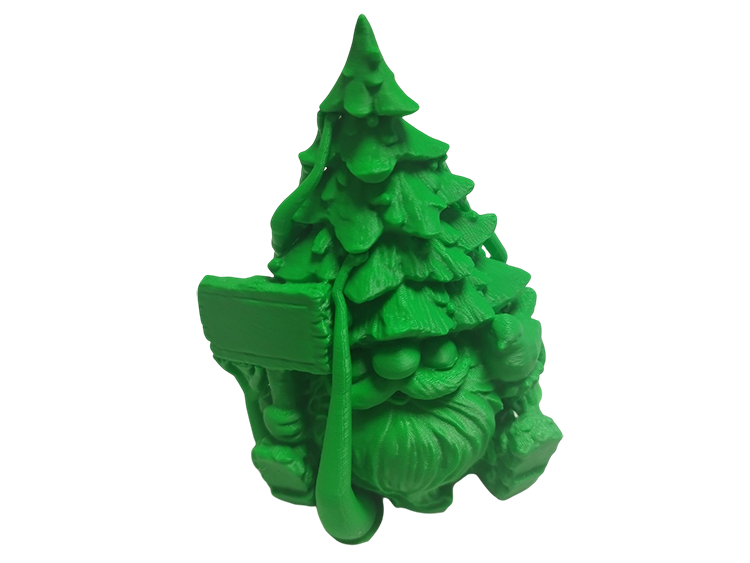
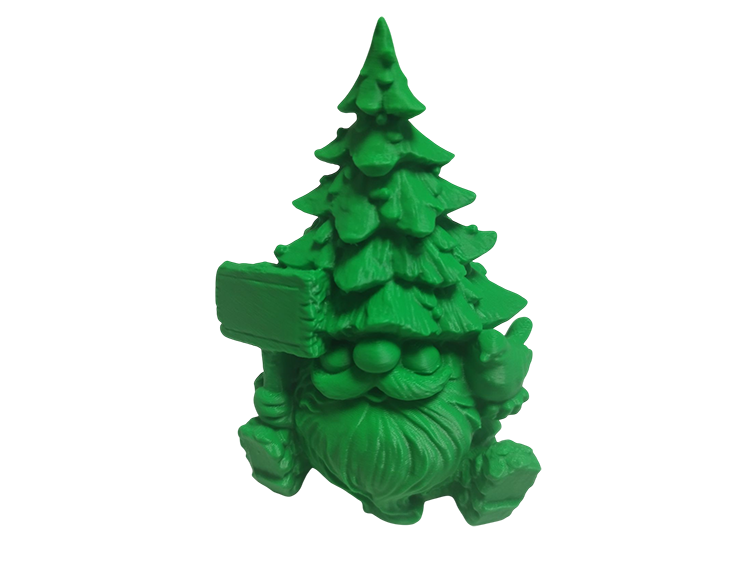
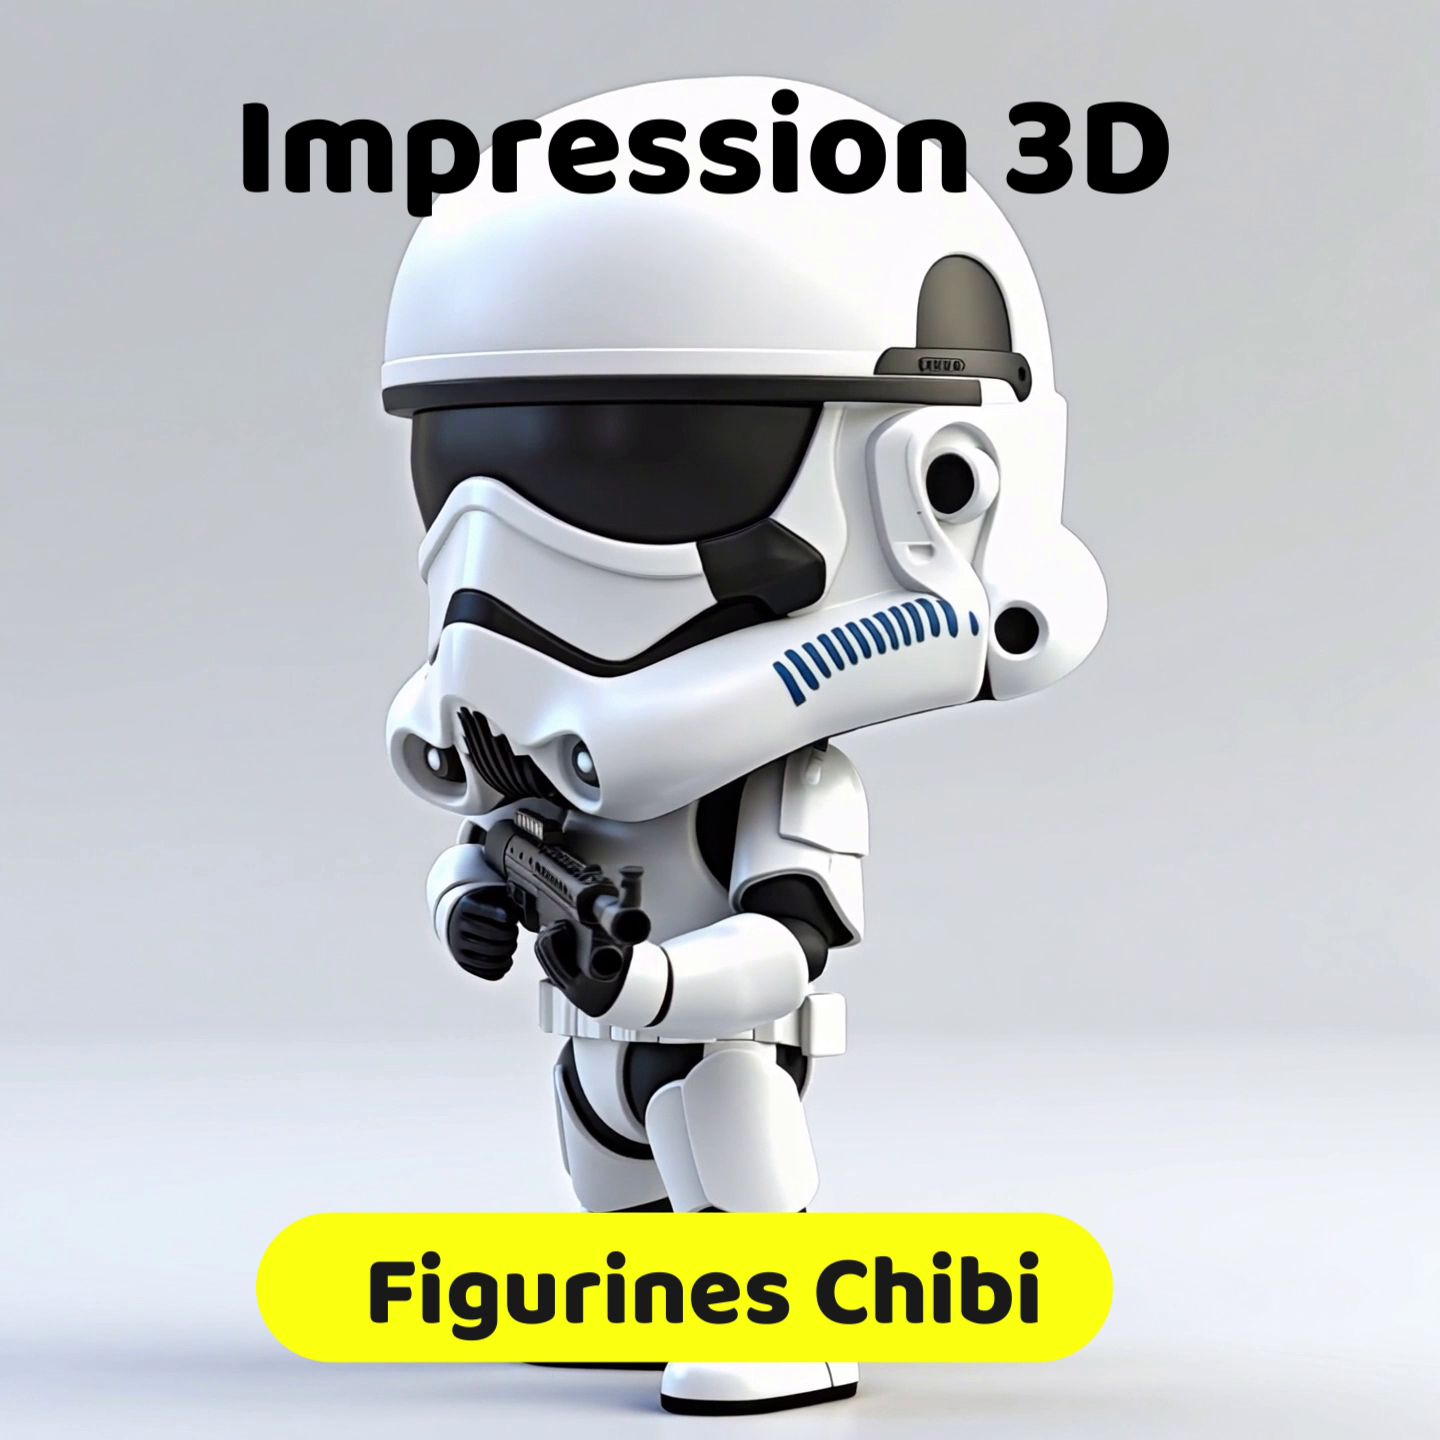
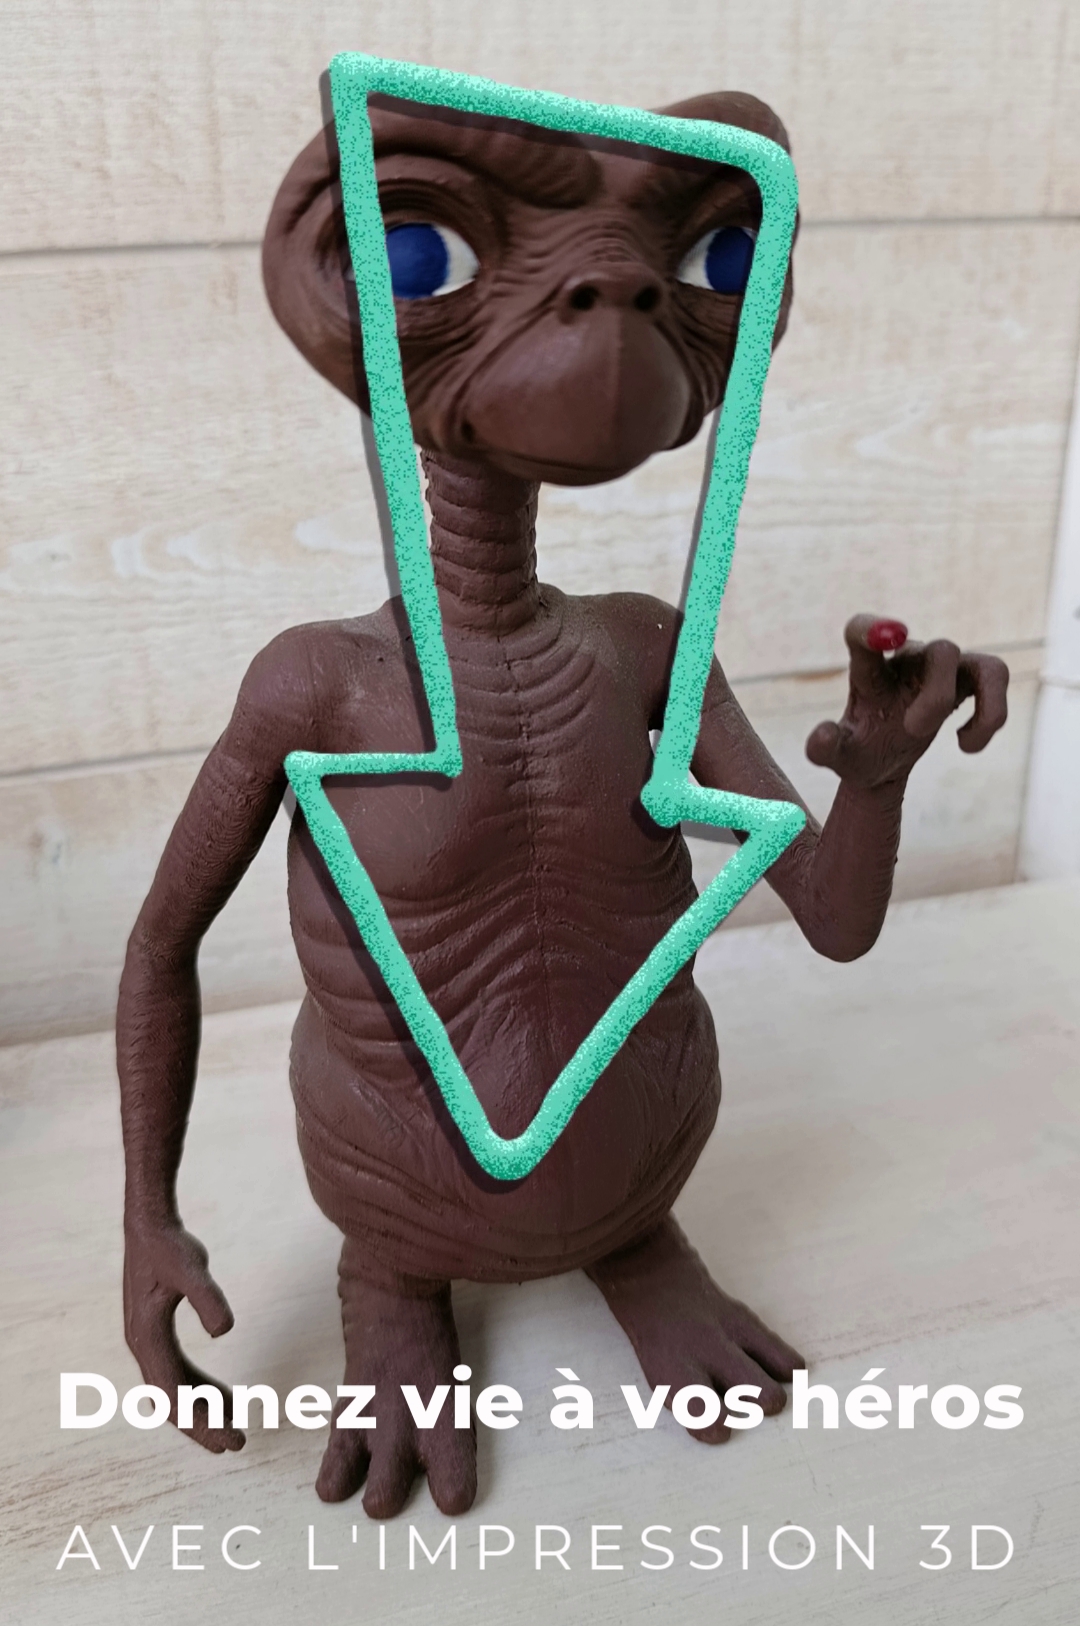
The Process of Creating a 3D Printed Figurine
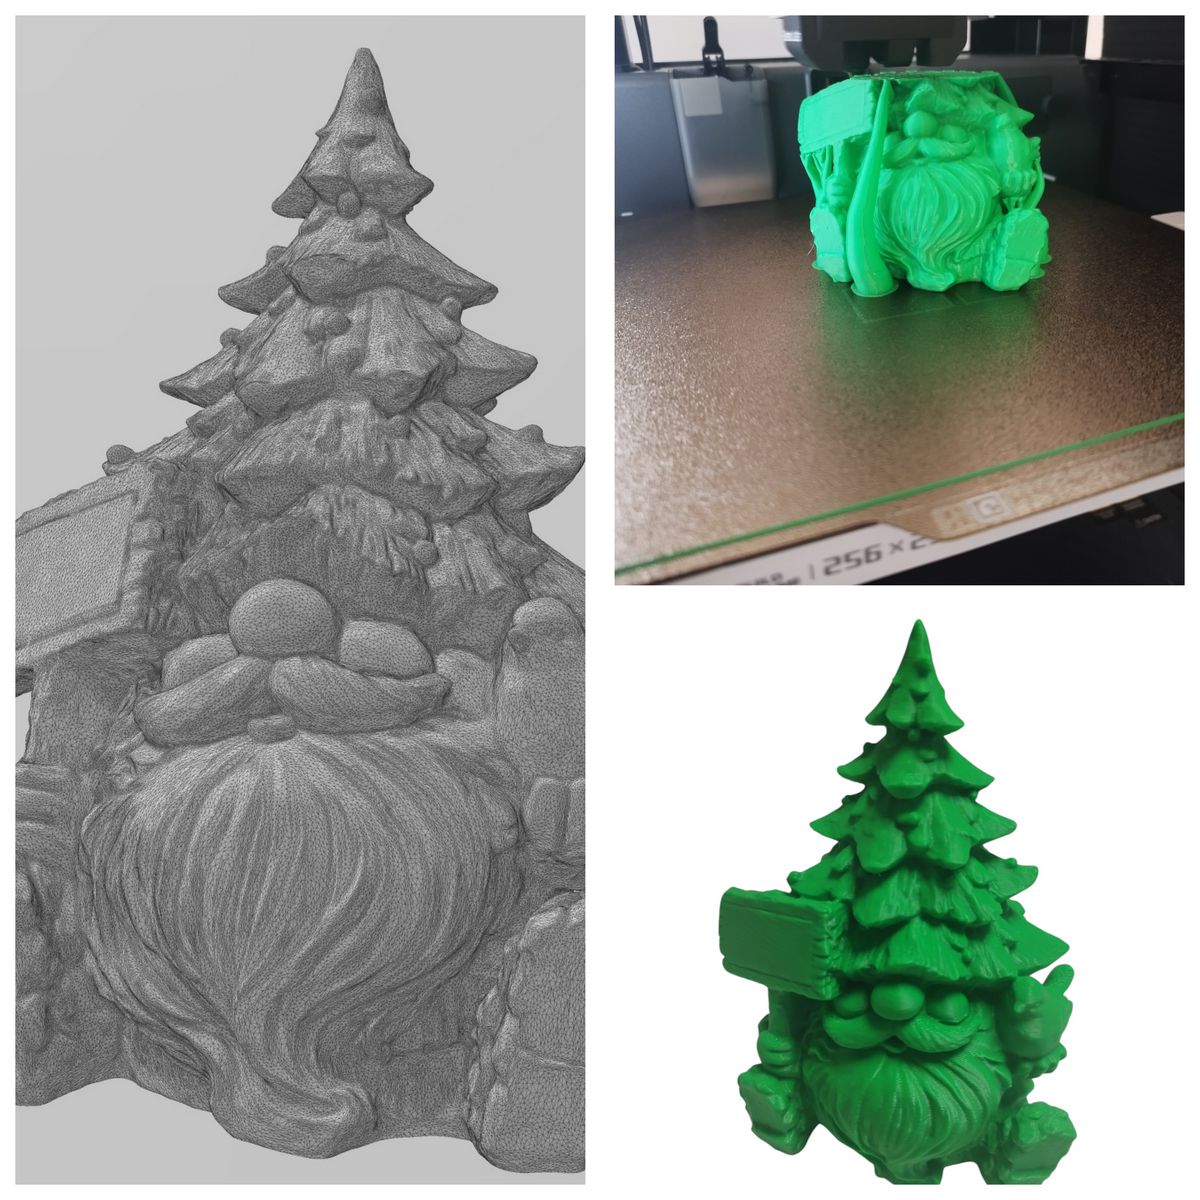

(Image Source and 3D File: Stigern via Printables)
Detailed Steps for Creating a 3D Figurine:
- 3D Modeling: The first step is to create the digital model of the figurine. This can be done through:
- Digital sculpting: With software like ZBrush, Blender, or Nomad Sculpt on iPad.
- Polygonal or NURBS modeling: With software like Maya, 3ds Max, or Fusion.
- 3D scanning: Digitizing an existing physical model or a person (for custom figurines).
- Print Optimization: The 3D model is prepared: adding supports (for resins and FDM), hollowing to save material, splitting into multiple parts for large figurines, and adding assembly keys.
- 3D Printing: The figurine is printed on your chosen machine with your selected material.
- Post-Processing: This step is crucial for the final result:
- Cleaning (for resin): Remove excess resin or powder.
- Curing (for resin): Expose the part to UV light to fully harden it.
- Support removal: Carefully.
- Sanding: To smooth surfaces and remove layer lines.
- Priming: To prepare the surface for painting.
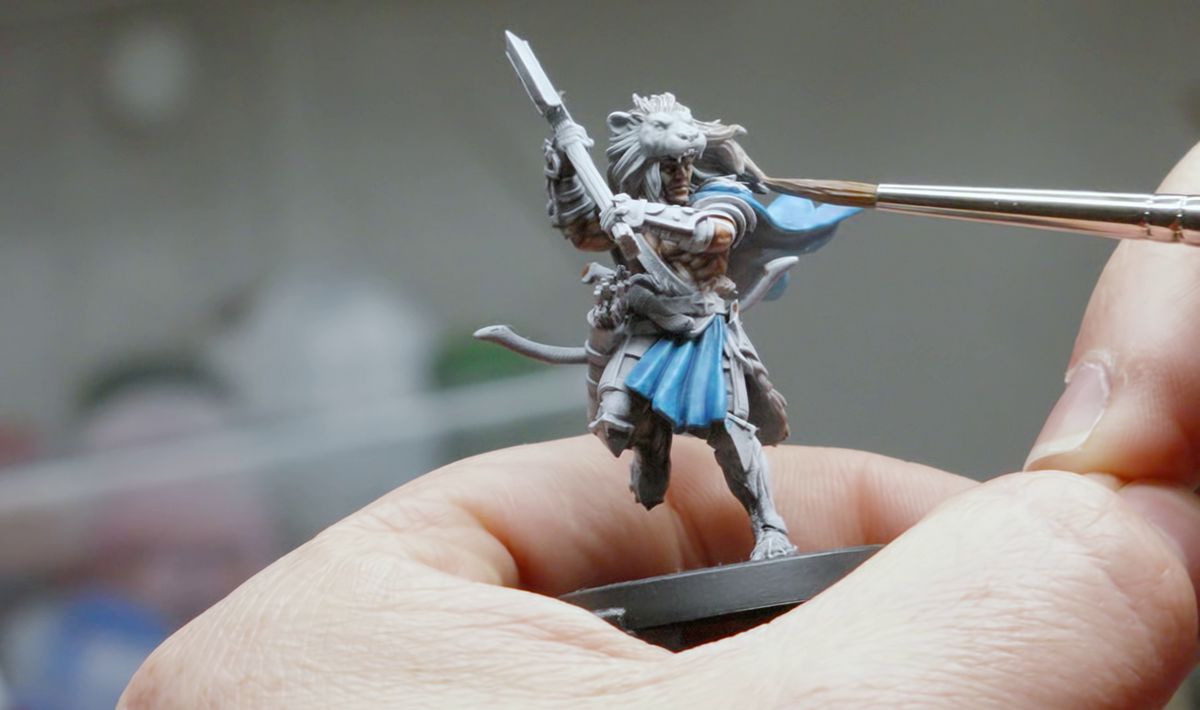
- Painting: The final personalization, often done by hand by artists to bring the character to life.
This is no longer just a vision of the future, but a concrete and accessible technology that allows anyone—from casual hobbyists to seasoned artists—to bring their favorite characters or boldest ideas to life with extraordinary detail and customization.