Threaded Inserts: The Solution for Solid Assemblies in 3D Printing

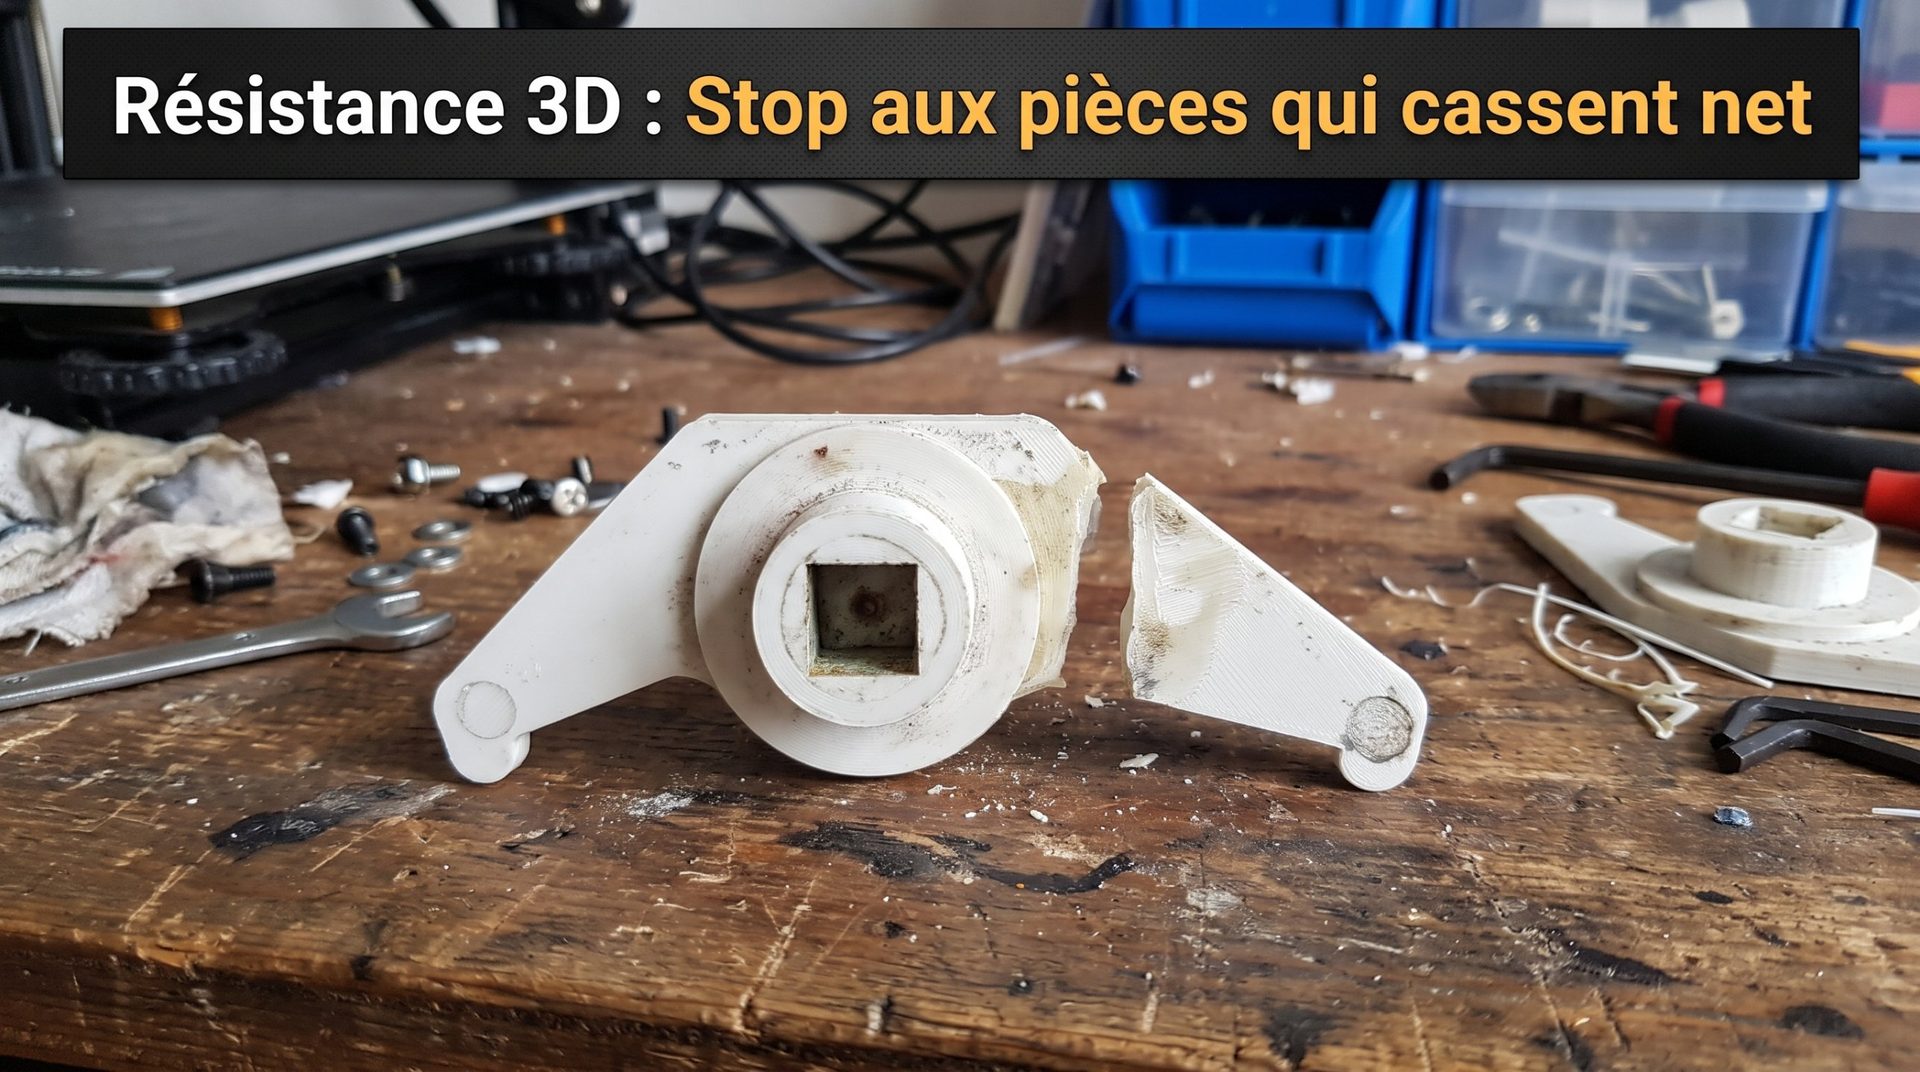
3D printing is a powerful tool for creating parts, but it has one weak point: the durability of threads. Screwing a bolt directly into plastic might work once or twice, but the thread wears out quickly, especially if you're taking the assembly apart and putting it back together frequently. That's where threaded inserts come in, turning a simple DIY project into a robust and long-lasting creation.

What is a threaded insert?
A threaded insert is a small piece, usually made of brass or steel, with an internal thread. It's designed to be inserted into a hole in your 3D-printed part to create a solid, reusable mounting point for a screw. The insert becomes a permanent fastening point that resists wear, preventing the plastic from getting damaged over time.
The benefits for your 3D projects
- Unbeatable strength: A thread in plastic is inherently fragile. An insert spreads the pressure over a larger surface, offering far better resistance to pull-out and shearing forces.
- Durability: Unlike plastic, which deforms or wears out, a metal insert can handle hundreds of screw cycles without losing effectiveness.
- Professional finish: Using threaded inserts gives your projects a polished, professional look.
How to install a threaded insert? Step-by-step guide
The most common and effective method is heat installation.
- Part design: When modeling your part, create a hole that's slightly smaller in diameter than the insert's outer diameter. This ensures the melted plastic around the insert will hold it firmly in place.
- Tool preparation: You'll need a soldering iron and, ideally, a special tip for threaded inserts. This flat, cylindrical tip applies heat evenly without damaging the part.
- The installation process:
- Place the insert on the hole you've prepared.
- Heat your soldering iron to the right temperature (typically 200°C to 250°C for PLA).
- Gently apply the hot tip to the insert. The insert will start heating up and melting the plastic around it.
- With light, steady pressure, push the insert down until it's flush with the surface of the part.
- Let the plastic cool and harden around the insert.
Pro tips for perfect installation
- Choose the right temperature: Too low and the plastic won't melt; too high and it'll warp. Test on scrap first.
- Precision: Make sure you push the insert straight down so the screw fastens without binding.
- Watch your tip: Don't let the hot tip touch other parts of your piece.
Threaded inserts are a small detail that makes all the difference. By adding them to your creations, you give your 3D-printed projects a whole new level of strength and durability.