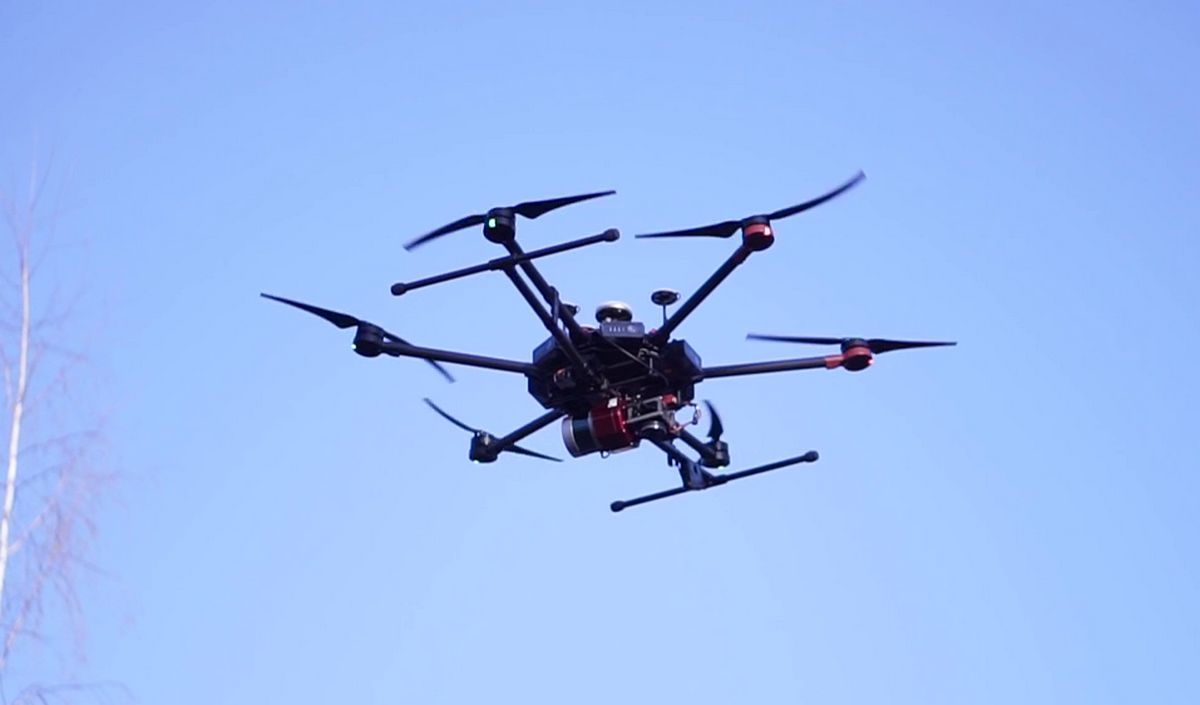
RC Airplane 3D Printing: From Design to Flight

RC airplane modeling, with its meticulous balsa constructions and intricate balance calculations, is an art that demands patience and precision. The arrival of 3D printing has ushered in a new era, radically transforming construction methods to offer enthusiasts unprecedented design freedom and efficiency. It makes it possible to move beyond simple kit assembly to creating a fully custom aircraft from start to finish.

The Advantages of 3D Printing for RC Airplane Modeling
3D printing brings solutions to the traditional challenges of building miniature aircraft:
- Lightweight and Strong: One of the main challenges is building a structure that is both light and solid. 3D printing allows you to optimize the internal geometry of parts, using low infill percentages, to create honeycomb or lattice structures that are incredibly lightweight yet rigid.
- Complex Shapes: Creating a perfect airfoil profile or complex aerodynamic shapes from wood is time-consuming work. A 3D printer does it with micrometer precision, guaranteeing better flight performance.
- Easy Repairs and Customization: If a part breaks during a rough landing, simply reprint it. It's also easy to modify a model to add a camera mount, reinforced landing gear, or unique aesthetic details.
Technical Challenges and Material Selection
Mastering 3D printing in RC airplane modeling comes down to choosing the right filament and precise settings.
- Weight: This is priority number one. For an airplane, every gram counts. It's therefore essential to minimize weight by using low infill (5-10%) and thin wall thickness.
- Filament: LW-PLA (Lightweight PLA) is the material of choice. This "expanding" filament is designed to puff up during printing, creating ultra-lightweight parts ideal for wings and fuselage. For parts requiring more rigidity (motor mount, landing gear), standard PLA remains a good option.
From Design to Flight: The Process
- Modeling: You can design your own model using CAD software or download a model created by another enthusiast on platforms like Thingiverse or Cults3D.
- Slicing: This is the most technical step. You must carefully configure infill, wall thickness, and supports to optimize both lightness and structural strength. For LW-PLA, a higher extrusion temperature is needed for expansion.
- Assembly: Once all parts are printed (often in segments), they are glued together. This is when you integrate electronic components like the motor, battery, and servos.
- Finishing: Parts can be lightly sanded to improve aerodynamics and painted for a more realistic look.
In conclusion, 3D printing is redefining the boundaries of RC airplane modeling. It allows hobbyists to move beyond simple kit building to design and innovation, making this hobby more accessible and exciting than ever.