Nozzle 0.4, 0.6 or 0.8 mm: Stop Printing Like a Turtle
Since the early days of consumer 3D printing, the brass 0.4 mm nozzle has ruled unchallenged. Factory-standard on nearly every printer, it's become the universal compromise.
The problem? To print a storage box, a tool holder, or a drilling template, sticking with a 0.4 mm nozzle is like painting an entire wall with a watercolor brush: precise, sure, but a monumental waste of time.
Changing your nozzle diameter is the most cost-effective upgrade in the maker world (usually under $5 for a brass nozzle). Here's what you gain, what you lose, and our nozzle converter to estimate your time savings in seconds.
The physics behind diameter: what changes at the hotend
Increasing the diameter isn't just about depositing a wider line—it changes the shape of every plastic bead.
1. Extrusion line cross-section
A printed bead isn't a round tube, but a flattened rectangle with rounded edges.
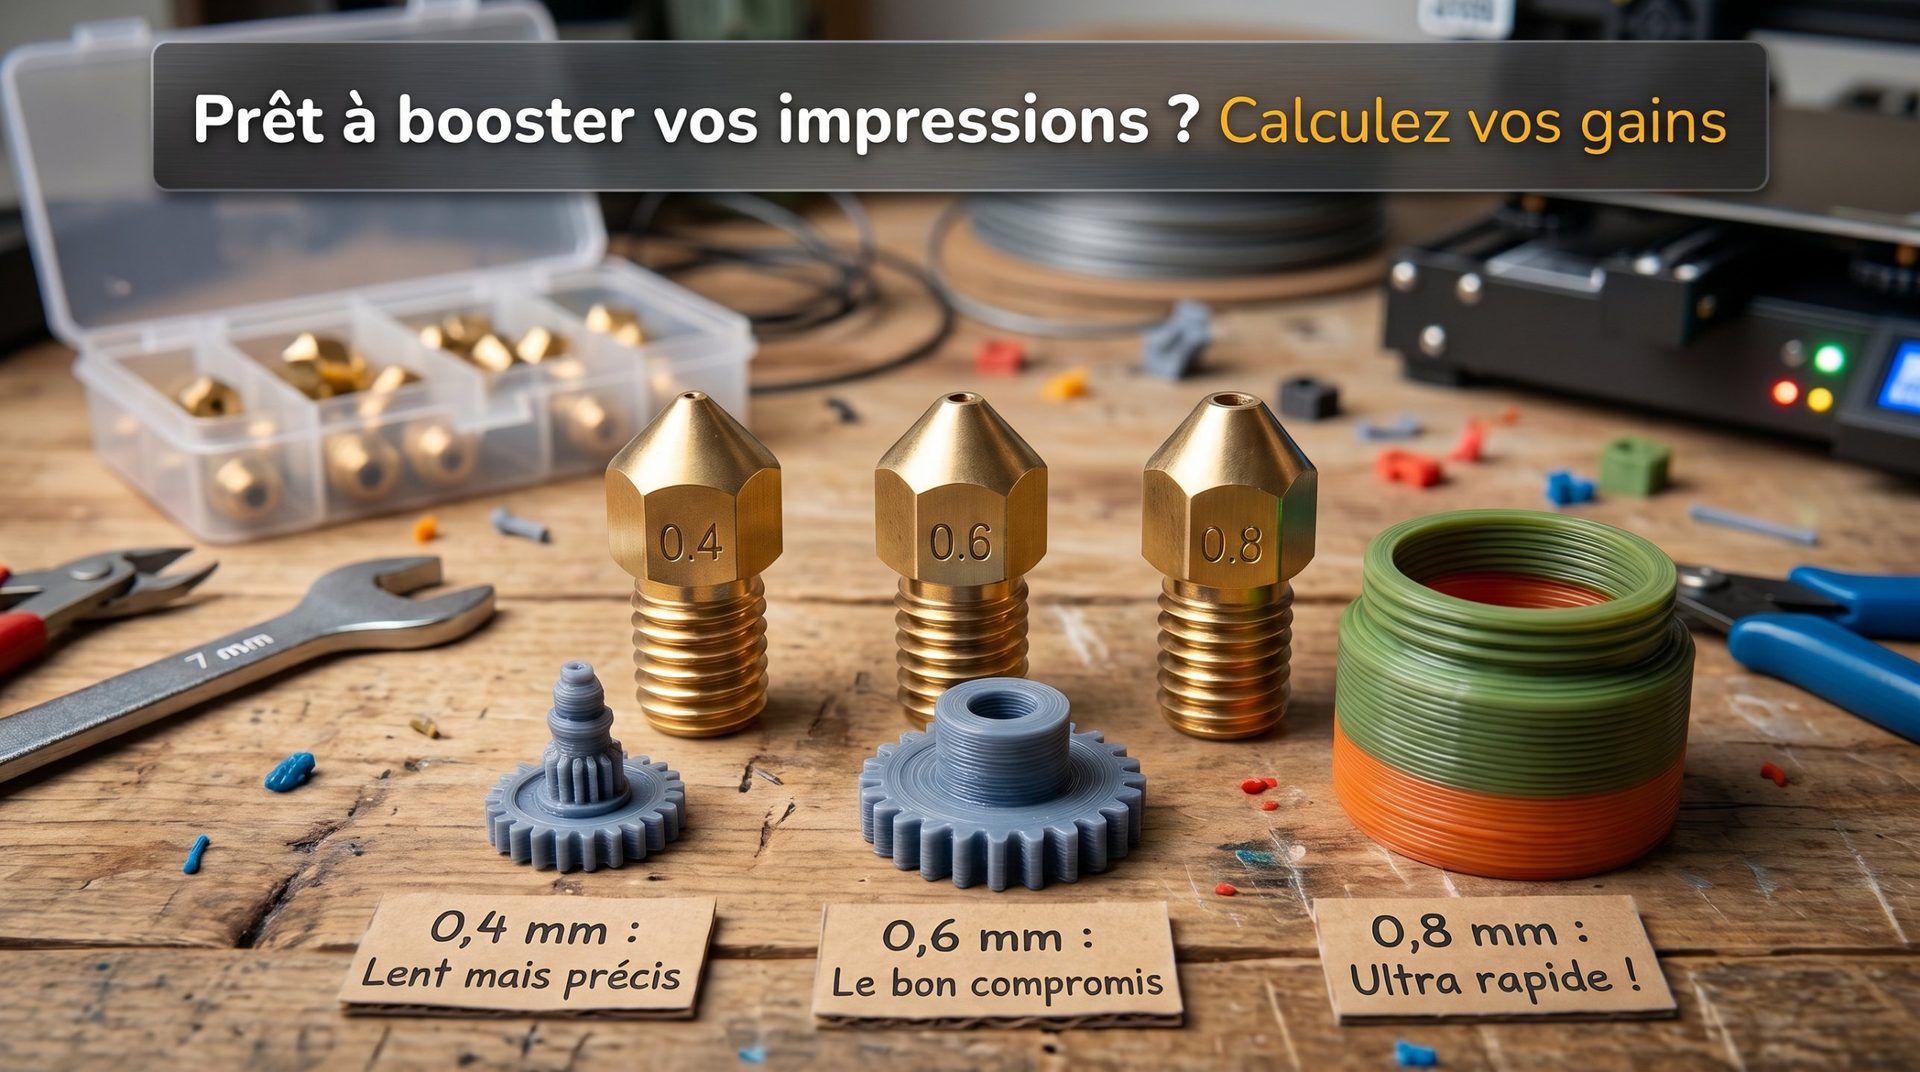
- 0.4 mm nozzle: typical layer heights of 0.20 mm, with line width of 0.40 to 0.45 mm.
- 0.6 mm nozzle: easily reaches layer heights of 0.30 to 0.35 mm, with line width around 0.65 mm.
- 0.8 mm nozzle: layer heights reach 0.40 to 0.50 mm, with line width of 0.85 to 0.90 mm.
At the same speed, each nozzle pass deposits two to four times more material than a 0.4 mm nozzle.
2. The bottleneck: maximum flow rate
This is pitfall number one: switching to a larger nozzle won't divide print time by four if the hotend can't melt plastic fast enough. Flow is calculated simply: line width × layer height × speed, in mm³/s.
A standard hotend (V6 or stock Ender type) melts about 10 to 15 mm³/s of PLA on average. A high-flow hotend (Volcano, Bambu Lab, Dragon High Flow…) handles 25 to 40 mm³/s or so. Beyond that, the printer must slow down to avoid under-extrusion. That's also why filament matters as much as the nozzle: read our article on filament as the true speed bottleneck.
The matchup: 0.4 vs 0.6 vs 0.8 mm
| Criterion | 0.4 mm Nozzle the standard | 0.6 mm Nozzle the sweet spot | 0.8 mm Nozzle the flow monster |
|---|---|---|---|
| Layer height | 0.12 to 0.28 mm | 0.20 to 0.40 mm | 0.30 to 0.60 mm |
| Average time saved | Baseline | −30 to −50 % | −50 to −70 % |
| Layer adhesion strength | Standard | Stronger | Much stronger |
| Perimeters for 1.2 mm wall | 3 passes | 2 passes | 1 to 2 passes |
| Text and fine details | Legible from 2–3 mm height | Clear from ~4 mm | Fine details lost |
| Layer lines | Subtle | Visible | Very pronounced (raw look) |
| Best use case | Figurines, miniatures, thin housings | Templates, mechanical parts, bins | Large vases, furniture, heavy tools |
Time gains depend heavily on your hotend: once it hits its maximum flow rate, the 0.8 mm doesn't offer much more than the 0.6 mm.
Why are parts printed at 0.6 and 0.8 mm stronger?
Contrary to popular belief, a part printed in thick layers isn't fragile—quite the opposite:
- Fewer layers, fewer weak points: for a 10 cm tall part, a 0.4 mm nozzle stacks 500 layers at 0.2 mm, while a 0.8 mm nozzle uses only 200 layers at 0.5 mm. Each layer junction is a potential weak point.
- Better layer fusion: a thicker bead holds heat longer and re-melts the layer below it slightly, bonding them better.
- Solid walls: two perimeters at 0.6 mm create a compact wall around 1.3 mm, often stiffer than three perimeters at 0.4 mm.
What you lose by going bigger
- Overhangs and bridges: a thicker bead takes longer to solidify in the air. An overhang that worked at 0.4 mm may sag at 0.8 mm: crank fan speed to maximum and plan supports earlier (and don't fall into the "it'll make 75°" delusion).
- Sharp inside corners and tiny holes: a large nozzle rounds inner corners and reduces small holes. For assemblies, plan at least 0.3 mm clearance.
- The "stair-step" effect: on shallow slopes (the top of a dome, for example), 0.4 mm layers create visible steps that need serious sanding if appearance matters.
The converter: estimate your time savings in 2 seconds
No need to reconfigure your entire slicer to test an idea. Enter your 0.4 mm part's estimated print time (or weight), your printer's hotend type, and optionally the size of your smallest detail—the converter estimates 0.6 and 0.8 mm times while accounting for your hotend's maximum flow, theoretical layer strength, and what happens to your fine details.
⏱️ Nozzle Converter: 0.4 → 0.6 → 0.8 mm
1. Your part printed with a 0.4 mm nozzle
2. Your printer
3. Part's smallest detail (optional: thin wall, embossed text, engraving)
| 0.4 mm | 0.6 mm | 0.8 mm | |
|---|---|---|---|
| Estimated time | – | – | – |
| Time saved | Baseline | – | – |
| Recommended layer height | 0.20 mm | 0.30 mm | 0.45 mm |
| Layer adhesion | Baseline | +20 to +35 % | +40 to +60 % |
| Details | – | – | – |
Approximate estimate for PLA: actual print time also depends on accelerations, infill, and your slicer settings. Strength gains are order-of-magnitude estimates for layer bonding (Z-axis), observed in community tests.
In the workshop: have you made the switch?
- Did you stick with the original 0.4 mm nozzle out of habit, or fear of losing quality?
- Print daily at 0.6 mm? Would you go back for functional parts?
- What's the biggest time gain you've seen on a large workshop piece?
🗳️ What nozzle diameter do you use daily?
Click your answer to vote and see the results.
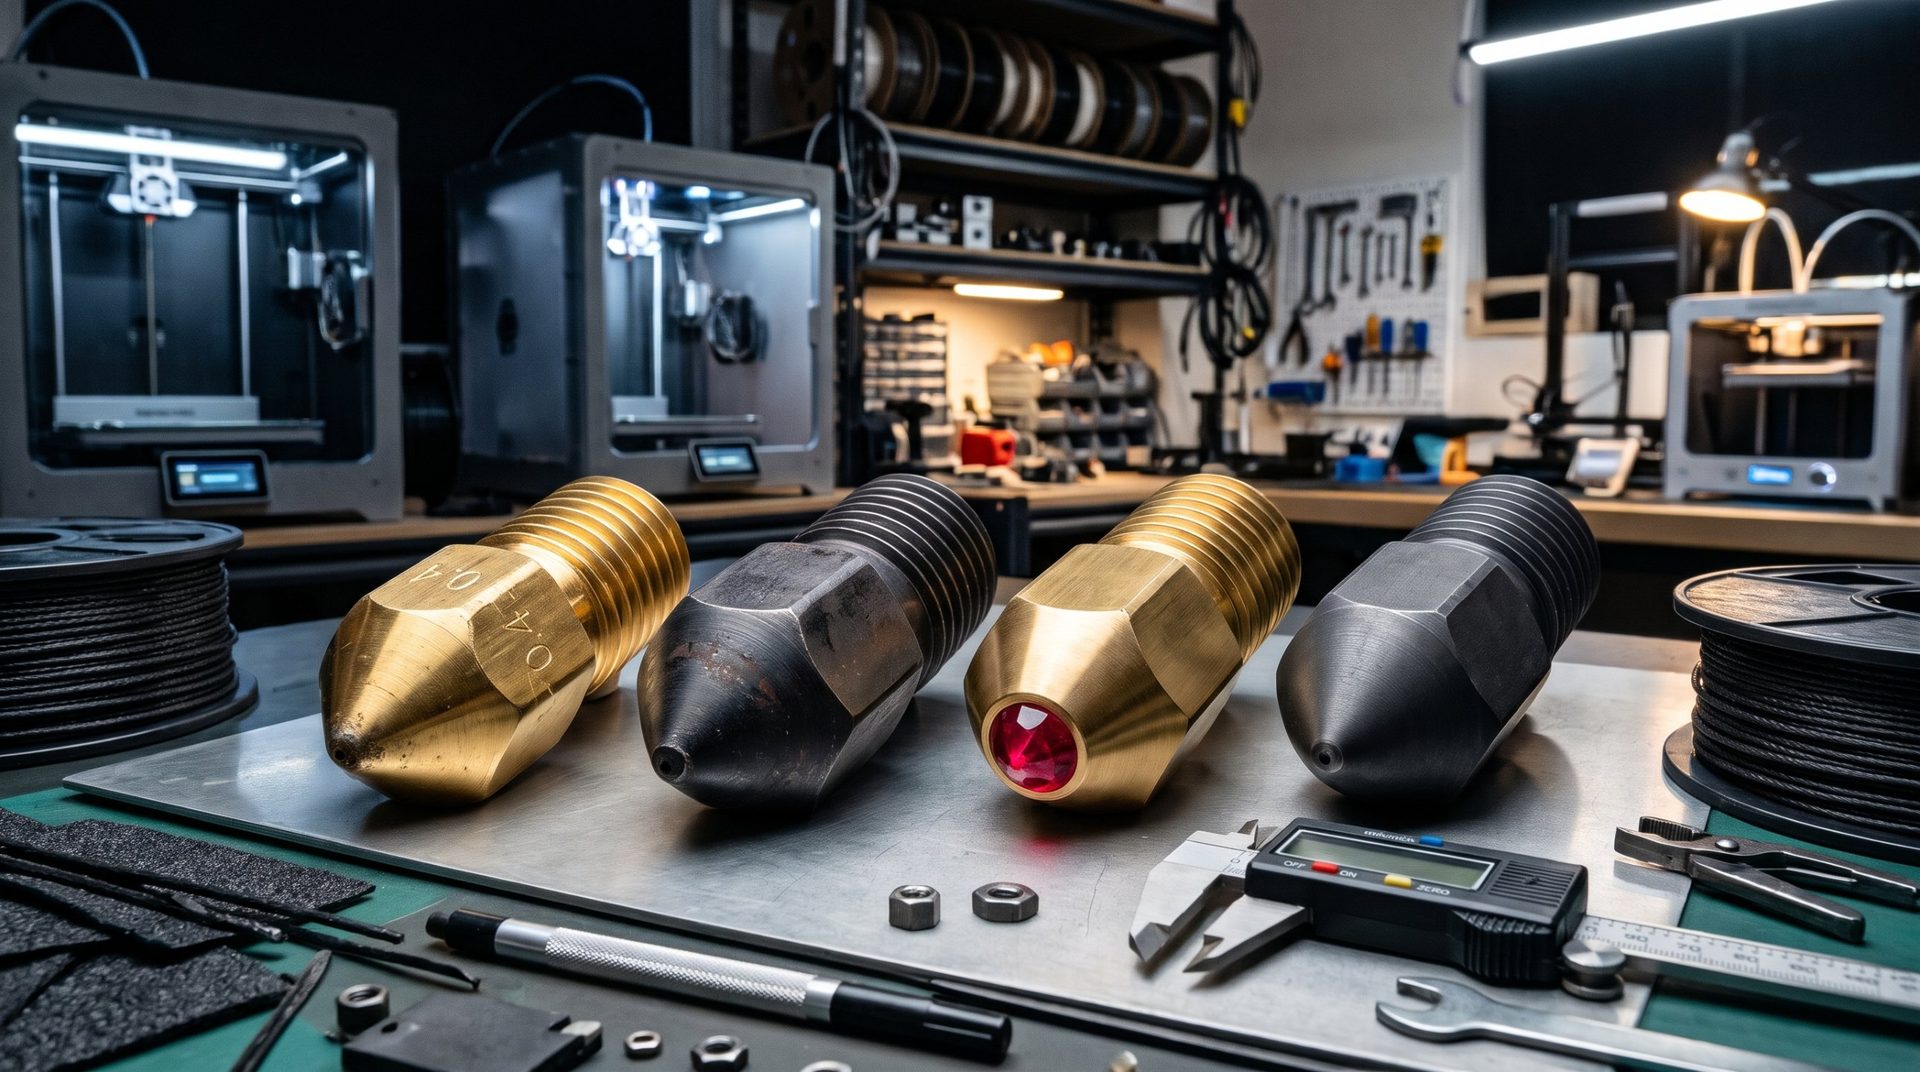
Tell us everything in the comments! And to pick the right nozzle material (brass, hardened steel, ruby, tungsten carbide), read our comparison the nozzle wars.