How to 3D Print on a T-Shirt?
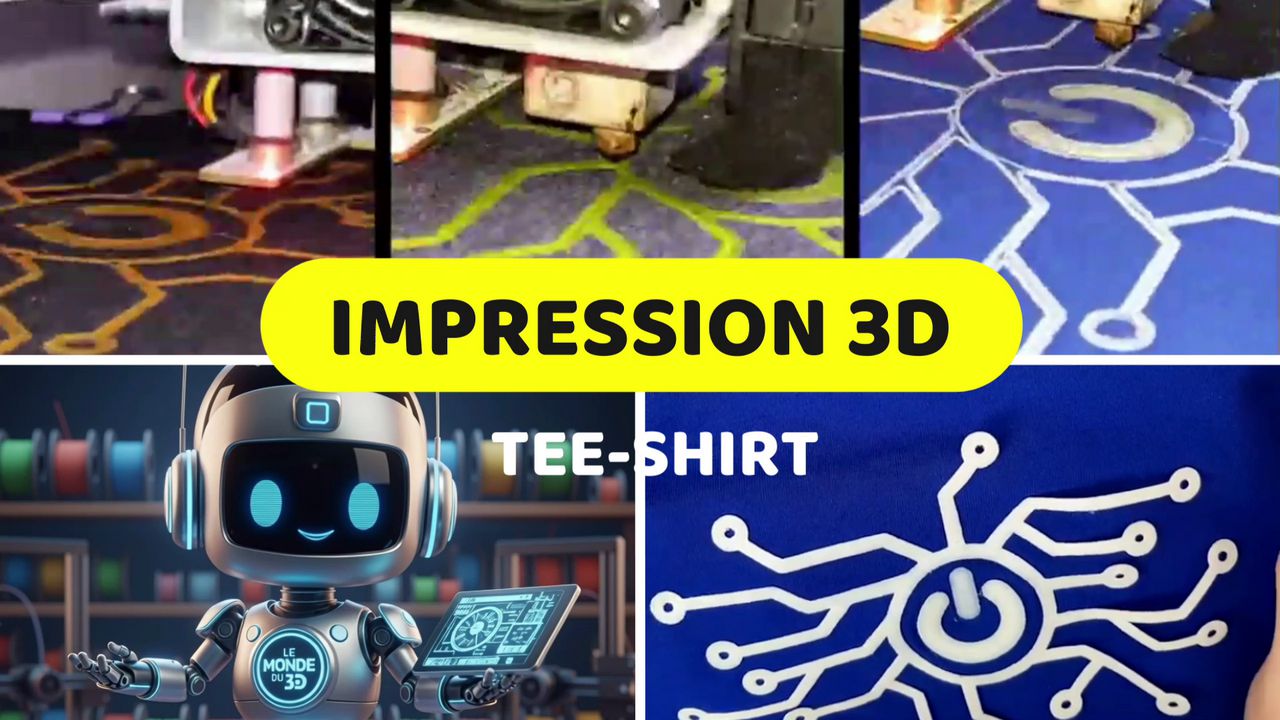
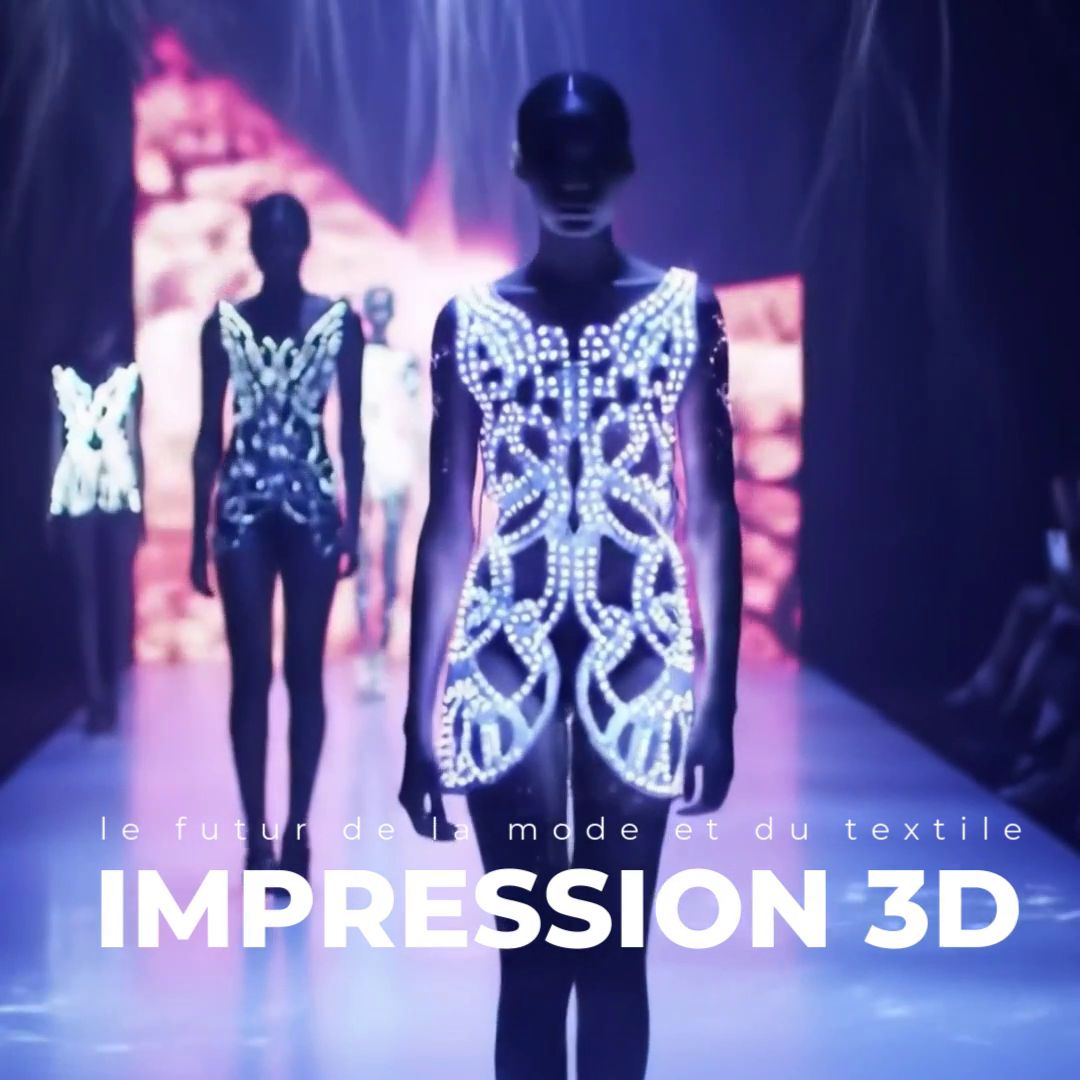
3D printing on textiles is transforming DIY and custom fashion. Here's how to master this technique, from material selection to machine settings.

✅ Filament Selection: The Key to Success
Not all filaments are created equal when it comes to textiles. The material must be able to withstand body movement and washing cycles.
-
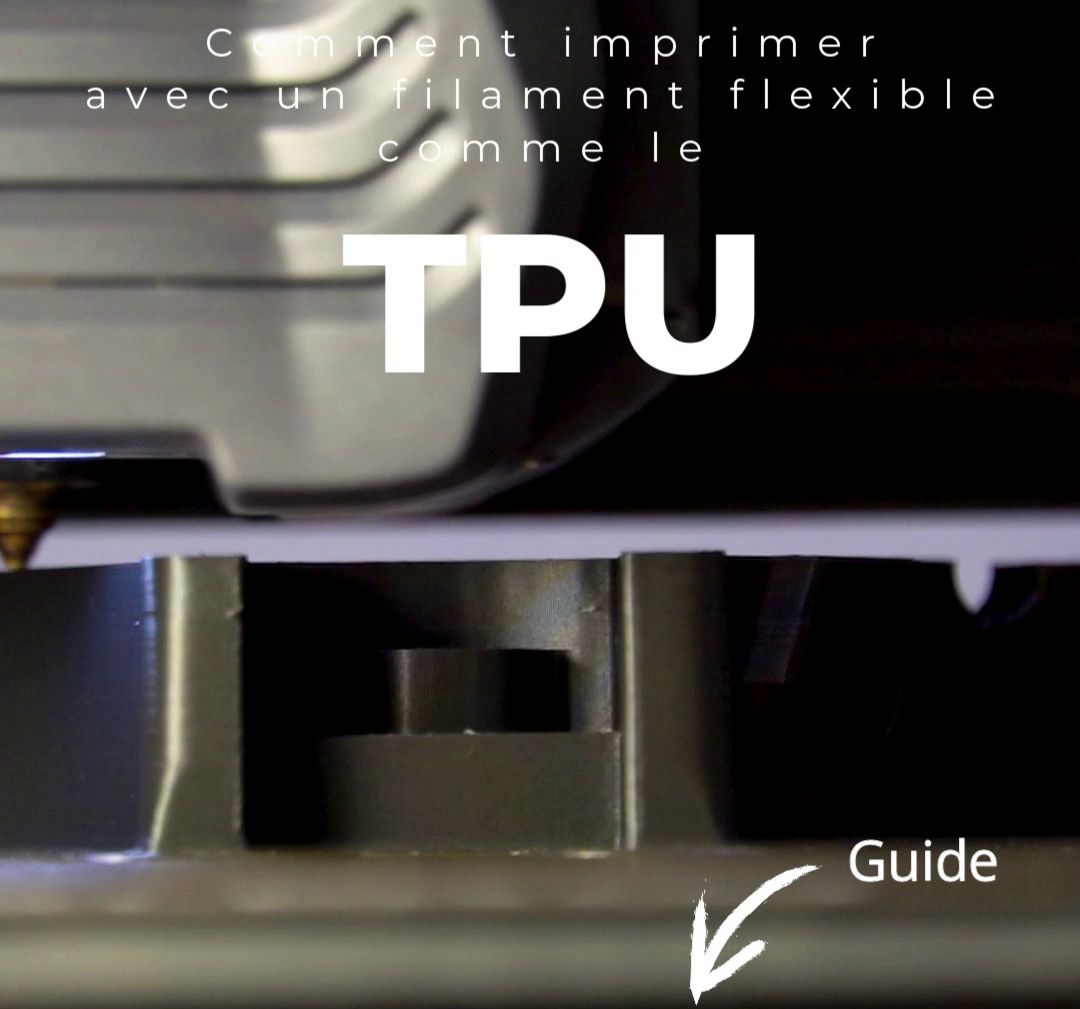
The TPU (Thermoplastic Polyurethane): The Essential Choice This is the king of garment printing. It's flexible, elastic, and extremely resistant to wear. It penetrates perfectly into fabric fibers.
-
Recommended Shore Hardness: Between 85A and 95A. The lower the number, the more flexible the design will be on the t-shirt.
-
-
The PLA: For Aesthetics Only While easy to print, PLA is rigid. It risks cracking if the fabric is stretched or peeling off after the first wash. Reserve it for display pieces or very small areas.
-
PETG: The Compromise More resistant than PLA and slightly more flexible, it offers better heat resistance but remains less comfortable than TPU for daily use.
✅ Which Fabric to Choose?
Adhesion is mechanical: the melted plastic must "trap" the fabric fibers.
-
Open-weave fabrics (Mesh): This is the ideal support. The plastic passes through the holes and seals on itself, creating an unbreakable anchor.
-
Cotton: Works well if the weave isn't too tight. Lightweight cotton or a cotton/polyester blend is preferable.
-
Synthetics: Be careful with build plate temperature, which could melt delicate fabrics.
✅ Technical Protocol: Step by Step
Step 1: File Preparation (Slicer)
-
Thickness: Don't exceed 2 or 3 mm total thickness to maintain flexibility.
-
First Layer: It should be slightly more "squished" than usual to force the filament into the fibers. Increase the first layer flow rate by 10 to 15%.
Step 2: Printer Setup
-
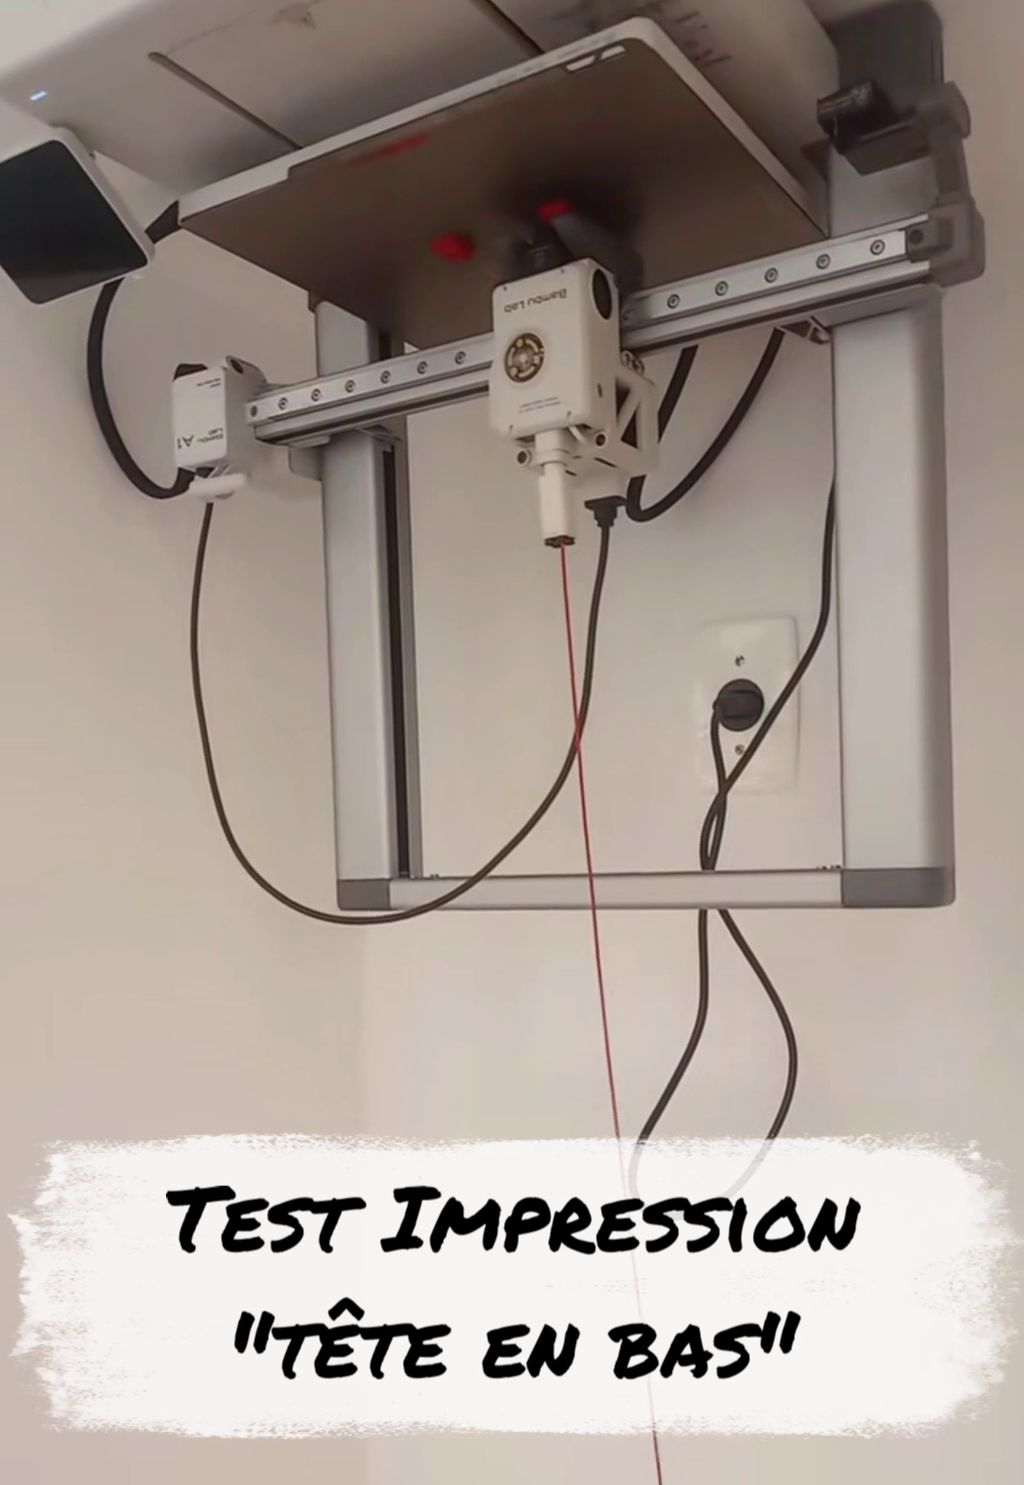
Thread the printer's build plate inside the garment.
-
The fabric should be the only surface in contact with the nozzle.
-
Extreme Fixation: Without a plastic base underneath to "hold" the design, the fabric must be stretched like a drumhead. Use powerful office clamps on all four sides of the build plate.
Step 3: Z-Offset Adjustment (The Critical Step)
Since you're printing directly on fabric, your printer "thinks" the build plate is at height 0, when there's actually the thickness of the t-shirt.
-
Measurement: Measure your fabric thickness (approximately 0.4 mm for standard cotton).
-
Adjustment: Before starting the print, modify your Z-Offset in the printer settings to raise it by this value.
-
The Goal: If your nozzle is too low, it will "plow" through the fabric and tear it. If it's too high, the plastic won't embed into the weave.
Step 4: Slicer Parameters
For the plastic to adhere without a base, you must modify these settings:
-
First Layer Temperature: Increase it by 10 to 15°C from your normal settings. For TPU, raise to 240°C. The more liquid the plastic, the better it penetrates the fibers.
-
Squish (Initial Layer Height): Set a thick first layer (e.g., 0.3 mm) to compensate for fabric irregularities.
-
First Layer Flow: Set it to 120%. We want to literally inject the plastic into the fabric.
-
Speed: Very slow. 10 or 15 mm/s for the first layer to give heat time to stabilize the fabric.
-
Fan: Disable completely for the first 3 layers.
✅ Care and Durability
A 3D-printed t-shirt requires special care to last:
-
Washing: Inside out, cold water (30°C maximum) or by hand.
-
Drying: Never use a dryer! Excessive heat could soften the plastic and warp the design.
-
Ironing: Never iron over the printed area. Use a protective cloth if you need to iron around it.
Once you master the technique, your only limit will be your imagination: geometric logos, organic textures, or even articulated protective elements.
Do you have a custom t-shirt idea in mind? Are you ready to give it a try?