How to 3D Print a Foosball Table?
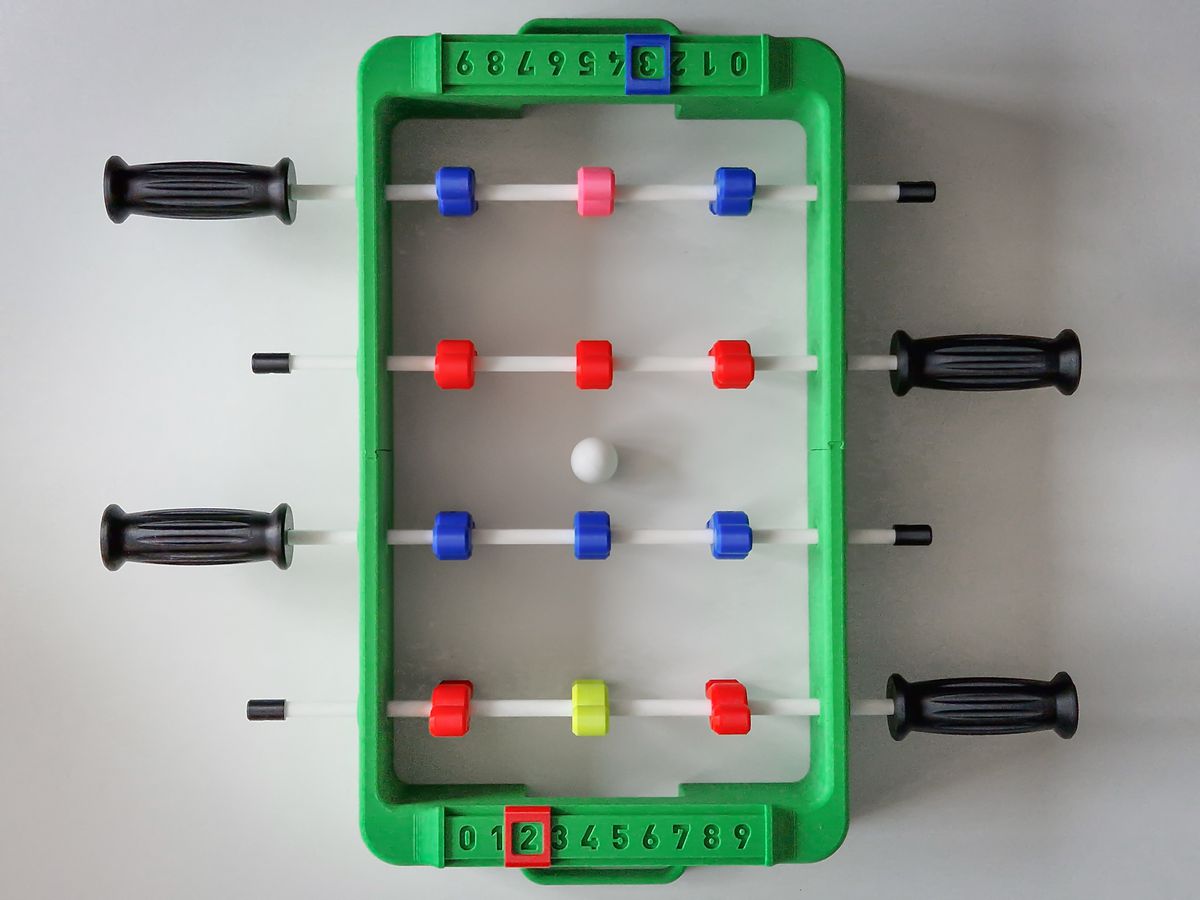
3D printing has transformed the manufacturing of countless objects, and the foosball table (or table football) is no exception. Whether personalizing players or building an entire miniature table, 3D printing offers unique possibilities.
Here's a complete guide on how to approach 3D printing a foosball table, focusing on the challenges of durability and precision.

(Image and 3D File Source: euosJad via MakerWorld)
Two Approaches: Customization vs. Full Build
Depending on your goals, you can choose between two approaches.
The customization approach, the most common, involves replacing only certain components of an existing table: creating custom players, ergonomic handles, goals, or accessories. 3D printing then allows you to add a unique personal touch, such as players designed after friends or mascots.
The full build approach involves printing the entire frame, playing field, goals, and players. This is ideal for a miniature foosball table, a desk toy, a modular model, or an educational project.
The 3D Printing Challenge: Durability
The trickiest part of printing a foosball table is impact resistance and tensile strength. An intense match puts significant stress on parts.
For parts under heavy stress, such as players and handles, it's crucial to use materials with good break resistance, such as PETG or ABS/ASA, rather than PLA. These parts also require very dense infill, ranging from 50% to 100%, as well as at least 4 to 5 perimeters, to ensure maximum strength against impacts.
For components that experience less direct impact, such as the frame and playing field, PLA is generally sufficient. An infill of 20% to 40% is adequate, using a thin layer height (0.2 mm) to ensure good flatness of the playing surface.
Manufacturing Process Steps
Step 1: Modeling and STL Files
You can either download existing models (players, handles, miniature foosball tables) from platforms like Thingiverse or Cults3D. If you opt for customization, you'll need to model your own parts (using Fusion or Blender), paying special attention to dimensional tolerance for the rod hole (0.1 mm).
Step 2: Slicing and Printing
Part orientation is critical: it's recommended to print players lying flat on the build plate to maximize layer strength in the direction they'll strike the ball. For ABS or PETG, a heated bed is essential to prevent warping. Infill should be as high as possible, using a robust pattern like hexagonal or cubic.
Step 3: Assembly and Non-Printed Parts
3D printing doesn't provide all components. You'll always need non-printed elements, such as:
- Rods: They must be metal or aluminum to ensure rigidity and smooth gliding.
- Balls: Use standard foosball balls.
- Joints and bumpers: While flexible TPU can be used, rubber bumpers are often more durable for cushioning rod impacts.
For a printed modular foosball table, it's often wise to use cyanoacrylate adhesive (super-glue) to assemble and durably bond structural chassis elements.
In summary: 3D printing is fantastic for foosball, provided you prioritize durable materials (PETG, ABS) and high infill so your players and handles withstand the intensity of play!