The Different Slicing Software (Slicers) in FDM 3D Printing

FDM 3D printing (Fused Deposition Modeling) relies on a software component that is just as crucial as the printer itself: the slicing software, more commonly called a "slicer". This program is the essential bridge between your digital 3D model and the physical movements of your printer. Without it, your machine would be nothing more than a pile of inert parts.
The slicer's mission is to convert a 3D file (typically in STL, OBJ, or 3MF format) into a series of detailed instructions, line by line and layer by layer, that the printer can understand and execute. These instructions, grouped in a G-code file, dictate everything: extrusion temperature, print head movement speed, layer height, infill density, and much more. Choosing and mastering your slicer are therefore crucial for the quality, reliability, and success of your 3D prints.
The Essential Role of the Slicer
The slicer is the conductor of your 3D print. Its main functions include:
- Layer Slicing: It "slices" the 3D model into thin horizontal layers, each corresponding to one pass of the extruder.
- Toolpath Generation: It determines the exact path that the nozzle must follow to deposit filament for each layer.
- Print Parameter Management: It allows you to configure dozens, even hundreds of parameters that directly influence your print:
- Temperatures: Nozzle and build plate.
- Speeds: Print, travel, retraction.
- Infill: Density and pattern of the internal structure.
- Supports: Automatic generation of structures to support overhangs.
- Build Plate Adhesion: Brims, rafts, skirts.
- Retraction: To prevent stringing (unwanted filament strands).
- Preview: Most slicers offer a preview of the generated G-code, allowing you to visualize the print process layer by layer and detect any potential issues before launching the actual print.
- G-code Export: The final G-code file is saved, ready to be transferred to your printer (via SD card, USB, or Wi-Fi).
Overview of Popular Slicers and Their Specifics
The slicer market is rich and diverse, each with its strengths and particularities. Here are the most widespread:
- Ultimaker Cura
- Strengths: Probably the most popular and widely used slicer, particularly thanks to its open-source status and compatibility with a multitude of 3D printers. It features an intuitive interface for beginners, but also offers access to an impressive array of parameters for advanced users. Its community is vast and active, and it receives frequent updates.
- Weaknesses: The wealth of its options can sometimes be overwhelming for newcomers.
- Ideal for: Beginners, intermediate to advanced users, multi-printer setups.
- PrusaSlicer
- Strengths: Developed by Prusa Research, it is recognized for exceptional print quality and reliability. Very intuitive, it offers advanced features like organic supports (brush painting), automatic part detection, and optimizations for Input Shaper and Pressure Advance (for Klipper). An excellent choice even if you don't have a Prusa printer. Open-source.
- Weaknesses: The interface may seem less "designed" than Cura for some, but it is very functional.
- Ideal for: All skill levels, users seeking quality and reliability, those who appreciate innovative features.
- Simplify3D
- Strengths: It was long considered the leader for its advanced features, particularly customizable support generation and excellent multi-material print management. Highly appreciated by professionals and enthusiasts.
- Weaknesses: It's commercial software (paid), and its updates are less frequent than open-source alternatives, which has caused it to lose ground against the progress of competitors.
- Ideal for: Advanced users with very specific needs in support management or complex print processes.
- Slic3r and Its Forks (e.g. SuperSlicer)
- Strengths: Slic3r is one of the first open-source slicers. It is very powerful, highly configurable, and often originates new features that are later implemented in other slicers. SuperSlicer is a popular derived fork that improves the user interface and adds even more features and calibration options.
- Weaknesses: The original Slic3r version can be complex for beginners.
- Ideal for: Expert users, developers, those who want granular control over every parameter.
- OrcaSlicer
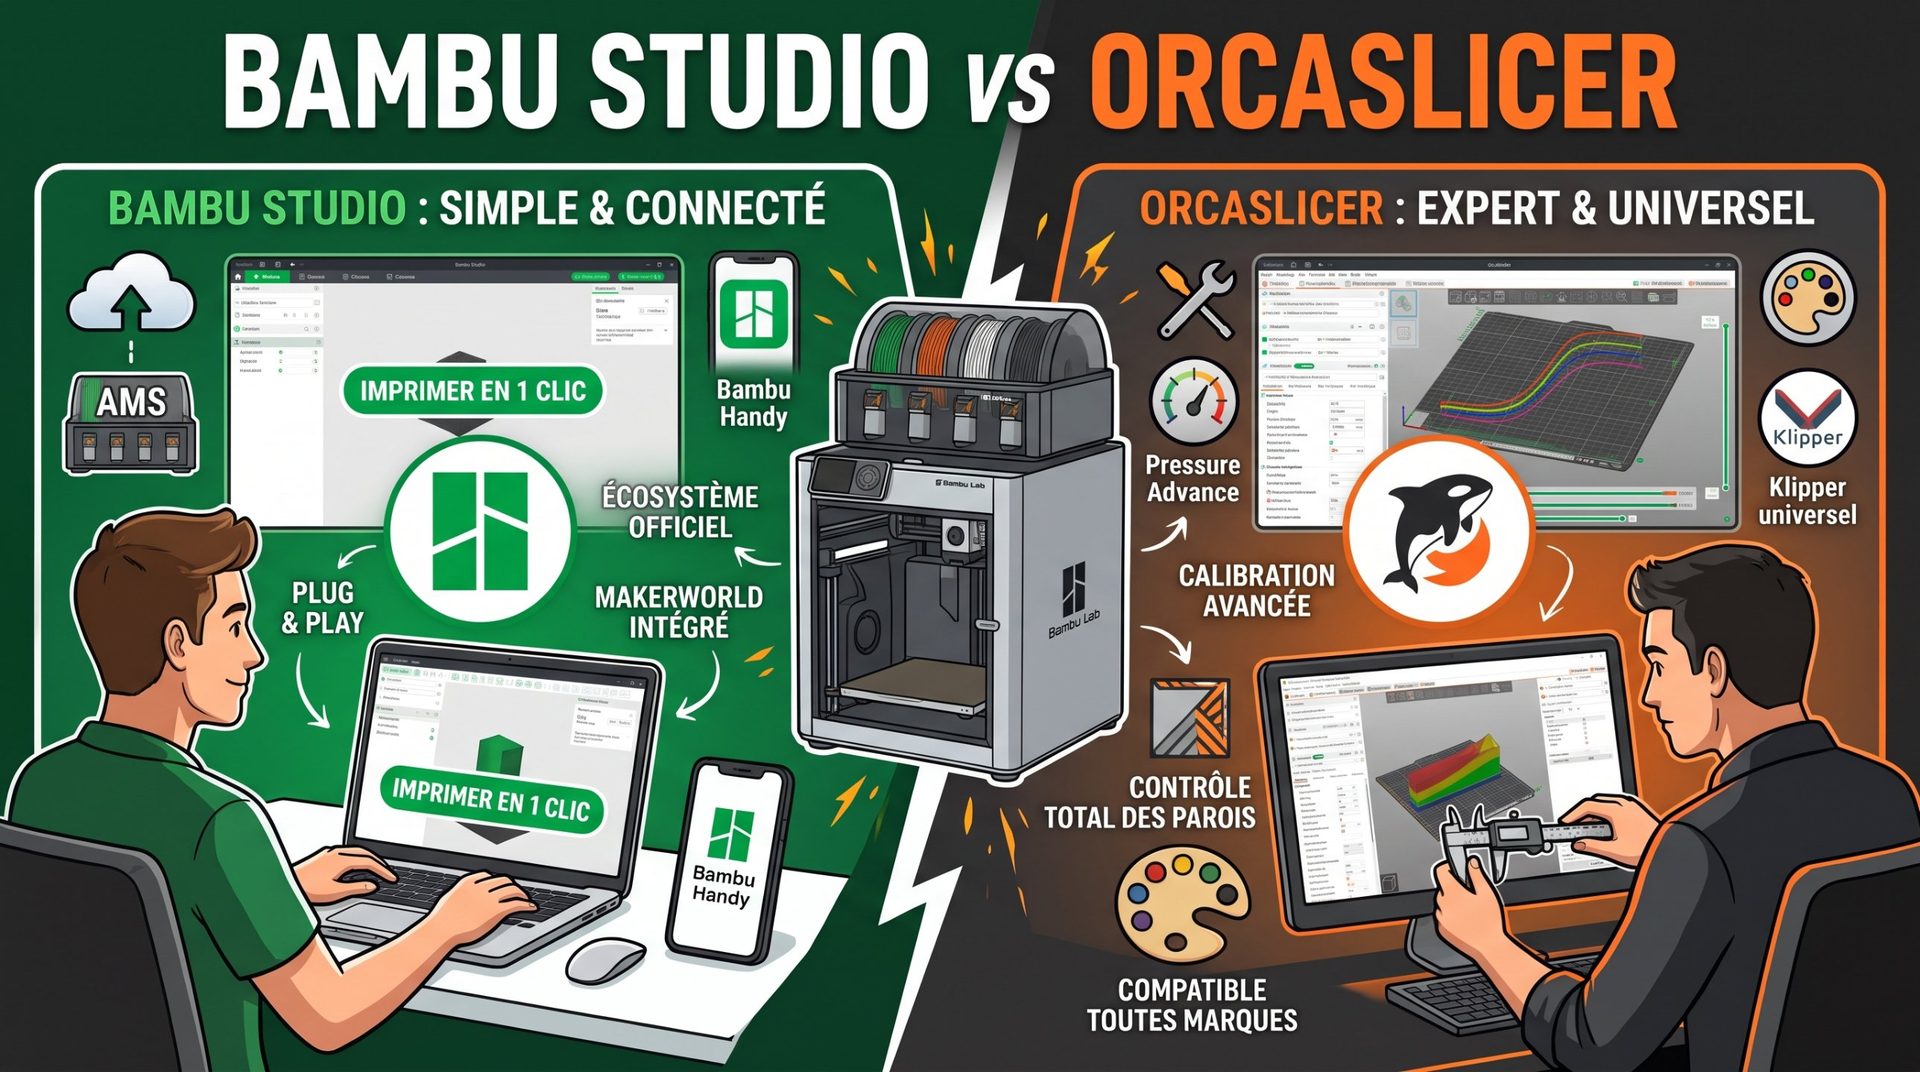
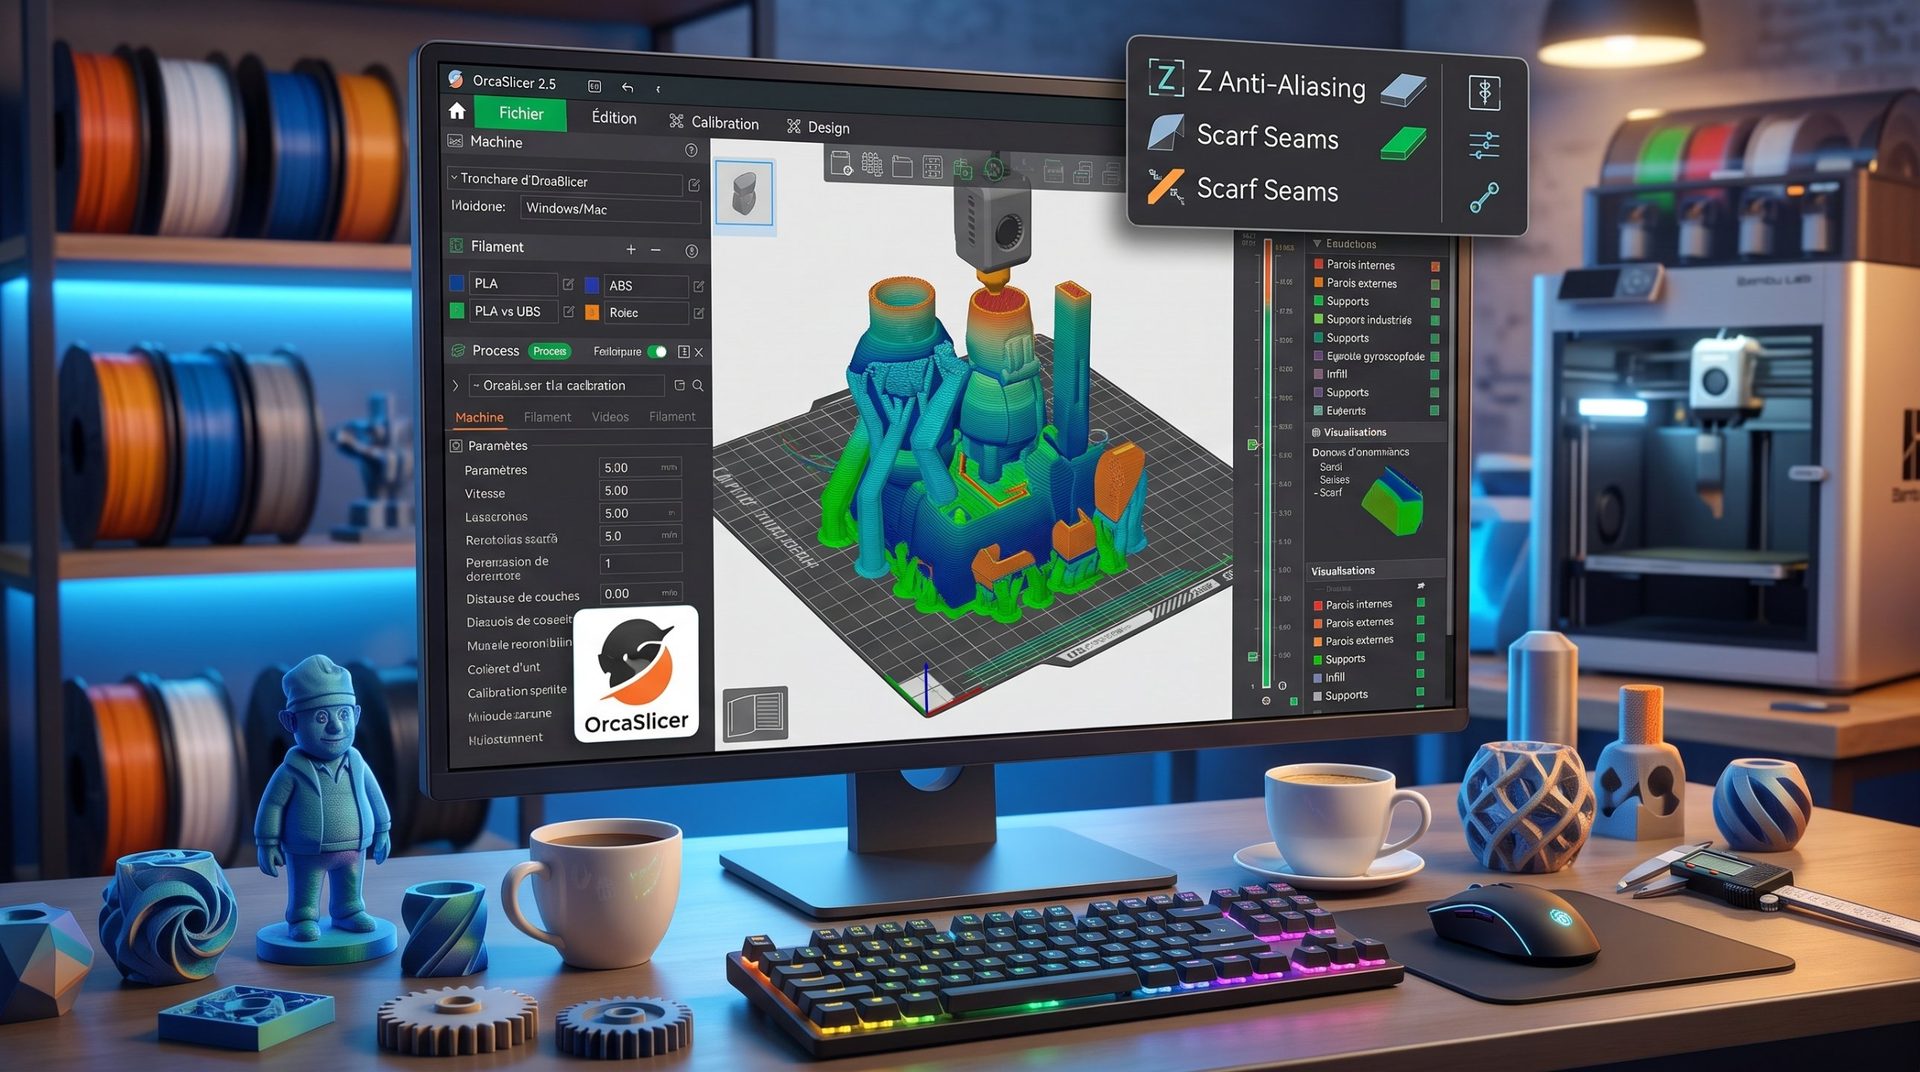
- Strengths: A fork of Bambu Studio (itself based on PrusaSlicer) that has gained popularity very rapidly. It is known for its advanced calibration tools, native multi-color printing support, and high-speed printers (Klipper, Bambu Lab). Very performance and experimentation-oriented.
- Weaknesses: Being relatively new, it is in constant evolution and can be slightly more demanding for beginners.
- Ideal for: Advanced users, high-speed printer owners, those who enjoy integrated calibration tools.
- Bambu Studio
- Strengths: Developed specifically for Bambu Lab printers, it is perfectly optimized for their features (automatic color switching with AMS, high speeds). Very smooth interface and excellent user experience for the Bambu Lab ecosystem. Based on PrusaSlicer.
- Weaknesses: Less generic and optimized for printers other than Bambu Lab.
- Ideal for: Bambu Lab printer owners.
How to Choose Your Slicer?
There is no "best" slicer, as it depends on your needs:
- To get started: Cura or PrusaSlicer are excellent starting points thanks to their user-friendly interfaces and simplified modes.
- For quality and reliability: PrusaSlicer is often the top choice.
- For advanced features and total control: SuperSlicer or OrcaSlicer are solid choices. Simplify3D remains an option for very specific needs despite its cost.
- If you have a printer from a specific brand: Check if the manufacturer offers their own optimized slicer (e.g. Bambu Studio, Creality Print).
Don't hesitate to download and try several of these programs. Most are free and open-source, allowing you to test them and find the one that best suits your printer, your work habits, and the types of parts you print. The slicer is truly the brain of your 3D printer, and mastering it is the key to the success of your projects.