
How to Build Your Own 3D Printer?
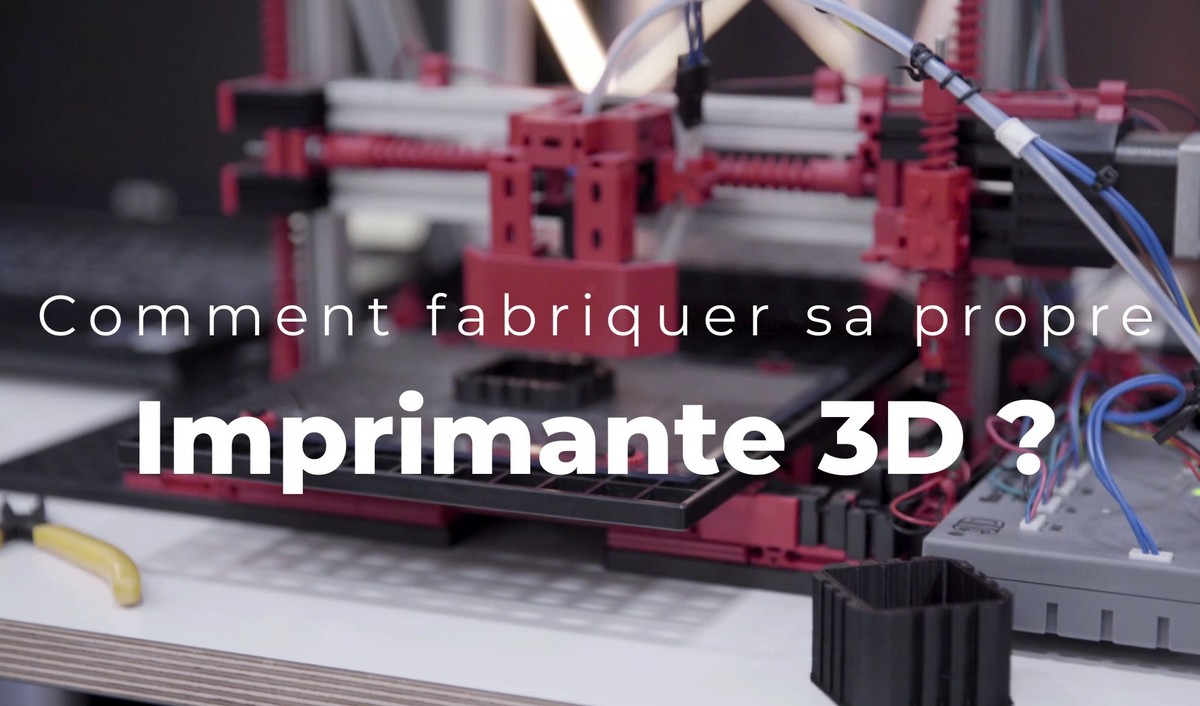
Building your own 3D printer is an exciting adventure, reserved for curious minds and DIY enthusiasts. Far from buying an off-the-shelf model, assembling a DIY (Do It Yourself) printer offers a deep understanding of the machine, unlimited customization, and ultimately, immense satisfaction. It's not a smooth path, but with patience and the right resources, you can get there.
Why build instead of buy?
- Understand how it works: By assembling each component, you'll learn the basics of mechanics, electronics, and 3D printer software. Valuable knowledge for troubleshooting and optimization.
- Customization: You can choose every component, adapt the build plate size, extruder types, and frame materials. Your printer will be unique and perfectly suited to your needs.
- Potential savings: While it depends on the parts you choose, building your own machine can sometimes be more economical than buying an equivalent commercial model, especially for large-format printers.
- The satisfaction of homemade: There's nothing quite like printing your first object on a machine you built with your own hands.
Key steps in the build process
Building a DIY 3D printer breaks down into several main phases, each requiring attention and rigor.
1. Choose your reference model
There are many open-source projects and dedicated communities that share DIY printer plans. Among the most popular are:
- Prusa i3 (open-source versions): A classic with many clones and variations available. It's an excellent foundation for learning.
- Voron: A series of high-performance CoreXY printers, more complex but offering exceptional quality and speed. The Voron community is very active.
- Community projects (like the Phénome Laboubou): Initiatives like the Phénome de Laboubou offer ambitious, large-format designs with strong community support.
Choose a model whose complexity matches your skill level and for which you can find help and resources.
2. Gather the hardware (the shopping list!)
This is the longest and sometimes most expensive step. You'll need:
- Mechanical components: Frame (aluminum profiles, steel), smooth rods or linear rails, bearings, belts, pulleys, screws, and nuts.
- Electronic components: Motherboard (e.g., SKR, Duet), stepper motor drivers, NEMA 17 motors, power supply, control display.
- Extruder/printhead components: Hotend (E3D V6, Phaetus), extruder (Bondtech, Orbiter), nozzle.
- Heated bed: Heat bed, print surface (PEI, glass).
- Wiring and accessories: Cables, sensors (endstops, auto-leveling), fans.
Take time to compare prices and quality from suppliers. Sites like AliExpress, Amazon, or specialized resellers like 3DJake, E3D, etc., are good sources.
3. Assembly: patience and method
Carefully follow the assembly guides (videos, PDF manuals) provided by the model creator.
- Frame: Build the main structure, ensure it's perfectly square and stable.
- Mechanics: Install the axes (X, Y, Z), motors, belts, and rails. Smooth movement is crucial at this stage.
- Electronics: Wire the motherboard, power supply, motors, sensors, and heated bed. This is a delicate step requiring rigor to avoid short circuits.
4. Firmware: the brain of your printer
Once the hardware is assembled, you'll need to configure the firmware (the printer's internal software). The most common firmwares are Marlin and Klipper.
- Marlin: Widely used, integrated into the motherboard, and easy to configure for beginners.
- Klipper: More complex to install (requires a Raspberry Pi), but offers exceptional performance in speed and precision, with great configuration flexibility.
You'll need to compile the firmware with parameters specific to your machine (build plate size, extruder type, sensors, etc.).
5. Calibration and first tests
This is the fine-tuning stage:
- Bed leveling: Essential for a good first layer.
- Z-offset adjustment: The distance between the nozzle and the bed.
- Extruder calibration (E-steps): Ensure the printer extrudes the right amount of filament.
- Print tests: Print simple test objects (calibration cubes, benchy) to check quality and fine-tune your settings.
Essential resources
- Forums and communities: Discord (for Voron, Phénome), Reddit (r/3dprinting, r/voron), specialized forums.
- Video tutorials: YouTube is packed with assembly and calibration guides.
- Official documentation: Open-source project sites (Voron, Marlin, Klipper) are goldmines of information.
Building your own 3D printer is an investment in time and effort, but the reward is a custom-made machine, deep technical understanding, and the pride of having created a powerful tool with your own hands. It's the very essence of the maker movement.


