3D Print a Realistic Moon Lamp with Your 3D Printer 🌕
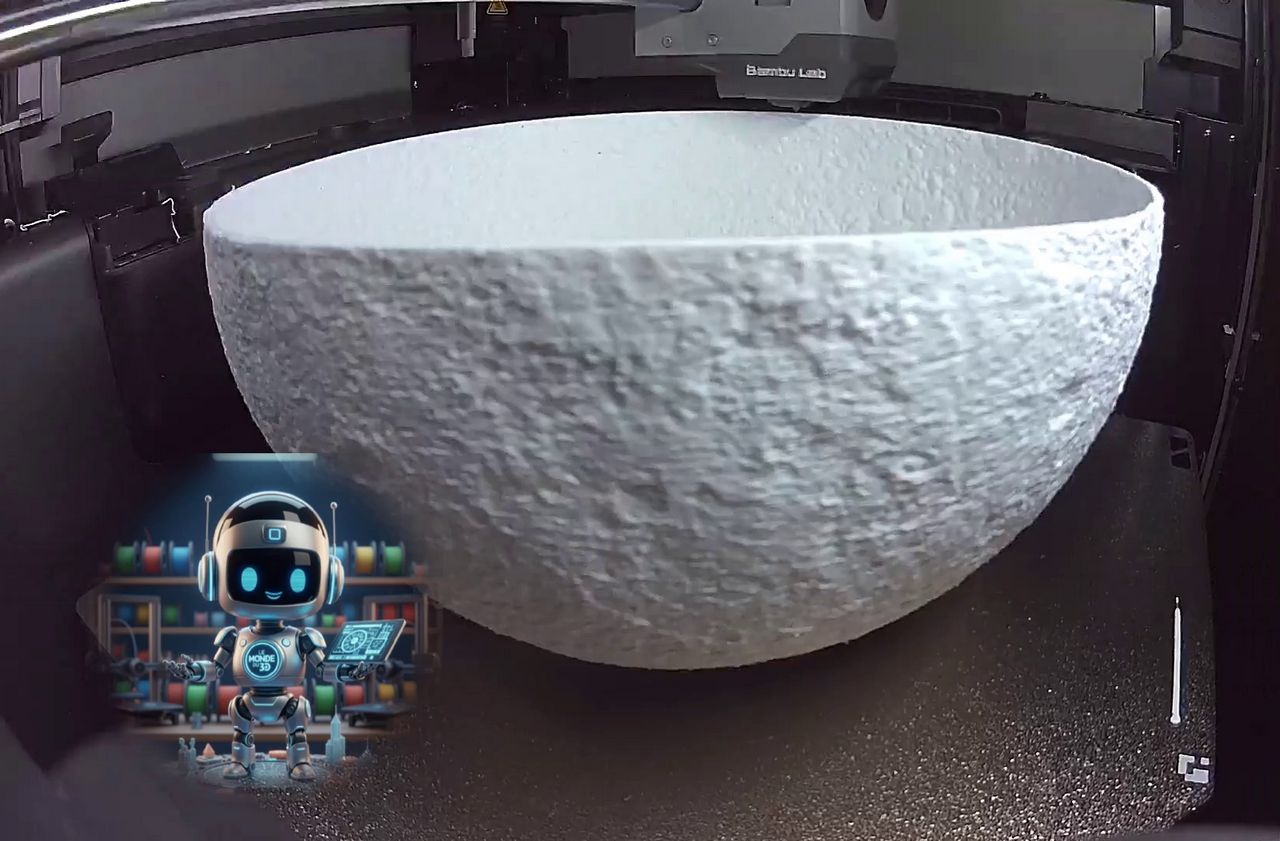
3D printing your own moon lamp is one of the most rewarding projects in 3D printing. It's the perfect marriage between lithophany technology and home décor.
Here's a complete guide to successfully create your nighttime celestial body.

✅ The Concept: How Does It Work?
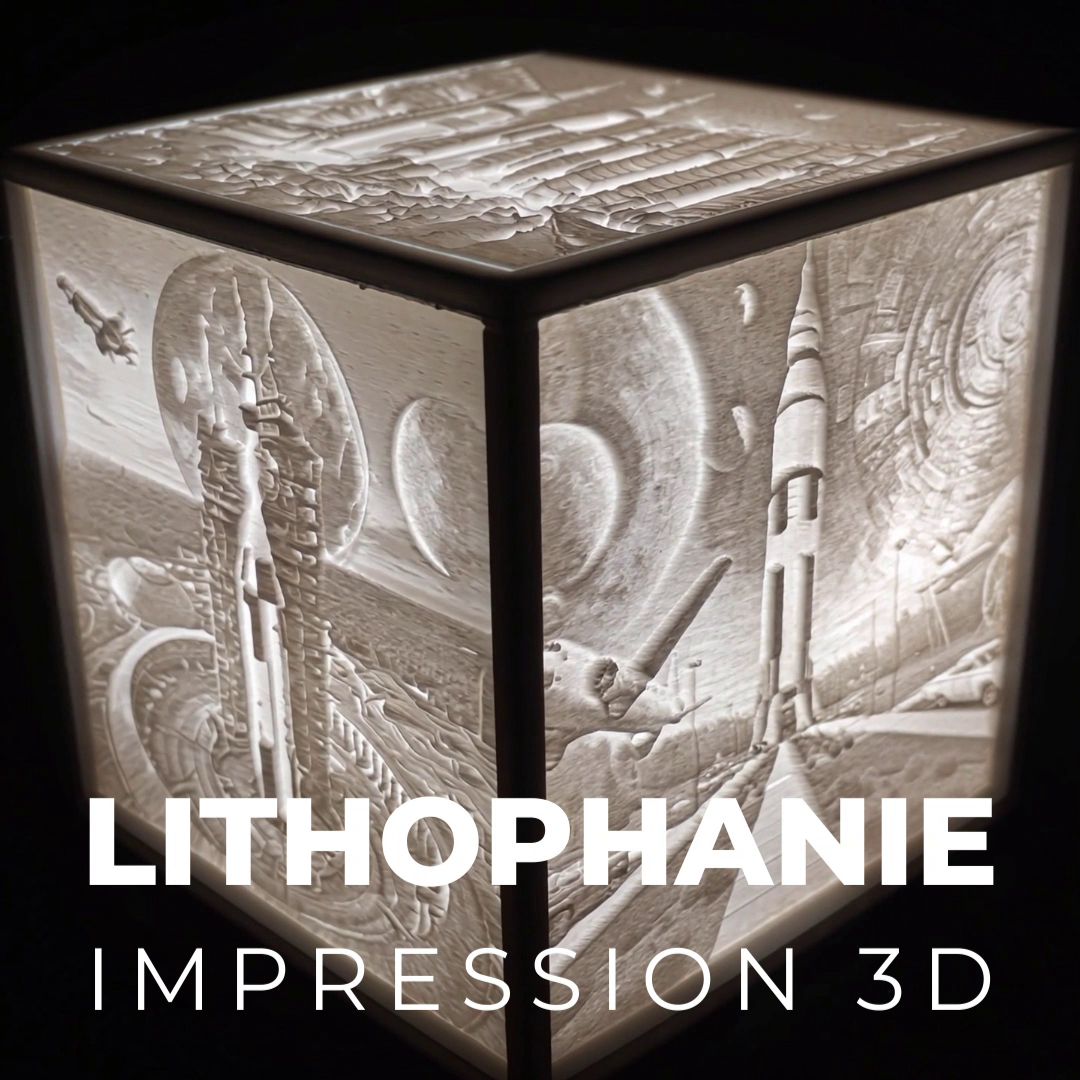
The secret to a moon lamp lies in lithophany. It involves printing an object with variable wall thicknesses:
-
Thin areas allow lots of light to pass through (bright craters).
-
Thick areas block light (reliefs and dark zones).
Once the lamp is lit from inside, the details of the lunar topography appear by backlighting.
✅ Materials You'll Need
To successfully complete this project, you'll need:
-
A 3D Printer: (FDM preferred for size, or Resin for extreme detail).
-
White or "Bone White" PLA Filament: Avoid pure white or bluish white; a slightly off-white gives a more natural appearance.
-
A Light Source: USB LED kit, LED bulb (low energy) or touch-sensitive module with battery.
-
The STL File: You can find free ones on Makerworld (search "Moon Lamp").
✅ Slicing Parameters
This is the most critical step. If your settings are wrong, the relief effect will disappear once the lamp is lit.
| Parameter | Recommended Setting | Why? |
| Infill | 100% | Essential. Air gaps ruin the transparency effect. |
| Layer Height | 0.12mm to 0.18mm | The thinner the layer, the more detailed the craters will be. |
| Walls | 2 or 3 | Ensures strength without blocking all light. |
| Supports | None or minimal | Most models are designed to print without supports. |
| Speed | Moderate (40-50 mm/s) | Prevents surface defects on a sphere. |
✅ Assembly and Electronics
Once printing is complete (typically 15 to 30 hours depending on size), you need to light it up.
-
The Base: If your file doesn't include one, you can print a "tripod"-style base in wood or wood-look filament.
-
Lighting: * Simple Option: Battery-powered LED string lights slipped inside.
-
Clean Option: A touch-sensitive LED kit with USB charging port that clips into the bottom opening.
-
-
Safety: Use only LED lights. Plastic (PLA) starts to soften around 60°C. A standard incandescent bulb would melt your moon in minutes.
✅ Tips for Professional Results
-
Orientation: Print the moon with the hole facing down.
-
Sanding: Avoid sanding the moon, as it risks altering wall thickness and creating uneven light spots.
-
Filament Dryness: Make sure your filament is completely dry (no moisture) to avoid stringing inside the sphere, which would cast unwanted shadows.
Whether as a unique gift or to add a touch of poetry to your nightstand, this project remains a 3D printing staple. It's pure magic the first time you turn on the LED and see the craters light up in the dark. So, ready to transform a simple spool of plastic into a fascinating celestial body? Ready to print your moon?