Challenges and Tips for Perfect Halloween 3D Prints 🧟♂️👻

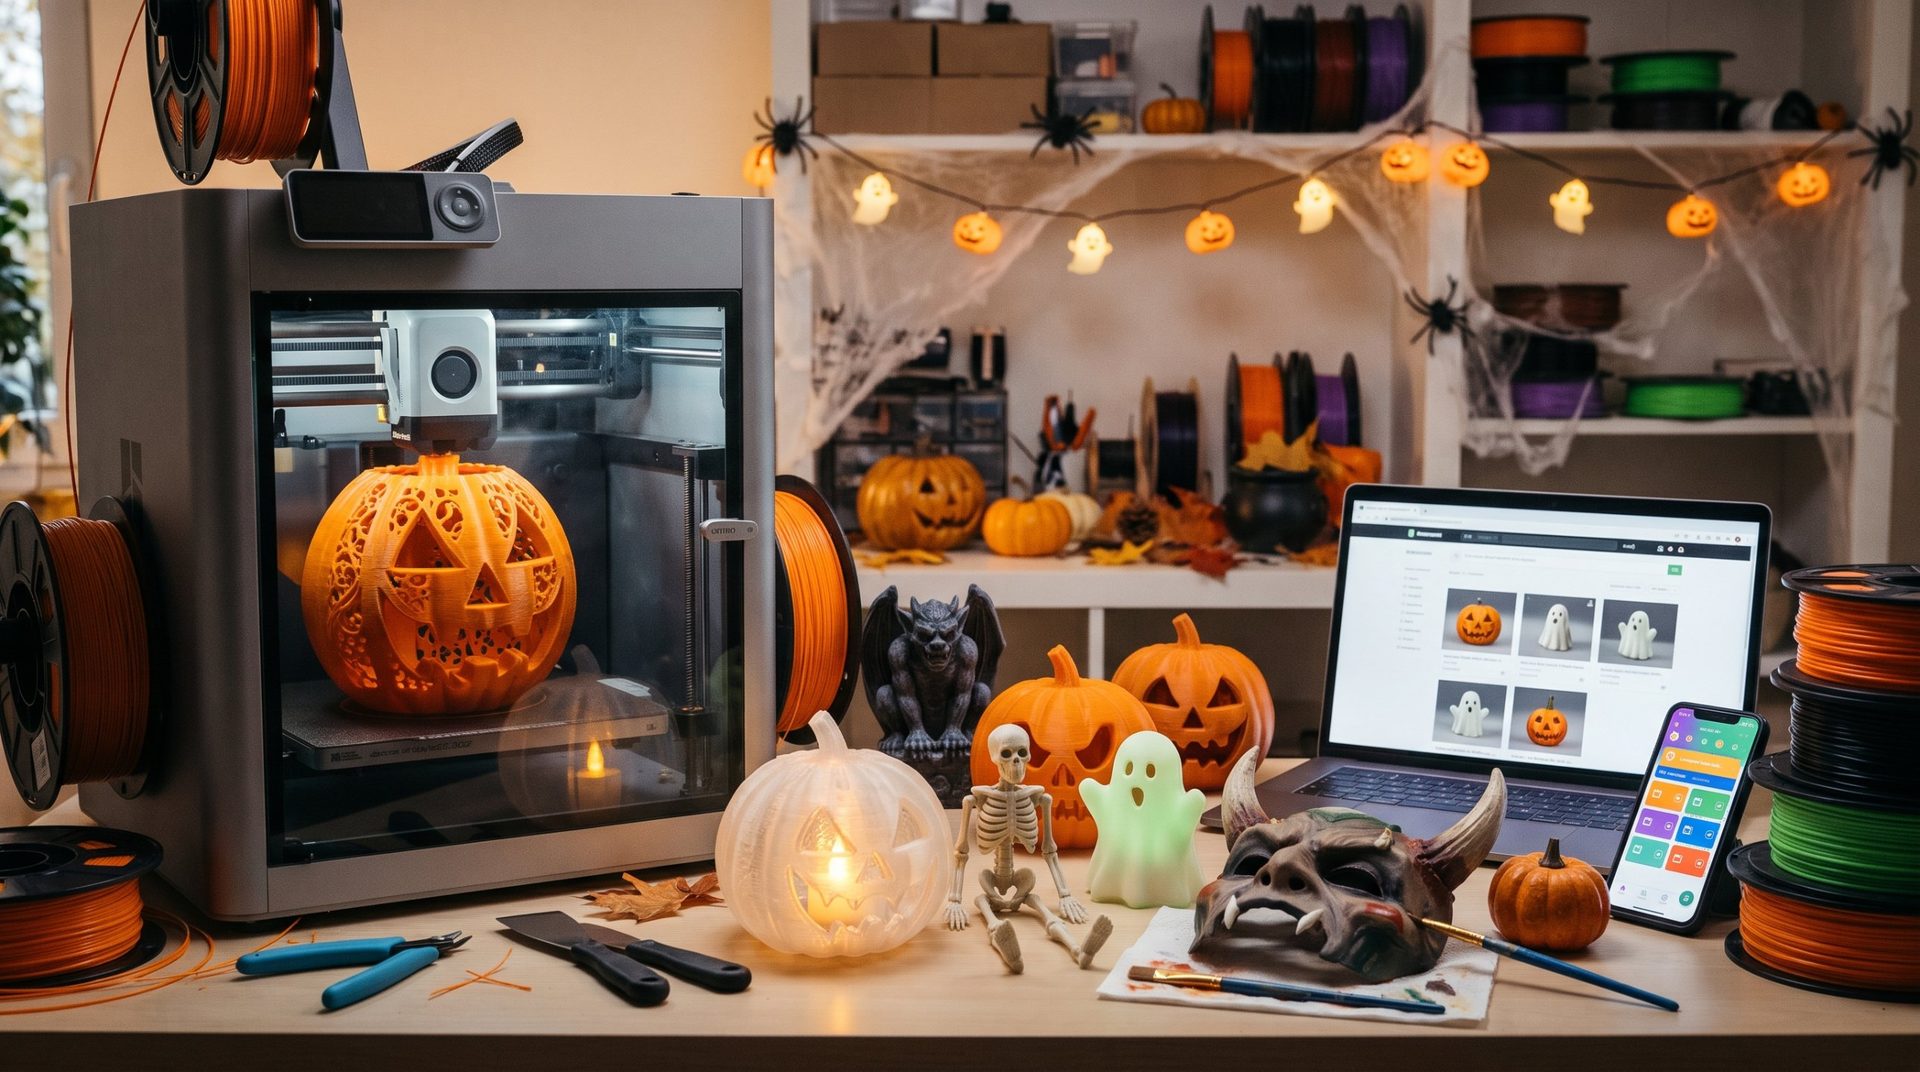
3D printing is ideal for creating Halloween decorations, but certain models with their complex details and bizarre shapes can be a real challenge. To succeed with your most terrifying creations, it's essential to master a few advanced techniques.

Managing Overhangs and Complex Details
Skulls, spiders, and dragons often have overhang areas, where the printer builds in mid-air. Poor settings can turn your monster into a pile of plastic strings.
- Supports: Never underestimate the importance of supports. In your slicer, use tree supports if possible. They're easier to remove and leave fewer marks on your print's surface.
- Cooling: For small details, make sure your cooling fan is at 100%. Good ventilation solidifies the filament faster and prevents layers from sagging.
- Layer Height: For faces or highly detailed patterns, use a low layer height (0.12 mm or 0.16 mm). It's slower, but the final result is worth it.
Choosing Materials for a "Wow" Effect
Beyond simple black PLA, filament can transform a basic print into a terrifying work of art.
- Glow-in-the-dark filament: This is a must-have. It absorbs light during the day and glows in the dark. Use it for a ghost's eyes, a skeleton's teeth, or a spider web pattern.
- Translucent filament: For lanterns, witch potions, or eyes, transparent PLA is perfect. A small LED inside will create a spectacular lighting effect.
- Silk and metallic filaments: For costume accessories like a dagger or armor piece, a metallic or silk-finish filament will give a more realistic and finished look without needing to paint.
Post-Processing for Enhanced Realism
Once out of the printer, the piece still needs work.
- Sanding and Priming: To hide layer lines, sand the piece with fine sandpaper. Then apply a filler primer layer to smooth the surface before painting.
- Painting and Aging: Use acrylic paint for details. For armor pieces or aged objects, add diluted black paint to the recesses for a dirty and aged effect.
- Assembly: For large models printed in multiple parts, using cyanoacrylate glue and filler putty is essential for a seamless finish.
In conclusion, 3D printing for Halloween is an adventure that combines creativity and technique. By paying attention to details and mastering these tips, you'll be able to create decorations and costumes that will impress everyone.