3D Print Magic Wands
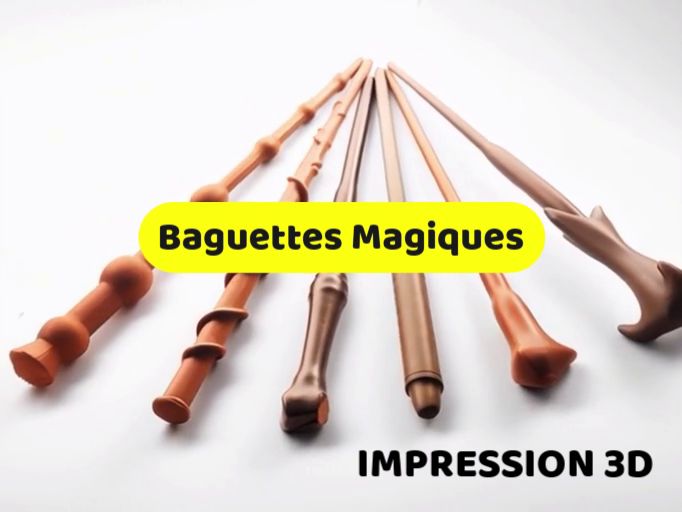
3D printing offers a fantastic opportunity to create personalized magic wands with incredible detail—whether faithful replicas from the Harry Potter universe, original sorcerer wands for LARP (live-action roleplay), or unique toys for children. This project combines design creativity with the satisfaction of crafting a magical object.

Modeling: The Heart of the Magic
Wand design is where the magic takes shape:
- Iconic Replicas: Many STL files are available online for wands of iconic characters (Harry Potter, Hermione, Voldemort). Makers have created highly faithful versions, sometimes even with integrated supports to streamline printing.
- Original Design: This is where your creativity shines. You can design unique wands with spiral patterns, gemstone inserts, bark textures, or sculpted animal heads.
- CAD Software: Fusion (for precise geometric shapes) or Blender/ZBrush (for organic sculptures, flourishes, and more artistic details) are ideal.
- Dimensions: Most wands range from 25 to 40 cm. Consider the scale of your hand (or the child's/adult's hand it's intended for) for a comfortable grip.
Material Selection: Durability and Detail
The filament you choose will directly impact your wand's strength and ease of post-processing.
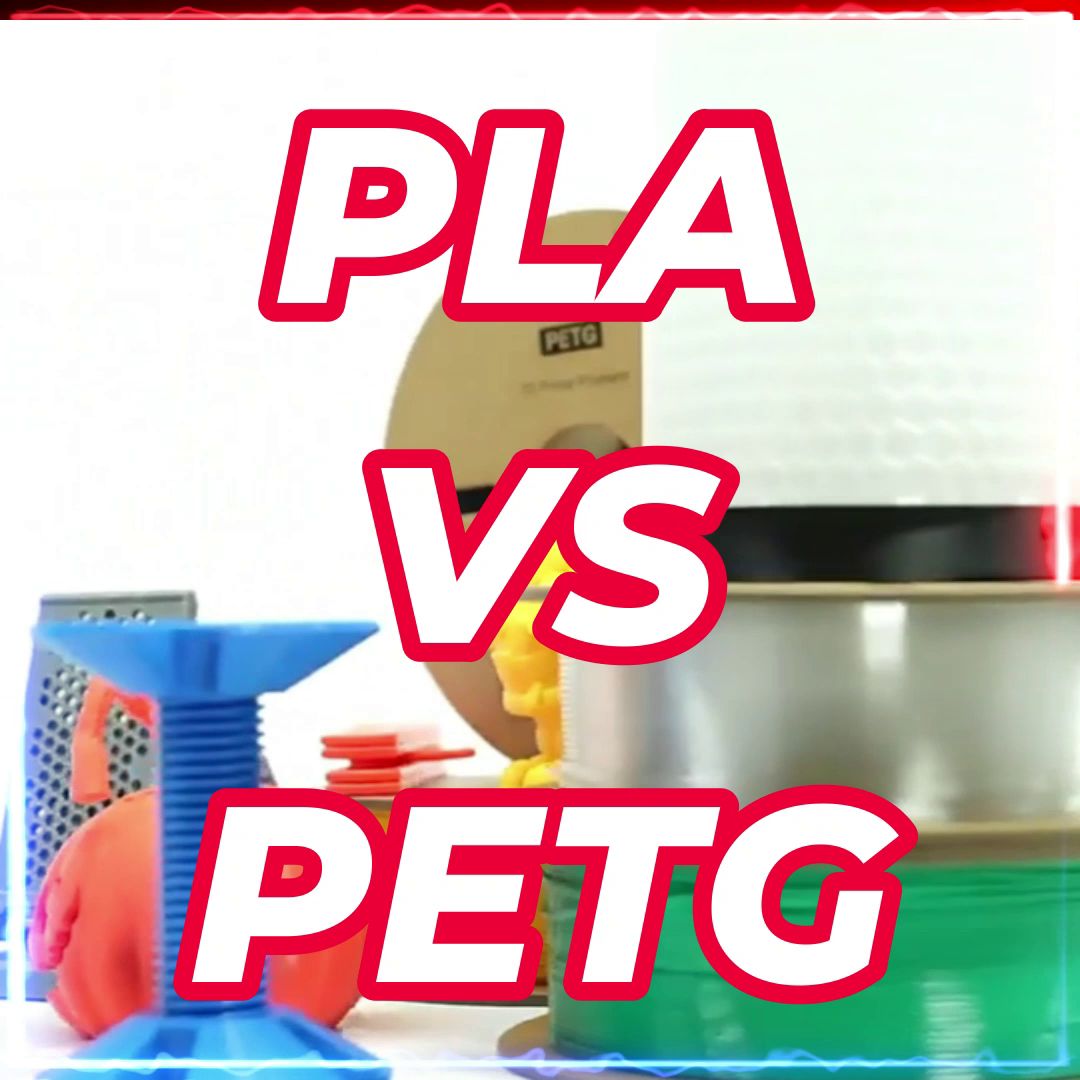
- PLA (Polylactic Acid):
- Advantages: Easiest to print, provides good rigidity, ideal for fine details, and easy to paint. The default choice for wands.
- Drawbacks: Can be brittle if dropped or subject to violent impact.
- PETG (Polyethylene Terephthalate Glycol):
- Advantages: More shock-resistant and flexible than PLA, ideal for wands that will be handled by children or used in LARP.
- Drawbacks: More difficult to print than PLA (more stringing, requires finer tuning).
- Resin (SLA/DLP/LCD):
- Advantages: For unmatched fine detail (ideal for fine engravings or complex patterns on the handle).
- Drawbacks: Less mechanically robust than FDM (except specific Tough resins), smaller build volume, and more demanding post-processing.
Printing Parameters for the Perfect Wand
A few tips for successful prints on an FDM printer:
- Orientation: Print the wand vertically to maximize strength along the longitudinal axis and hide layer lines. Use a good raft or brim for solid build plate adhesion.
- Supports: Details on the handle or flourishes may need supports. Use tree supports for easy removal and minimal marking.
- Infill: An infill of 20% to 30% is generally sufficient for good strength without wasting material. For a sturdier feel, denser infill (up to 50%) can be used.
- Layer Height: For a nice finish, a layer height of 0.12 mm to 0.16 mm is ideal.
Post-Processing: The Final Magical Touch
This is where your wand comes to life.
- Cleanup: Carefully remove supports and use a precision craft knife or fine sandpaper to smooth imperfections.
- Sanding: Progressive sanding (coarse to fine grit) is essential for a smooth surface, especially if you plan to paint.
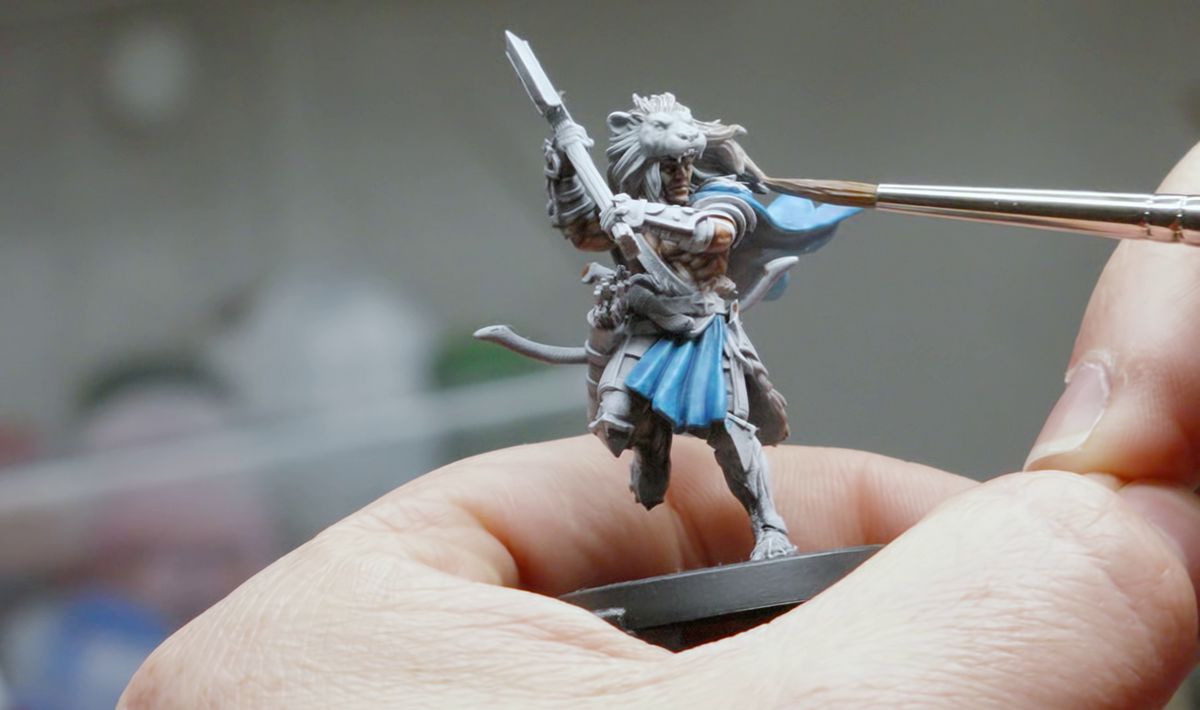
- Priming: Apply a primer coat (often gray or white) to even out the surface and prepare the piece for painting.
- Painting: This is the most fun step!
- Base Coats: Use acrylic paints (black, brown, beige) as a foundation.
- Aging and Details: Apply dark washes to bring out details, then dry brushing with lighter colors to simulate wear, wood, or aged metal.
- Varnish: Finish with one or two coats of clear varnish (matte or satin) to protect the paint and achieve your desired finish.
3D printing a magic wand is a rewarding project that lets you explore modeling, printing, and finishing techniques to create a truly unique and enchanted object.