
3D Printing a Fidget Spinner: A Global Phenomenon

The fidget spinner became a worldwide phenomenon, but for 3D printing enthusiasts, it's much more than a simple toy. It's the perfect project to take your first steps into additive manufacturing. Its simple design, low cost, and instant gratification make it an excellent starting point for anyone who wants to master the basics.
Why Print a Fidget Spinner?
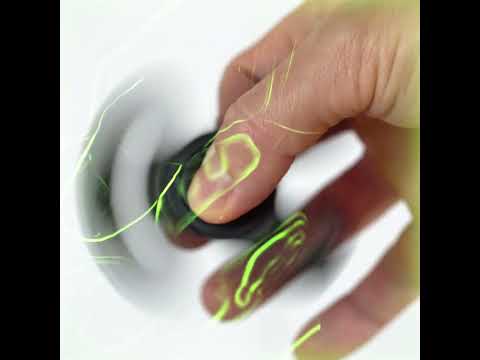
- Simplicity and speed: The basic design of a spinner is simple and quick to print. It's one of the first projects you can complete in just a few hours.
- Learn the basics: Printing a spinner introduces you to essential slicer settings like infill, layer height, and support management (for certain designs).
- Infinite customization: You can modify the shape, size, weight, and color of your spinner. It's an excellent way to understand the creative potential of 3D printing.
- Your first assembly: This project teaches you how to integrate an external part (the bearing) into your 3D print—a fundamental skill for more complex projects.
Materials You Need to 3D Print a Fidget Spinner
To print and assemble a spinner, you'll only need three main elements:
- Filament: PLA is the ideal choice for beginners. It's easy to print, affordable, and delivers great results.
- Bearing: The star of the show. The most common choice is the skateboard bearing 608 (22 mm outer diameter, 8 mm inner diameter, 7 mm thickness). They're very affordable and available everywhere.
- 3D file: Thousands of free STL files are available on file-sharing platforms (check out our selection of STL file libraries). You'll find classic designs, complex ones, or totally original creations.
Printing and Assembly Process
- File preparation: Load the STL file into your slicer. Use a layer height of 0.2 mm for a good balance between speed and quality. 20% infill is more than enough. For designs with overhangs, enable supports.
- Printing: Start the print. Once the part is finished, let it cool on the build plate to avoid any warping.
- Cleaning and finishing: Remove the supports (if you used any) and smooth out any imperfections with a small blade or fine sandpaper.
- Assembly: Insert the bearing into the central hole. Depending on your printer's precision, it may fit easily or require slight pressure. You can use a vise or gently tap it with a hammer. A helpful tip: lightly heat the printed part or put the bearing in the freezer for a few minutes to make assembly easier.
Taking It Further
Once you master the basic spinner, the possibilities are endless:
- Create your own designs using CAD software.
- Use specialty filaments to add weight (metal-filled filaments) or achieve a unique look.
- Paint your spinner to customize it.
In short, a 3D-printed fidget spinner is much more than just an object to spin: it's a fun gateway into a world of skills, learning, and creativity that's just beginning.
In conclusion, painting is an art in itself, and the right combination of good sanding, proper primer, and the ideal paint type is the secret recipe for enhancing your 3D creations.


