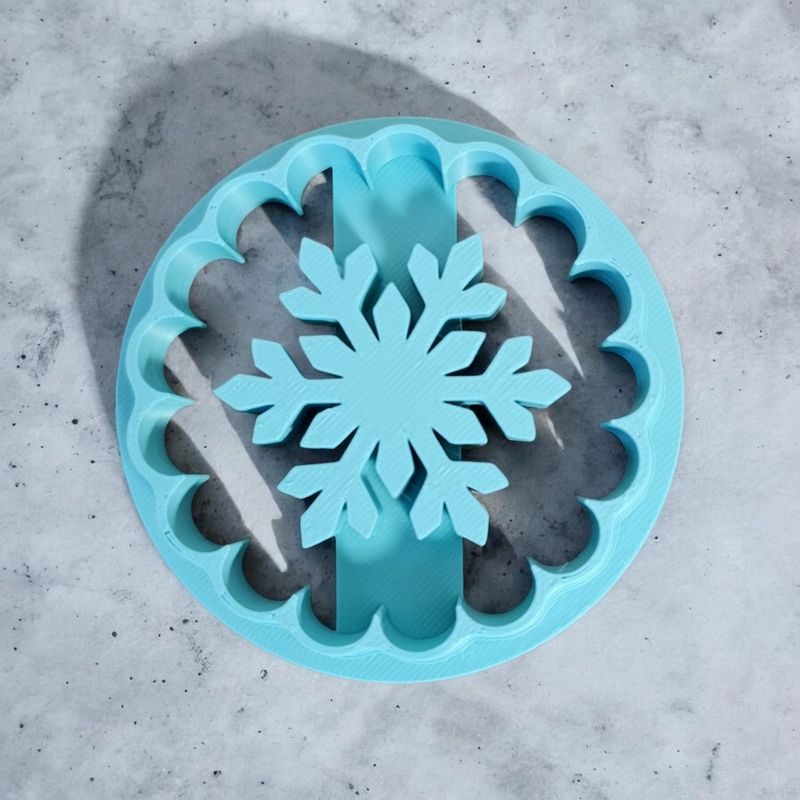
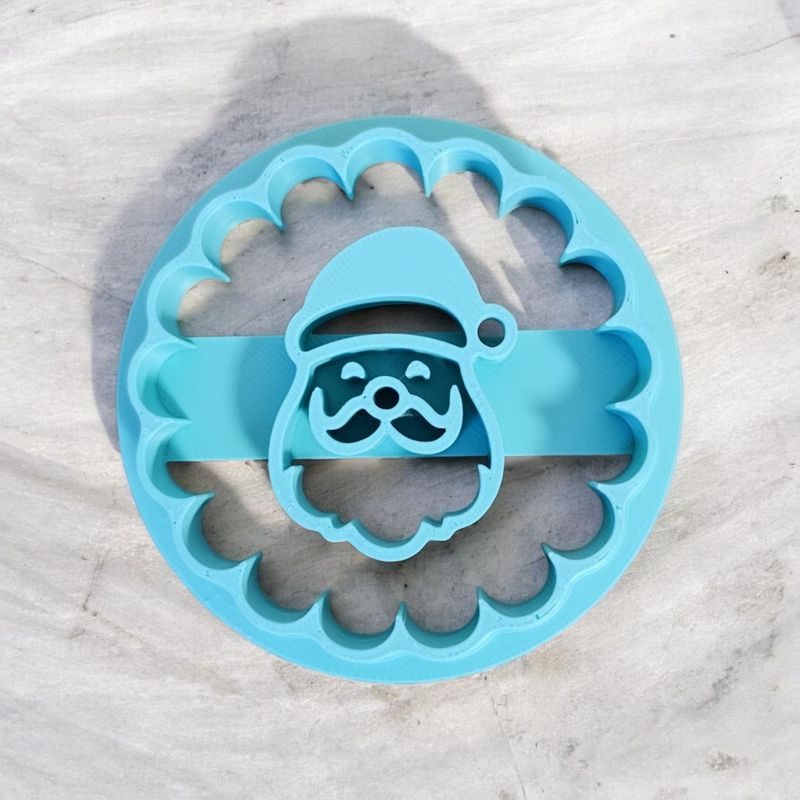
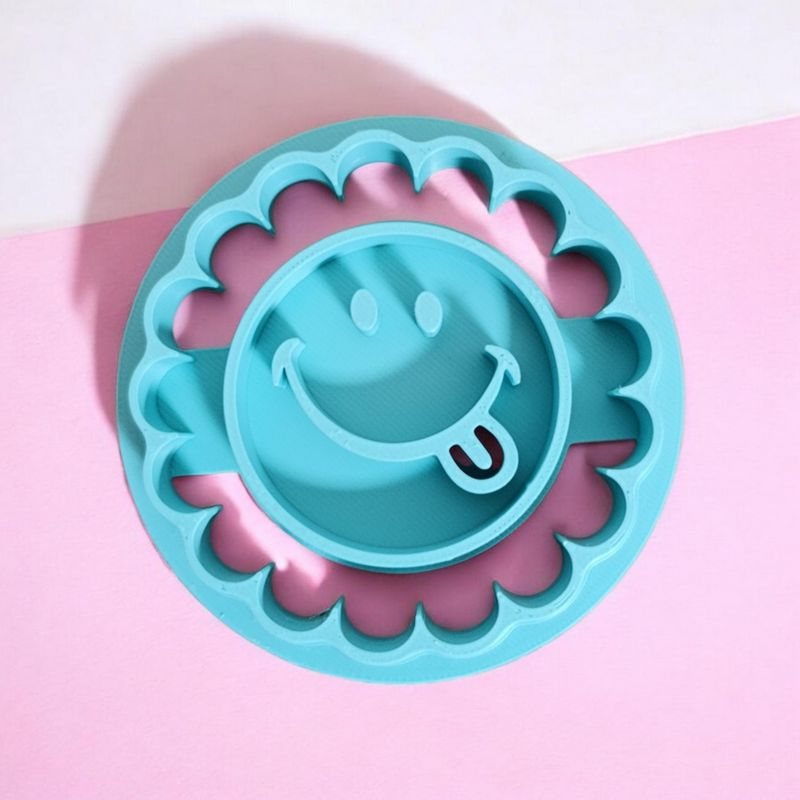
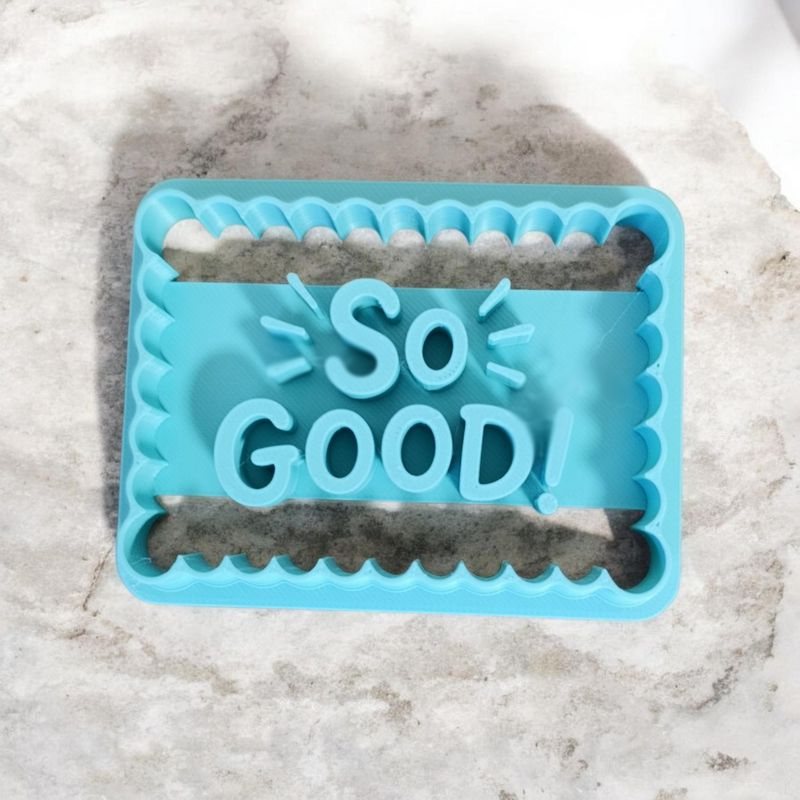
How to Print Your Own Custom Cookie Cutters for Free!

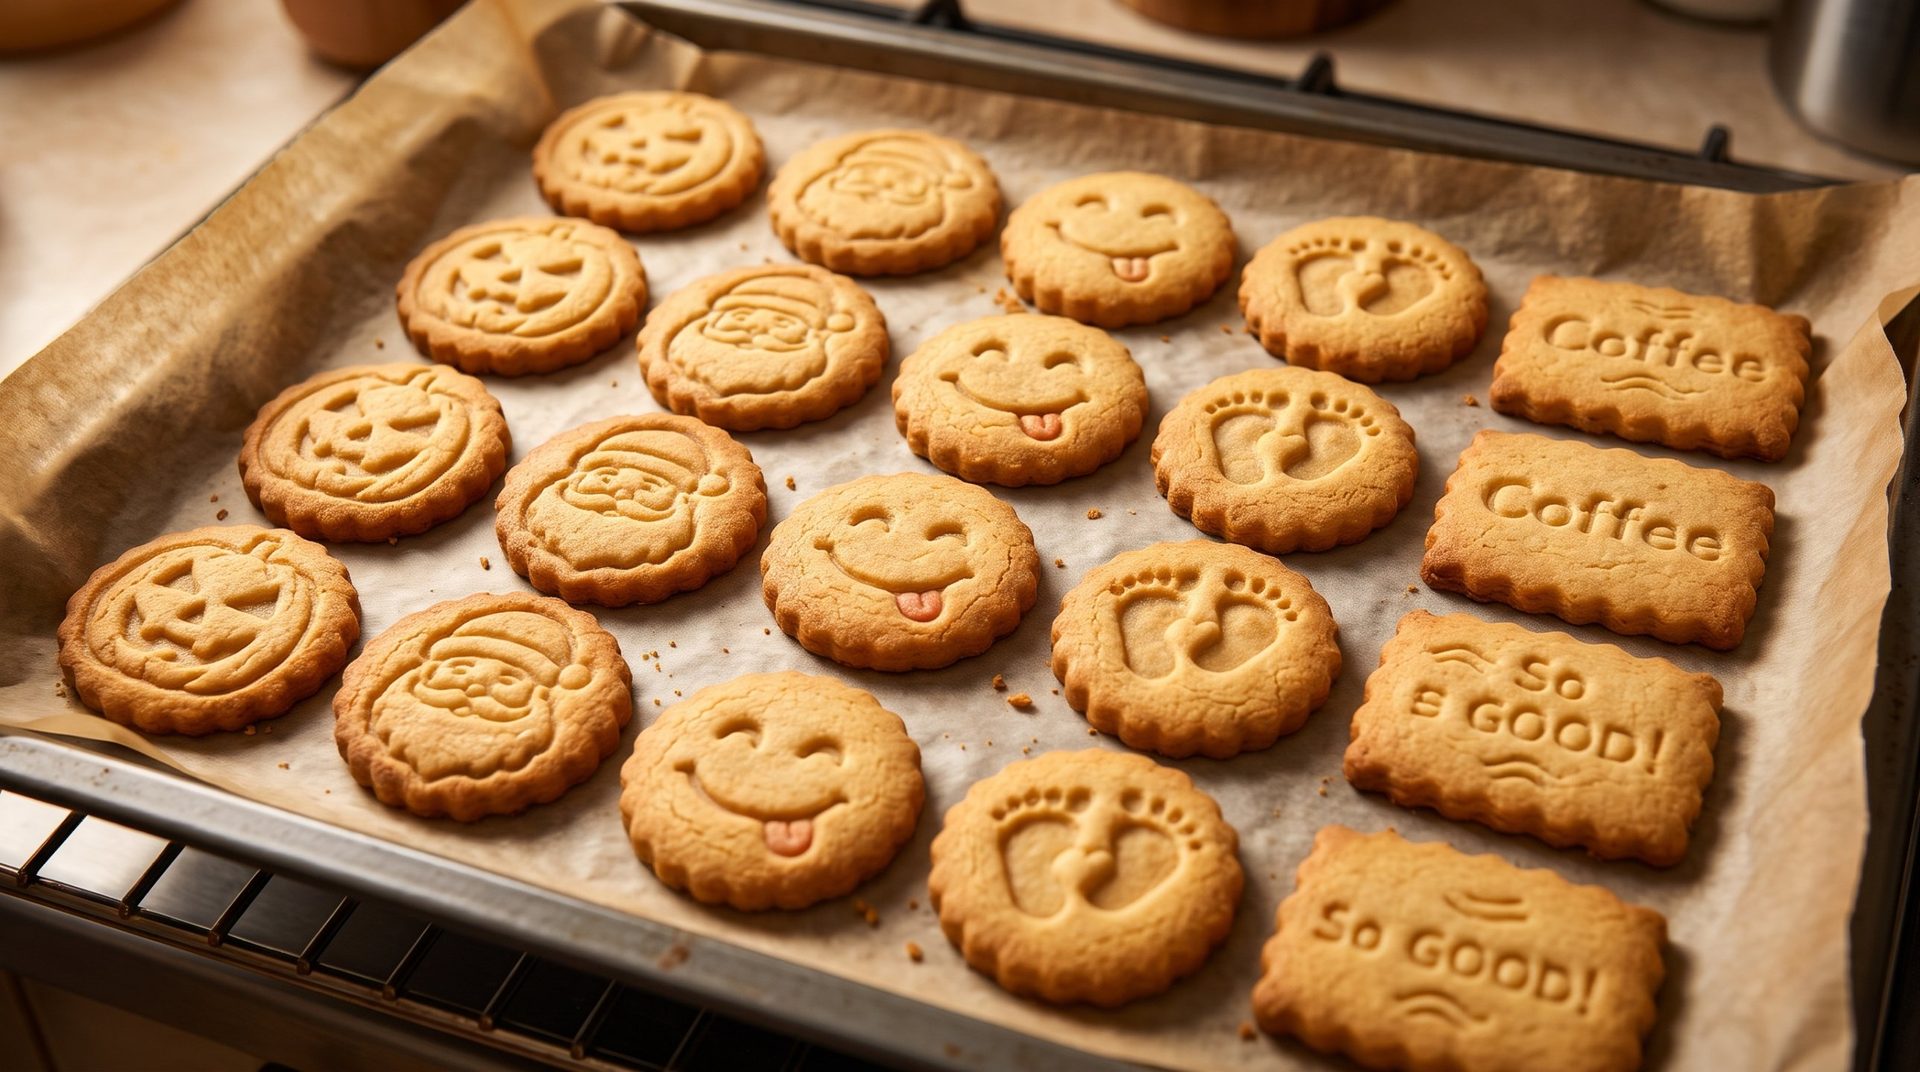
Looking to impress your guests at your next tea party, birthday, or special event? Nothing beats unique cookies that reflect your style! Thanks to 3D printing magic, creating your own custom cookie cutters at home has become incredibly easy.
In this article, I'll walk you through step-by-step how to make your own cookie cutters, and here's the great news: I'm giving you free 3D files to get started right away.
✅ Download Your 3D Models for Free
The first step is finding the perfect design. You don't need to master complex modeling software to get started. I've put together a collection of ready-to-print models just for you.
You can download free 3D files specially designed for baking directly from my site: 👉 COOKIE CUTTERS
Whether you're looking for geometric shapes, cute animals, lettering, or holiday-themed patterns, you'll find plenty of options to spark your creative appetite.
✅ Choose the Right Filament
3D printing for the kitchen requires some care. Not all plastics are suitable for food contact.
-
PLA (Polylactic Acid): This is the most common and easiest-to-print plastic. Although it's plant-based (made from corn starch), make sure to use PLA filament certified as "Food Safe" with no toxic colorants.
-
PETG: Highly resistant and often used in industry for food packaging (like water bottles), it's an excellent choice for durable, solid cookie cutters.
Pro tip: If you print for the kitchen frequently, consider equipping your printer with a stainless steel nozzle instead of brass to prevent any unwanted lead particles from depositing in your plastic.
✅ Optimal Print Settings
To get a cookie cutter that cuts dough cleanly without breaking, here are the settings I recommend in your slicer (Cura, PrusaSlicer, etc.):
-
Layer Height: 0.16 mm to 0.20 mm. Fine resolution gives you smooth walls and prevents dough from sticking to print lines.
-
Walls: Increase the number of walls (3 to 4) to reinforce the "blade" edge. This matters more than infill density.
-
Infill: 20% to 30% is plenty for the cookie cutter base.
-
Print Speed: Reduce speed slightly to ensure a perfect finish.
✅ Achieve Perfect Personalized Cookies
Your cookie cutter is fresh off the printer and ready to use? Here's how to get perfectly shaped shortbread:
-
Flour generously: Before each cut, dip your 3D-printed cookie cutter's edge in a little flour or powdered sugar. This keeps dough from sticking to the plastic.
-
Use cold dough: Work with a shortbread recipe (ideally without yeast to prevent the design from puffing up and distorting during baking) that's been chilled in the refrigerator.
-
Cleaning step: Heads up—most 3D printing plastics (especially PLA) warp under heat. Never put your cookie cutters in the dishwasher! Wash them by hand with warm water, soap, and a soft-bristled brush to clear all the grooves.
✅ Fire Up Your Extruder and Oven!
Now it's time to heat up your printer's extruder and your oven. Be sure to visit www.lemondedu3d.com to grab your first free STL files and start producing one-of-a-kind cookies.
Happy printing and happy eating!